How to Organize Extension Cords in Your Garage
Last updated:
Disclosure: This article contains internal links to product roundups that may include affiliate links. If you buy through those, we may earn a commission at no extra cost to you. We do not claim hands-on testing unless clearly stated.
The problem with garage extension cords usually isn’t where to put them — it’s pulling out the right one when you need it. Most readers have a pile, dig through it, and grab the closest cord even when it’s the wrong length or gauge. The fix is a three-step method: coil each cord the way that doesn’t kink the wire, label each cord by length, and store by frequency of use. The method takes one evening to set up and saves friction every project after.
This guide does not compare specific cord storage products — for product picks, see our roundup of best extension cord organizers.
Quick Answer: The Three-Step Method
- Coil correctly using the over-under method (kink-resistant, professional standard)
- Label by length with a permanent tag at the male end of each cord
- Store by frequency — daily cords on reels, weekly cords on hook racks, seasonal cords in labeled bins
The three steps work together. Coiling without labeling means you still grab the wrong cord. Labeling without sorting by frequency means daily cords end up in deep storage. Doing one and skipping the others doesn’t solve the problem.
Step-by-Step
Step 1: Sort cords by length and gauge
Pull every extension cord out and lay them flat. Sort into groups by length: short (under 25 ft), medium (25-50 ft), long (50 ft and above). Within each length, note the gauge — 16 gauge is light-duty, 14 gauge is medium-duty, 12 gauge is heavy-duty for power tools.
Most garages have more cords than the owner remembers. A typical inventory: 3-5 short cords, 3-5 medium cords, 1-3 long cords, and 1-2 contractor-grade heavy gauge cords. If you’re well above that, consider thinning out — overlapping cords are clutter, not redundancy.
Step 2: Coil correctly with the over-under method
The over-under coil method alternates loop direction — one loop is a standard over-the-thumb loop, the next is reversed (under the thumb). The result is a coil that lays flat, uncoils without kinks, and does not damage the internal copper over years of repeated use.
Tightly-coiled extension cords store smaller but kink the wire over time. The kinks become hot spots under load (resistance rises where the wire is bent), and eventually cause insulation failure. The over-under method is the professional standard for AV crews and electricians for exactly this reason.
If you’ve inherited a pile of tightly-coiled cords, uncoil each one completely, let it lay flat for a day, then re-coil over-under. The wire memory will straighten out within a few uses.
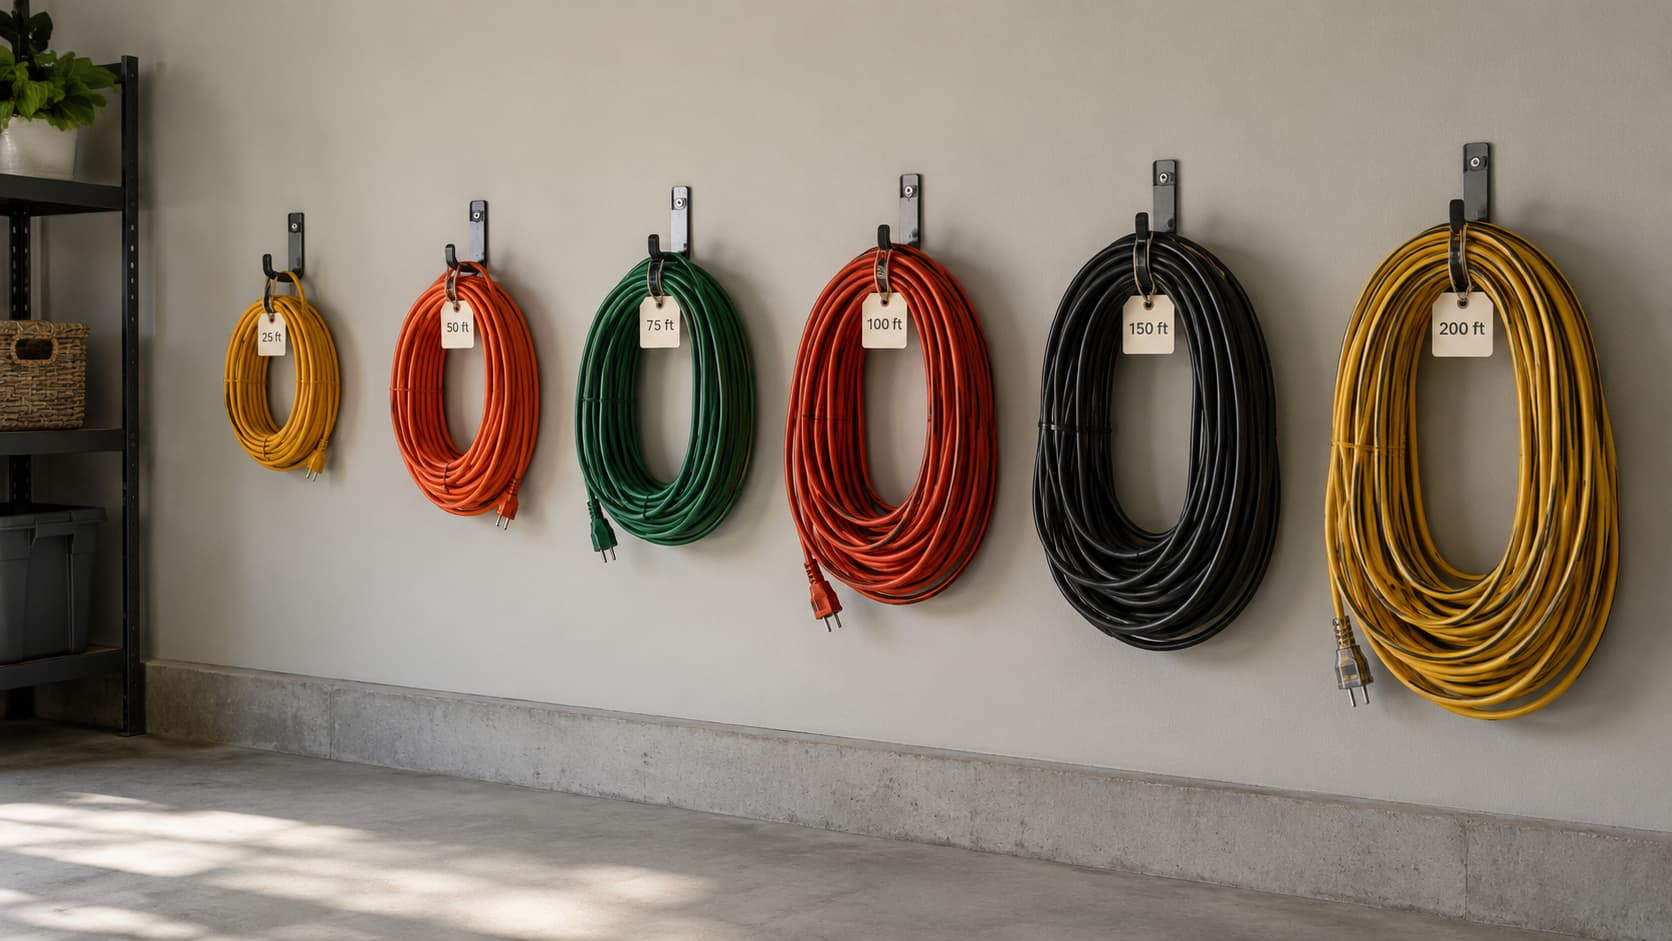
Step 3: Label each cord by length
Use a permanent tag at the male (plug) end of each cord. The tag should display the length clearly enough to read at arm’s length — “25 ft”, “50 ft”, “100 ft”. Use a label maker, a metal tag with stamped numbers, or even colored heat-shrink tubing (red = 25 ft, blue = 50 ft, etc.) for an at-a-glance system.
Paper labels and zip-tied paper tags fall off within months. Either use a permanent material (heat-shrink, hard plastic tag, metal stamped) or accept that you’ll re-label annually.
Step 4: Choose the right storage format
Cord storage format should match how often you use the cord. The decision matrix below maps usage frequency to format.
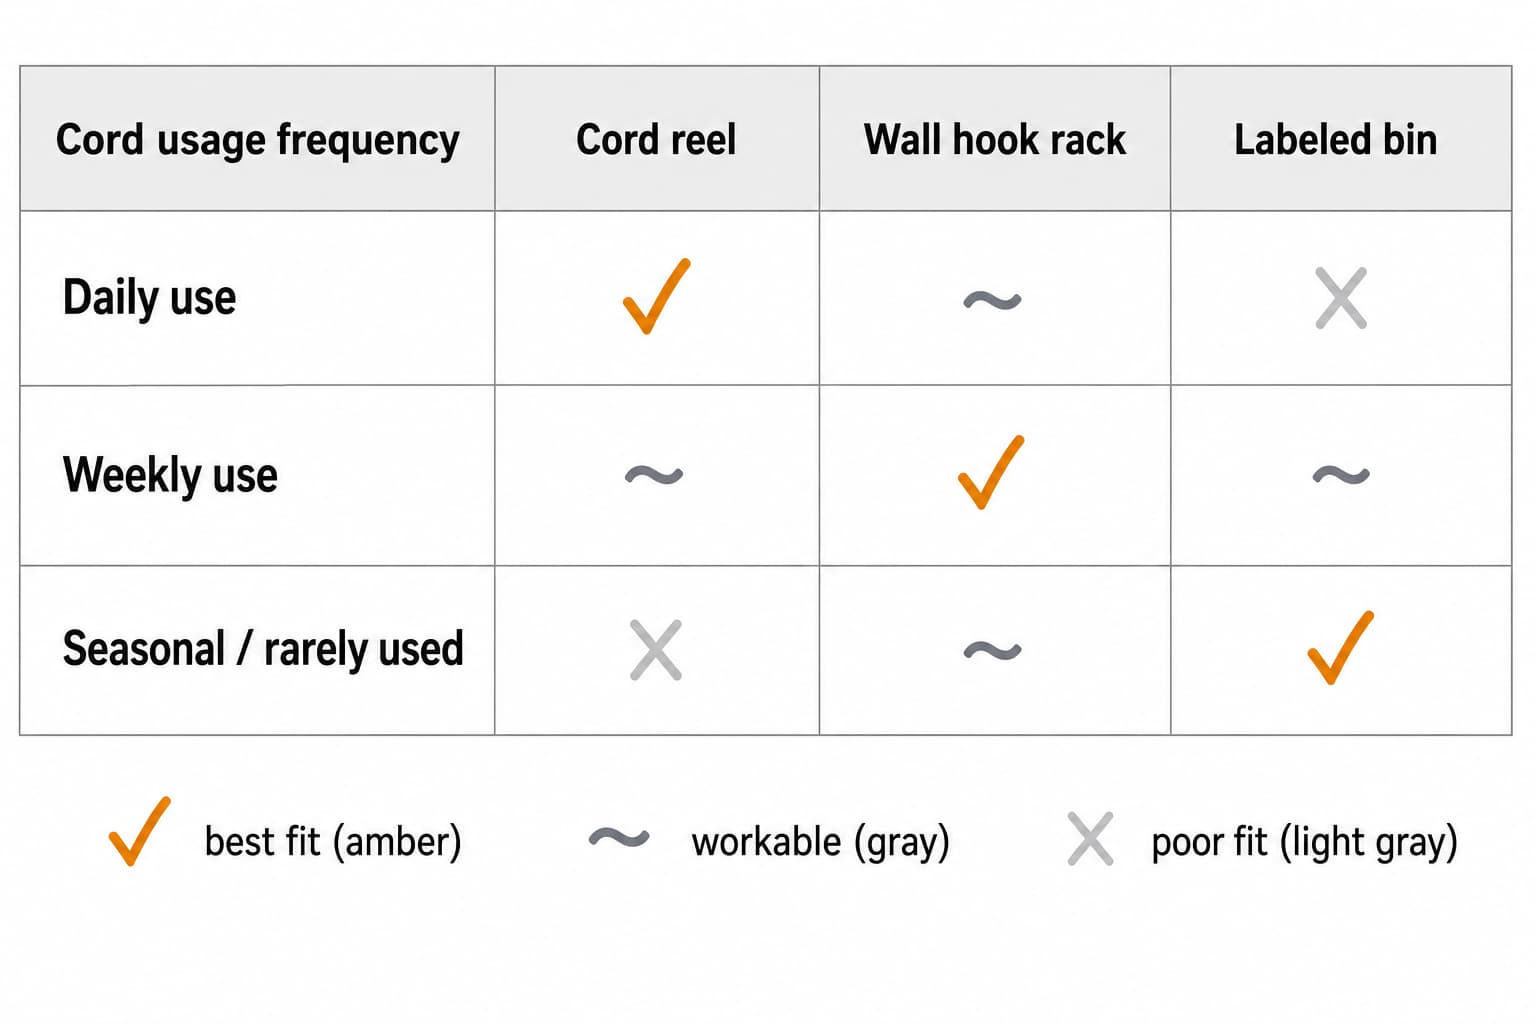
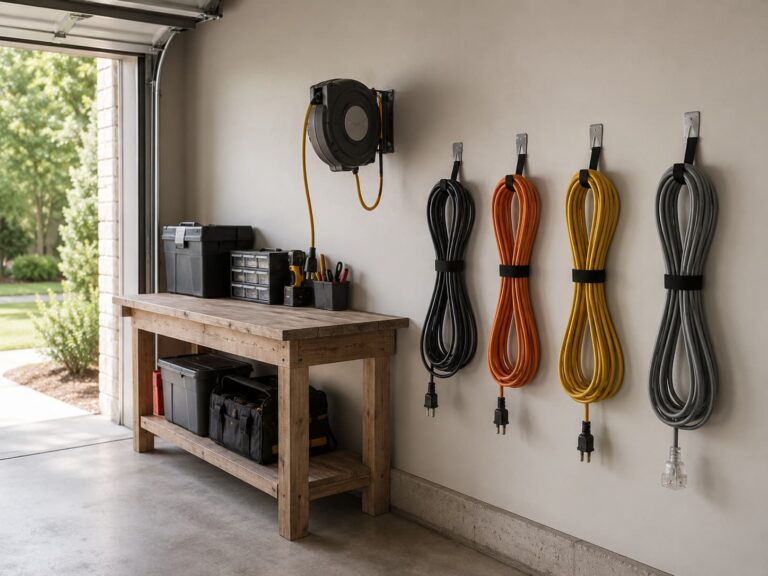
- Cord reel — fixed-mount wall reel with retractable cord. Best for the single cord you use daily (often a 25-foot retractable in the workshop area). Not appropriate for cords you swap often.
- Wall hook rack — multiple hooks on a wall section, one cord per hook. Best for weekly-use cords (the 25-50 ft cords for outdoor projects, vehicle work). The labels are critical here — without them, the hook rack is just a tidy pile.
- Labeled bin — a plastic bin with cords coiled inside, lid labeled with length. Best for seasonal or rarely-used cords (the 100 ft cord for the once-a-year project). For broader utility-storage bin context, see our broader utility storage buying guide.
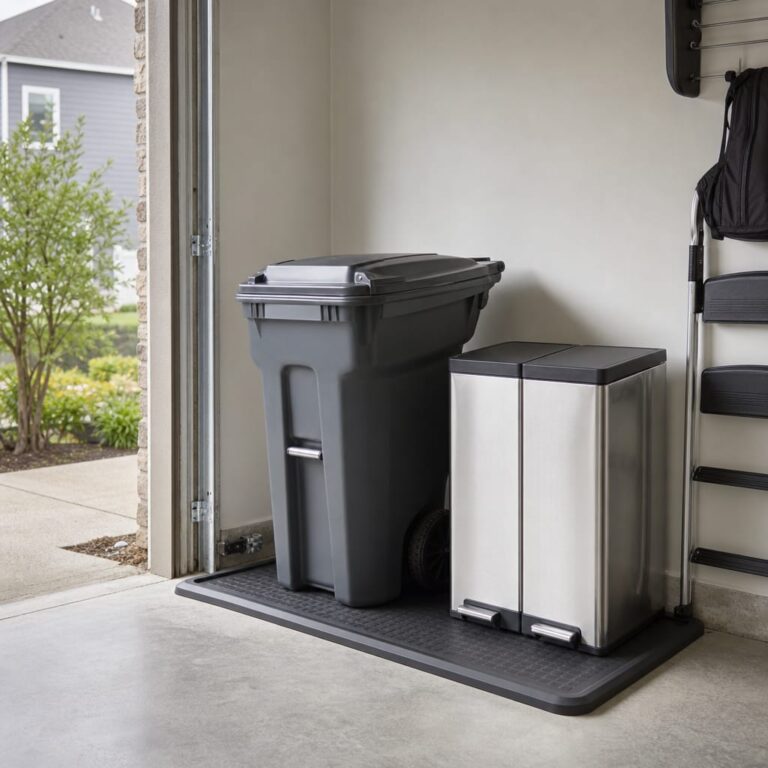
Step 5: Place by frequency of use
The format alone isn’t enough — placement matters too. Daily cords go at eye-level near the workshop area. Weekly cords go at an accessible height on a secondary wall. Seasonal cords go overhead, on top shelves, or in stackable bins that don’t compete with active storage.
Mixed-format approach is normal: 1 cord reel + 1 hook rack + 1 bin covers most residential setups.
Tools and Products That Help
For specific product comparison, see our roundup of best extension cord organizers for garage. For sister utility-storage methods, see how to organize cleaning supplies in your garage.
Useful product categories (without specific picks here):
- Wall-mounted cord reels — for the single high-use cord
- Hook racks — for the weekly-use cords; the dedicated tool organizer roundup covers compatible wall hooks
- Stackable labeled bins — see the utility-storage buying guide for bin selection
Pick whatever fits your existing wall and bin inventory. Measure your longest cord coiled before buying any storage product — a 100 ft 14-gauge cord coiled is roughly 14 inches in diameter, which doesn’t fit small bins or narrow racks.
Common Mistakes
- Tight coiling without the over-under method. Tightly-coiled cords kink the internal wire over months. The kinks become electrical resistance points under load. Use over-under for any cord you’ll store more than a few days.
- No labels. The whole sort-and-store system collapses without at-a-glance length labels. Reach for any 25-ft cord, grab a 50-ft cord, drag 25 extra feet across the garage. Permanent label or accept the friction.
- Storing all cords in one bin. Mixed-length bin storage forces you to unpack the whole bin to find the right cord. Separate bins per length range, OR use a hook rack for mid-length cords.
- Using zip ties as permanent. Zip ties tight enough to hold a coil damage the insulation over years. Use Velcro straps (reusable, gentle) or hook-and-loop cable wraps instead.
For the broader zone-planning context that informs WHERE cord storage should sit, see how to plan garage organization zones.
FAQ
What’s the over-under coil method?
Each loop alternates direction. The first loop goes over the thumb (standard direction). The second loop reverses — the cord is twisted half a turn so it loops under the thumb. The third reverts, and so on. The result is a coil that lays flat and uncoils without kinks. Search YouTube for “over under coil cable” for a 60-second visual demonstration — it’s much easier to learn from a video than from words.
Do extension cords need to be uncoiled when in use?
For cords listed under 100 ft used at low load, partial uncoiling is fine. For long cords (over 50 ft) used at high load (heaters, power tools at full draw), uncoil fully — coiled cords build heat under load because the magnetic fields don’t cancel as efficiently. Manufacturers usually list a “do not exceed X amps when coiled” figure on the cord packaging.
How long can I safely store extension cords without damage?
Indefinitely, if coiled correctly (over-under) and stored away from temperature extremes. The two failure modes for long-term storage are insulation cracking (cold) and insulation softening (heat above ~100 degrees F sustained). A garage in temperate climate stores cords fine for years; a desert garage at 130 degrees F in summer degrades insulation faster.
Indoor cords in the garage — OK?
Indoor-only cords (16 gauge, light duty, no outdoor rating) work in a heated garage but are not appropriate for outdoor use even when stored in the garage. The outdoor cords have UV-resistant jacketing and higher gauge (14 or 12) for the longer runs typical of outdoor work. Mix the two only when the use case is clear.
How do I label cords so the label doesn’t fall off?
Three durable methods: heat-shrink tubing with the length printed/written on it before shrinking, hard plastic tags (the kind on luggage) zip-tied with the zip tie not over-tightened, or metal stamped tags. Paper labels and tape lose adhesion within 6 months in garage humidity.
Sources Reviewed
For this guide, we reviewed manufacturer documentation for extension cord storage products, electrical safety references for cord coiling and storage, and recurring patterns in public discussions about garage cord organization.