Common Garage Organization Mistakes to Avoid
Disclosure: This article contains affiliate links. If you buy through these links, we may earn a commission at no extra cost to you. We do not claim hands-on testing unless clearly stated.
Most garage organization fails happen before the first product is bought. The shelves are the wrong depth, the totes don’t fit, the label maker never gets used because every bin already looks the same. The fix is sequencing — measure first, plan layout second, buy storage third, label fourth. Below are seven mistakes in roughly the order they tend to happen, with what to do instead. For the broader plan, see our pillar guide on choosing a garage storage system.
Mistake 1: Buying storage before measuring
What it looks like: ordering a 48″-wide shelving unit on Tuesday, opening the box on Saturday, discovering the wall it was meant for is 44″ wide.
Why it’s a problem: returning oversized garage products is a hassle. Mismatched units sit in their boxes for months, gradually transitioning from “I’ll figure it out” to “I should have measured.”
What to do instead: measure wall length, available floor depth (account for door swing if cabinets are involved), ceiling height, and outlet positions before any purchase. Note any obstructions — breaker panels, garage door tracks, hose bibs. The whole exercise takes ten minutes and saves a return shipping label. For tight spaces specifically, our step-by-step guide to organizing a small garage walks through the layout-first approach.
Mistake 2: Storing things in cardboard boxes
What it looks like: eight cardboard boxes from old moves, half of them sagging, two of them with mouse-chewed corners.
Why it’s a problem: moisture wicks up from concrete floors and softens cardboard from below. Pests chew through it for nesting material. Boxes collapse under stacked load — and in a garage, everything ends up stacked eventually.
What to do instead: swap to lidded plastic totes with a standard footprint. Replace all boxes at once if budget allows; doing it gradually means you keep the cardboard around longer than you should.
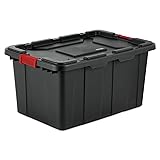
The Sterilite 27-gallon industrial totes (4-pack) are the standard footprint our shelving roundups are sized to fit. Latching lids, made in USA, stackable. Match them with shelves at least 20″ deep — see our best garage shelves for storage bins for verified-depth picks.
Mistake 3: Not labeling bins
What it looks like: ten identical opaque bins on a wire shelf, no contents written anywhere. You open the first three to find the holiday lights, then forget which two you’ve already opened.
Why it’s a problem: every search becomes a 15-minute open-and-close routine. Anyone besides you can’t find anything. Bins drift in purpose over years — what started as “kids’ summer toys” gradually becomes “miscellaneous”, which means functionally lost.
What to do instead: put a label on every bin, on the SHORT side so it stays readable when bins are stacked or pushed against a wall. Update labels when contents change.
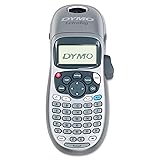
The DYMO LetraTag LT-100H is the long-running default handheld label maker. Battery-operated, plastic tape, ABC keyboard — nothing fancy, gets the job done. Buy one or two extra tape cassettes alongside; the per-cassette cost adds up over time.
Mistake 4: Using shelves too shallow for your bins
What it looks like: 27-gallon totes overhanging the front edge of an 18″-deep shelf by an inch or two, looking off-balance and feeling unstable.
Why it’s a problem: unstable stacking, ugly visual, often unsafe with heavy contents. The overhang also blocks access to lower shelves.
What to do instead: match shelf depth to your bin’s short dimension. A standard 27-gallon tote is roughly 20″ wide on the short side, so 24″-deep shelves are the safe pick. 18″ shelves work for smaller bins and boxed dry goods. See our verified-depth picks for 27-gallon totes for shelves we have confirmed will hold the standard tote flat.
Mistake 5: Putting weekly-use items on overhead racks
What it looks like: the lawnmower oil and the kids’ sports gear bag stowed on a 96″-high overhead platform.
Why it’s a problem: every retrieval requires a stepladder, and once retrieval is annoying enough, items slowly stop being used. Overhead is the most expensive storage real estate per minute of access — wasted on weekly items.
What to do instead: overhead is for archival storage only — holiday decorations, off-season tires, camping gear used once or twice a year. Anything you grab weekly belongs on wall shelves at chest height or on accessible hooks. See best overhead garage storage racks for ceiling-mount picks built for genuinely archival loads.
Mistake 6: Mixing categories on one shelf
What it looks like: paint cans next to camping gear next to a box of old electronics, with a leaking weed-killer container at the back that nobody’s noticed in two years.
Why it’s a problem: chemical fumes can affect adjacent items over time. Nothing has a logical “home” so reorganization becomes triggered every time a category grows. And mixing chemicals with sports gear is a child-safety problem if kids share the garage.
What to do instead: group by category — chemicals together, sports together, seasonal together. Keep paints, sharps, and pool chemicals in a lockable cabinet, not on open shelves. For the bigger decision between open shelving and closed cabinets, see our garage shelving vs garage cabinets comparison.
Mistake 7: Leaving the floor as primary storage
What it looks like: stacks of items on the concrete, walking paths reduced to 18 inches, the car squeezing in sideways.
Why it’s a problem: concrete floors transfer moisture into anything sitting on them. The car can’t enter (or scrapes against piles when it does). Tripping hazards multiply, especially in low-light. And once the floor is full, the wall space behind it stops being usable too.
What to do instead: wall and ceiling first, floor last. Aim for roughly 80% of garage storage on wall shelves, ceiling racks, or hooks; reserve floor for items too heavy or oddly shaped to lift safely (lawnmower, large tool chest, the bag of mulch you’ll use this weekend). Start with best wall-mounted garage storage systems for hooks, slatwall, and rails.
Tools and products that help
For the two mistakes that have a direct product fix:
- Labeling: a handheld label maker (the DYMO above) takes the bin-search problem off the table permanently. Costs about as much as one disorganized hour.
- Containers: the 27-gallon Sterilite totes above are sized to fit the shelves we recommend. Buying a 4-pack lets you replace the worst cardboard boxes immediately.
For the rest, the right product depends on your specific layout:
- Shelves to hold those totes: see best garage shelves for storage bins
- Wall-mounted hooks and rails: see best wall-mounted garage storage systems
- Overhead archival storage: see best overhead garage storage racks
Pick whatever fits your specific layout. Measure first.
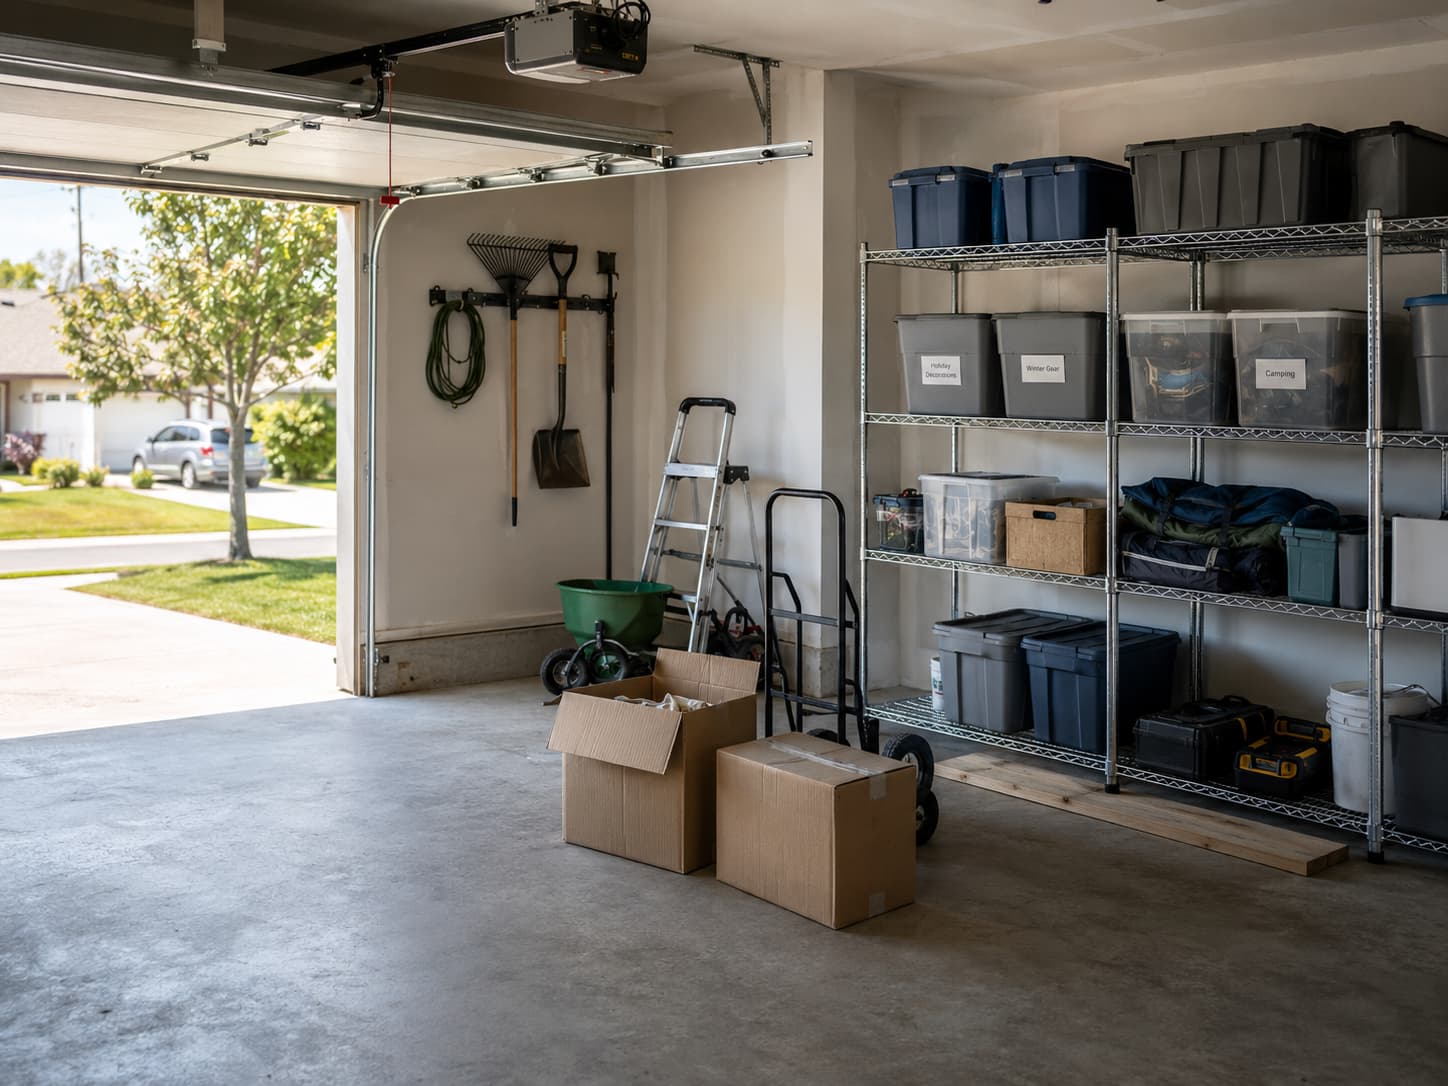
What a working garage looks like
A few attributes shared by garages that stay organized over time:
- Everything was measured before it was bought. Receipts confirm one return per project, not five.
- Cardboard boxes are gone or moving toward gone.
- Every bin has a label, on the short side, readable from the aisle.
- Weekly items are at chest height. Seasonal items are above 7 feet.
- The floor holds maybe 20% of total storage — the heaviest items, plus walking paths.
- One section of one wall is the workshop wall (or none — but it’s decided, not accidental).
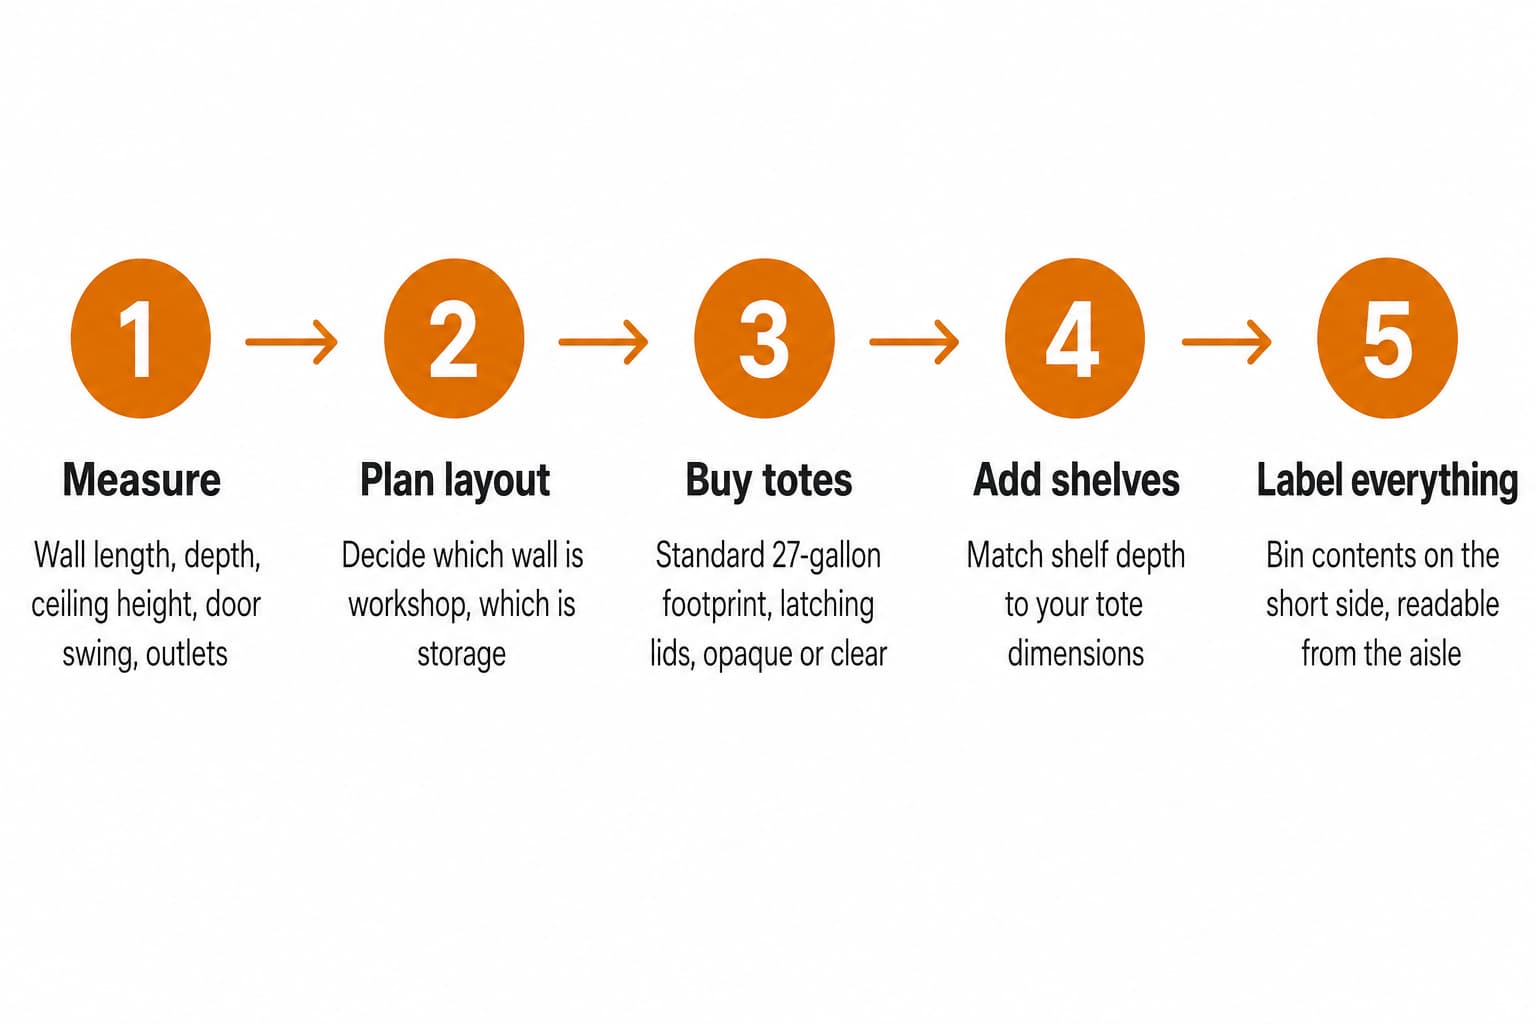
The flow above is the order most successful organizing projects follow. Most failures happen because steps are skipped — usually 1 or 2.
FAQ
How long should I plan before buying any storage?
A week or two of observation. Watch what you actually grab from the garage, where it lives now, and how often. The patterns become obvious. Then measure once, then buy.
Should I label every bin, or just the bins I forget?
Every bin. The “I’ll remember this one” exception is how the labeling system erodes — within a year, three or four bins are unlabeled and you’re back to opening them all.
Are clear plastic totes better than opaque ones?
Clear is easier to identify at a glance and reduces the labeling problem (slightly). Opaque is cheaper, stacks more uniformly, and hides visual clutter. For organized garages we lean opaque + good labels; for low-volume hobby storage, clear is fine.
How often should I reorganize the garage?
Once a year as a baseline audit, plus after any life change that adds storage demand (new baby, new hobby, kids leaving for college, etc.). Skipping a year is fine; skipping three usually means starting over.
Can I do this in one weekend?
Only if measuring and layout planning are already done. The physical part — bins, shelves, labels — is genuinely a weekend project. The decision part takes longer than people expect, which is why most weekend attempts fail or get half-finished.
Sources Reviewed
For this article we reviewed manufacturer pages and Amazon listings for the two products mentioned (Sterilite 14669004 industrial tote family and the DYMO LetraTag LT-100H), plus recurring patterns in homeowner discussions about garage organization sequencing and common project failures. We do not claim hands-on testing unless clearly stated.
Related Guides
- How to organize a small garage step by step
- How to choose a garage storage system
- Best garage shelves for storage bins and totes
- Best wall-mounted garage storage systems
- Best overhead garage storage racks
- Garage shelving vs garage cabinets