How to Organize a Garage: A Step-by-Step System
Disclosure: This article contains affiliate links. If you buy through these links, we may earn a commission at no extra cost to you. We do not claim hands-on testing unless clearly stated.
A cluttered garage rarely gets fixed by shuffling boxes from one wall to the other. It gets fixed by following the same order every organized garage was built in: clear it out, sort it, divide it into zones, then store what’s left in a system that fits the space.
This guide walks through that five-stage process — the version that applies to any garage, regardless of size, budget, or timeline — plus a quick way to jump to a guide matched to your specific situation.
What this guide does not cover: brand-specific product picks for each storage category (those live in the linked roundups below) and any electrical, structural, or HVAC work — for wiring, load-bearing walls, or ceiling joists, follow a licensed contractor’s guidance, not a blog post.
Quick Answer — The 5-Stage Process
If you remember one thing, remember the order:
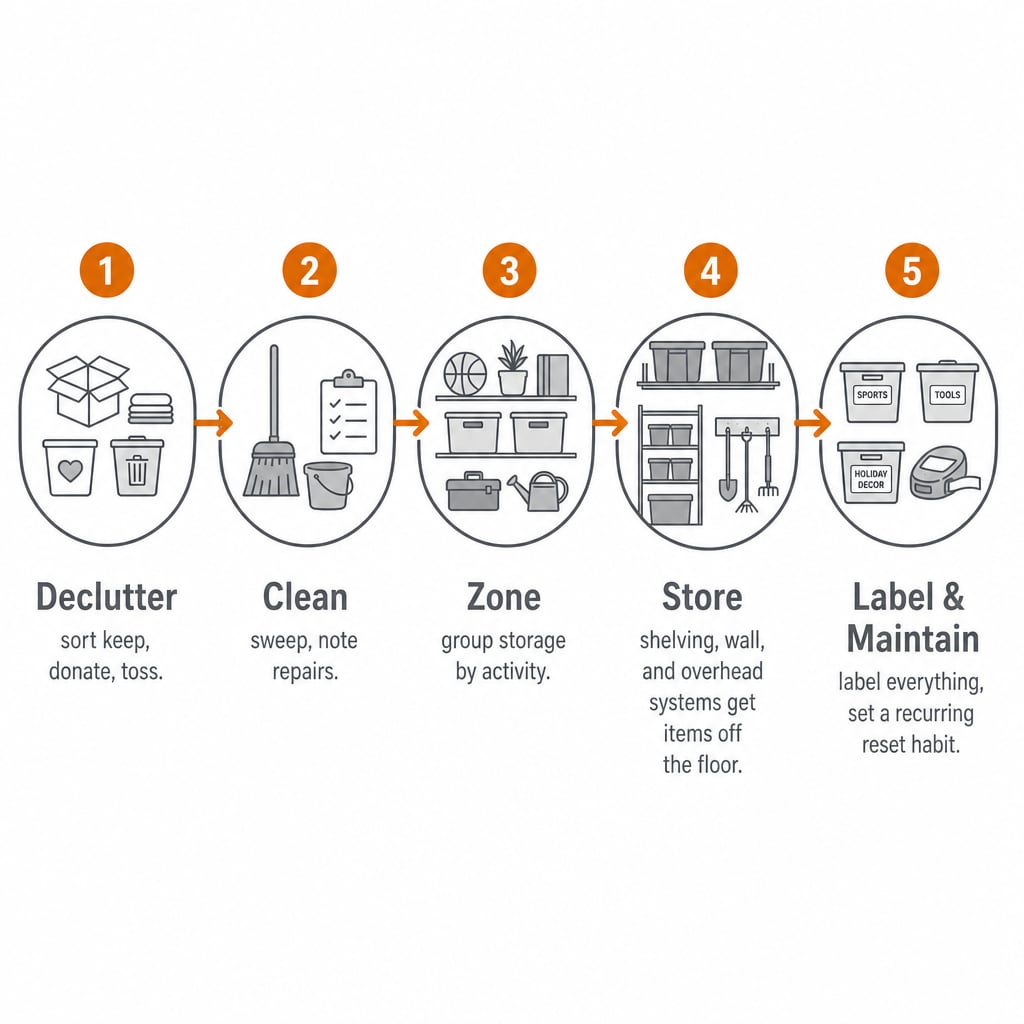
- Empty & declutter — take everything out (or work section by section) and decide what stays.
- Clean — sweep the space and note anything that needs repair before storage goes back in.
- Zone — group what’s staying by activity, not by whatever wall is closest.
- Store — get items off the floor using shelving, wall systems, or overhead racks suited to each zone.
- Label & maintain — label what you’ve stored and build in a recurring check so the system doesn’t slide back into clutter.
The rest of this guide walks through each stage in detail.
Which Garage-Organizing Guide Fits Your Situation?
The process above works for every garage, but if your situation has a sharper constraint, one of these guides covers it in more depth. Start here for the general framework; jump to one of these if it matches you more closely.
| Your situation | Best guide to follow next |
|---|---|
| Small or single-car garage | Organizing a small garage |
| Tight budget | Organizing a garage on a budget |
| Only have one weekend | Organizing a garage in one weekend |
| Garage feels too full to even start | Starting when your garage is already overwhelmed |
| Want to plan zones methodically before buying anything | Planning garage organization zones |
| Ready to pick an actual shelving, wall, or overhead system | Choosing a garage storage system |
Step-by-Step: How to Organize a Garage
Step 1: Take Everything Out (or Section by Section If You Can’t)
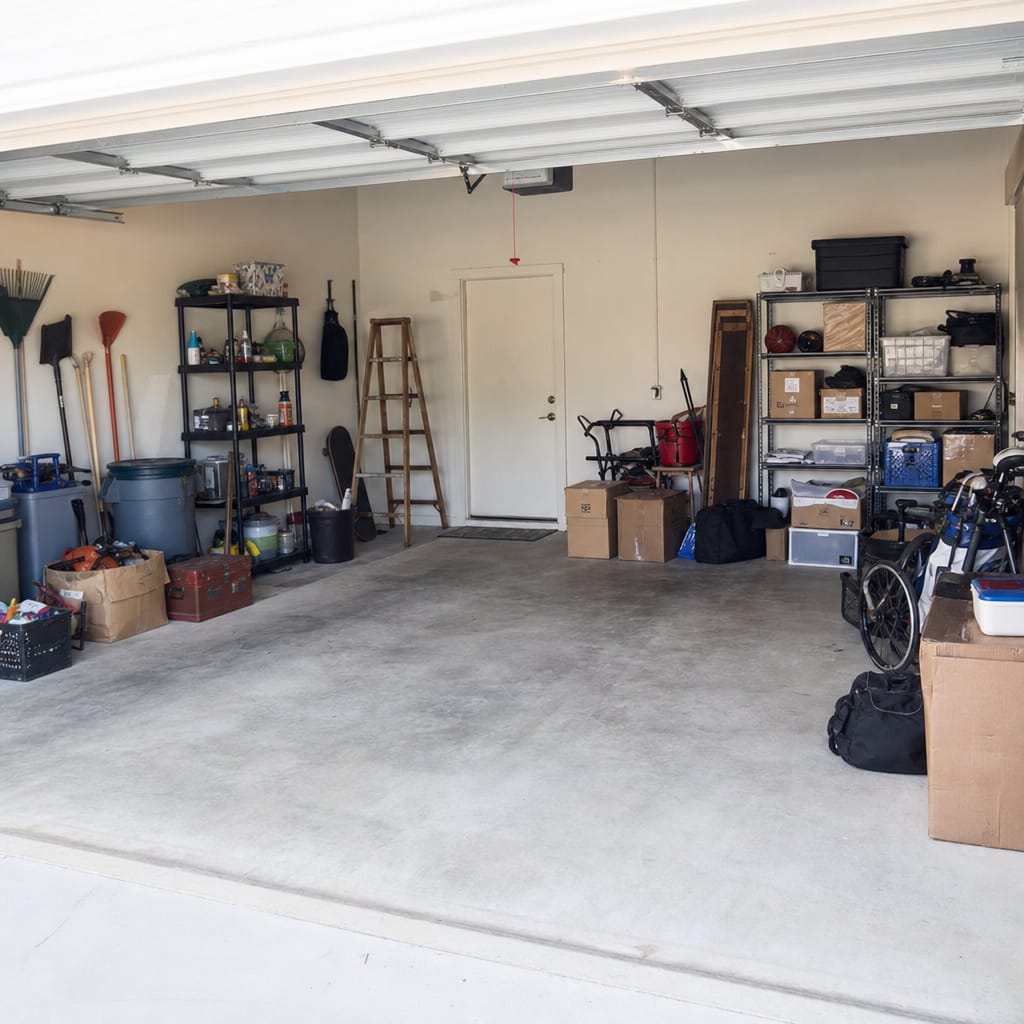
If your garage doesn’t need to stay drivable during the project, pull everything out onto the driveway or lawn. Seeing every item at once makes decluttering faster and more honest than sorting in place — it’s harder to keep something you forgot you owned once it’s sitting in daylight.
If the car has to stay parked inside, or the space is too large to clear at once, work section by section instead: one wall, then the next, then the floor.
Step 2: Declutter Before You Sort
Before anything goes back in, make a keep, donate, or toss decision on every item. Do this before you buy a single bin or shelf — buying storage first and decluttering later is one of the most common and expensive garage-organizing mistakes; see the most common garage organizing mistakes before you spend anything.
A simple rule: if you can’t remember the last time you used it and it isn’t seasonal or sentimental, it’s a candidate to go.
Step 3: Clean the Space
With the garage empty or mostly empty, sweep the floor and take a real look at the space. Note anything that needs repair — a cracked slab, a door that doesn’t seal, moisture staining, or signs of pests — before storage goes back on top of it. Treat this step as a checkpoint, not a repair walkthrough.
Step 4: Divide the Garage Into Zones
Group what’s staying by activity, not by which wall happens to be empty. A common split is tools, seasonal items, sports and recreation gear, yard and garden equipment, and vehicle-adjacent parking space. Zoning by activity means you’re not hunting across three corners for everything you need on a project.
If you want a full walkthrough of how to lay zones out for your specific footprint, see our guide to planning garage organization zones.
Step 5: Measure Before You Buy Anything
This is the step most garages skip, and it’s the one that causes the most wasted money. Before buying any shelving, wall system, or overhead rack, measure:
- Ceiling height and clearance for anything overhead — including the garage door’s swing radius.
- Stud spacing for anything wall-mounted, since most heavy-duty wall systems anchor into studs rather than drywall alone.
- Remaining floor footprint once the car is parked, if the garage stays drivable.
- Door swing clearance for the garage door and any side or interior doors.
Manufacturer-listed capacity for any shelving, wall, or overhead system assumes correct assembly, level flooring, suitable mounting hardware, and proper weight distribution — real-world performance can vary, so always follow the manufacturer’s installation instructions rather than assuming a listed number applies regardless of how the product is installed.
Step 6: Get Things Off the Floor
Once zones are set and measurements are in hand, the floor should end up mostly empty. Different zones call for different storage:
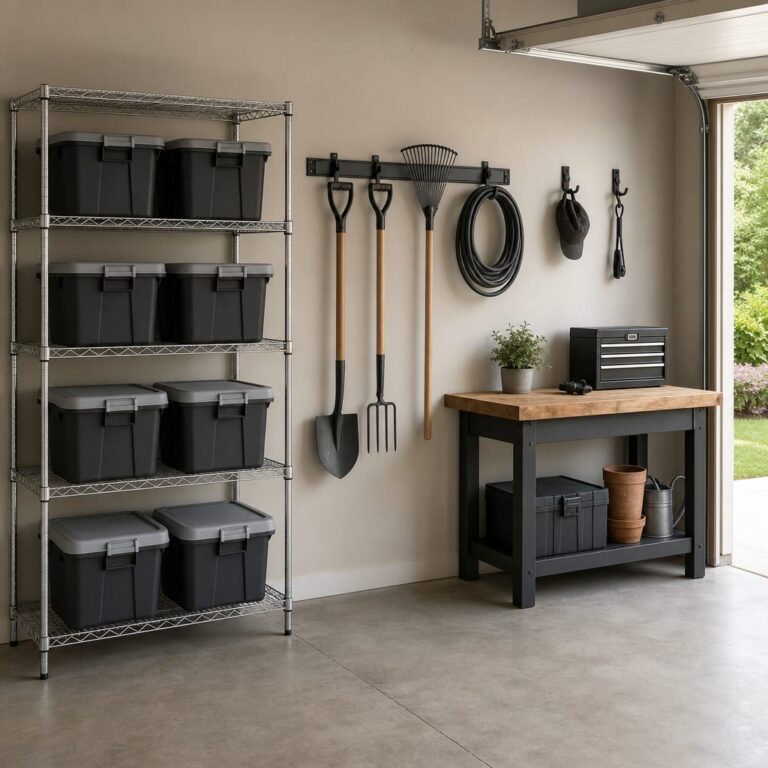
- Bins and totes for a “store” zone go on shelving built for storage totes instead of the floor.
- Tools and long-handled items (rakes, brooms, ladders) usually work best on wall-mounted storage systems instead of a corner.
- Seasonal or rarely-used gear is a good candidate for overhead storage racks, out of the way without taking up wall or floor space.
None of these are universal-fit purchases — measure your space and items before buying, per Step 5.
Step 7: Label and Set a Maintenance Habit
A zoning system only survives if everyone in the household can tell what goes where without opening every bin. Labeling is what makes the system stick past the first month. Beyond labeling, build in a short recurring reset — even fifteen minutes each season — instead of a one-time overhaul.
A couple of specific products can help with the labeling and floor-clearing parts of this step.
Tools and Products That Help
For labeling bins and shelves, a simple handheld label maker does the job — no need for anything elaborate. The Brother P-touch PT-H110 is a compact, portable option that covers the basic need of putting a readable label on a bin lid or shelf edge.
For a straightforward off-the-floor bin option if you don’t already own totes, the Sterilite 27-Gallon Industrial Tote, 4-Pack is a common size used across garage storage systems. Its outside width runs wider than the nominal capacity number suggests, so measure your shelf depth against the tote’s actual outside dimensions — a shallower shelf will leave it overhanging the front edge.
If your main source of clutter is tools specifically, our guide to garage tool organizers covers that category in more depth.
Pick whatever fits your layout and budget, and measure first — the right capacity on paper means nothing if the dimensions don’t fit your space.
Common Mistakes
- Buying storage before decluttering or measuring. This is the most expensive mistake in garage organizing: a shelving unit or bin set bought by guess, before decluttering and measuring the zone it needs to fit, often turns out wrong in depth, height, or capacity once it’s home. Do Step 2 and Step 5 first.
- Zoning by “whatever’s already near that wall” instead of by activity. This feels faster in the moment but usually means re-sorting the whole garage again within six months.
- Skipping the maintenance habit. A single big weekend overhaul without a recurring reset tends to revert to clutter within a season. If you’re time-limited, a weekend-scoped organizing plan builds the reset habit in from the start; if clutter has already returned, start here instead.
A Simple Before-You-Buy Layout Example
Here’s how the five-stage process might play out in a hypothetical one-car garage.
After decluttering, the household ends up with four rough zones: a tools wall, seasonal gear stored overhead, a sports and bike corner near the door, and everyday bins on shelving along the back wall.
None of these placements are fixed rules — they depend on your garage’s shape, door locations, and what you’re storing. For a full walkthrough of laying out zones for your own footprint, see our guide to planning garage organization zones.
FAQ
Where do I start if my garage is completely full?
Start with decluttering, not storage. If the garage feels too overwhelming to tackle with the general process above, this guide for starting from an already-cluttered garage breaks the first steps down further.
Do I need to buy shelving before I organize?
No. Declutter and zone first, per Steps 2 and 4 above — measuring comes before buying, per Step 5. Buying storage first is one of the most common mistakes covered above.
How long does organizing a garage actually take?
It depends on the clutter level and the size of the garage. If you’re working with a single day or weekend, this weekend-scoped plan lays out a realistic scope for that timeframe.
What’s the cheapest way to organize a garage?
Decluttering costs nothing and should come first regardless of budget. For a full budget-first approach to the storage side, see our guide to organizing a garage on a budget.
How do I organize a garage I also park a car in?
Zone around the car’s parked footprint first, then fit storage into what’s left. Our guide to organizing a small or single-car garage covers this case specifically.
Do I need to anchor shelving or wall systems to the studs?
Hardware requirements vary by manufacturer and system, so there’s no single universal answer. Always follow the manufacturer’s installation instructions for the specific product rather than assuming one system’s requirements apply to another.
Sources Reviewed
- Brother product page for the P-touch PT-H110 label maker (specifications and dimensions)
- Sterilite product page for the 27-Gallon Industrial Tote, 4-Pack (dimensions and capacity)
- Manufacturer installation guidance referenced generally for wall-mounted and overhead storage anchoring requirements (Step 5, FAQ)
Related Guides
- Organizing a small or single-car garage
- Organizing a garage on a tight budget
- A weekend-scoped garage organizing plan
- Starting from an extremely cluttered garage
- Planning garage organization zones in depth
- Choosing an actual garage storage system