How to Install a Pegboard in Your Garage (Step-by-Step)
Last updated:
Disclosure: This article contains affiliate links. If you buy through these links, we may earn a commission at no extra cost to you. We do not claim hands-on testing unless clearly stated.
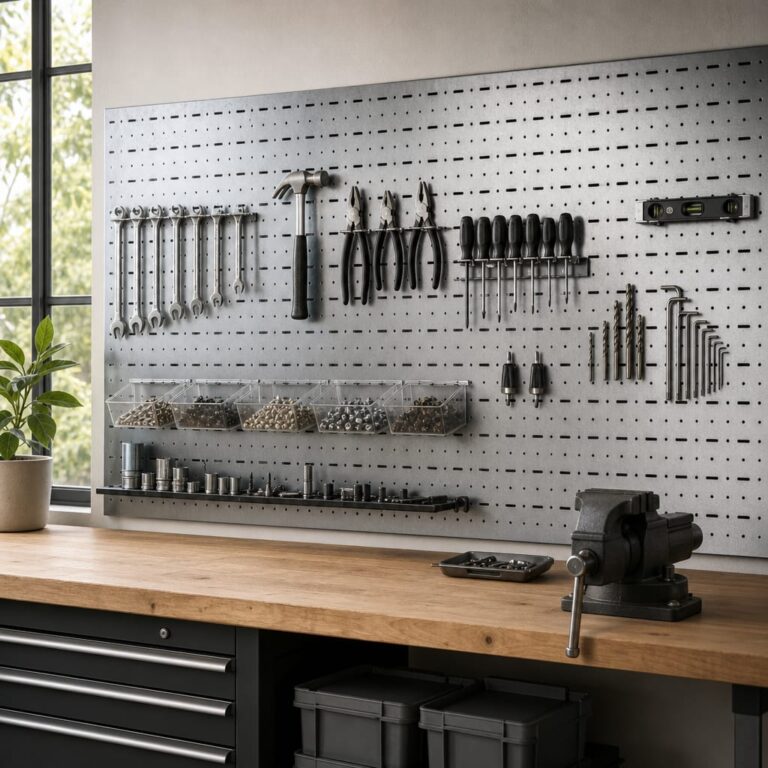
Pegboard is the highest-value-per-dollar wall storage upgrade in a residential garage — and also the easiest one to install poorly. Most “how to install pegboard” guides jump straight to “screw the panel to the wall”, which is roughly step five of a seven-step process. This guide puts the pre-buy decisions first, then walks the install in the order that minimizes mistakes.
This article covers three pre-install decisions, a shopping list, a 7-step install in one afternoon, and the four mistakes first-timers make. It does not cover workbench design or industrial-scale tool walls — this is a residential garage install. For a broader look at wall storage options, see our best garage wall storage systems guide.
Before You Buy — Three Decisions
Decision 1 — Metal or Polypropylene
Two real residential-garage materials, plus one to avoid:
- Metal (Wall Control and similar). Strongest, holds the heaviest tools, lifetime durability. The manufacturer states their steel pegboard is over 10 times stronger than conventional pegboard. Costs more per square foot.
- Polypropylene (Triton DuraBoard). Lighter, easier to install, lower cost. Manufacturer states roughly 4× the holding strength of conventional pegboard, plus weather and impact resistance.
- Hardboard / MDF pegboard. Avoid in a garage. It absorbs humidity, bows over a season, and the holes ovalize under hook load.
If you’re storing mostly hand tools and a couple of light power tools, polypropylene is plenty. If you’re hanging a cordless drill set, a circular saw, and clamps, the metal pegboard pays off.
Decision 2 — Hole pattern
Stick with 1/4″ holes on 1″ centers. That’s the industry standard, and every pegboard hook you’ll find at a hardware store fits it. Some inexpensive pegboards use 1/8″ holes — those accept fewer accessory types and rate lower per-hook capacity. Skip them.
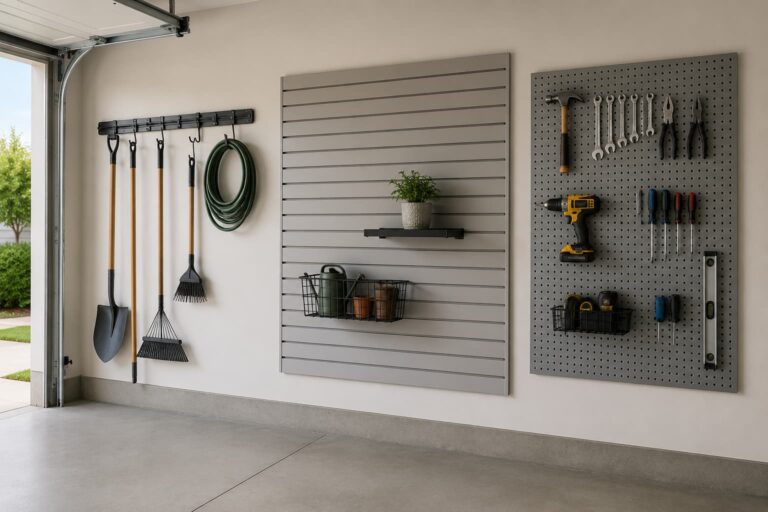
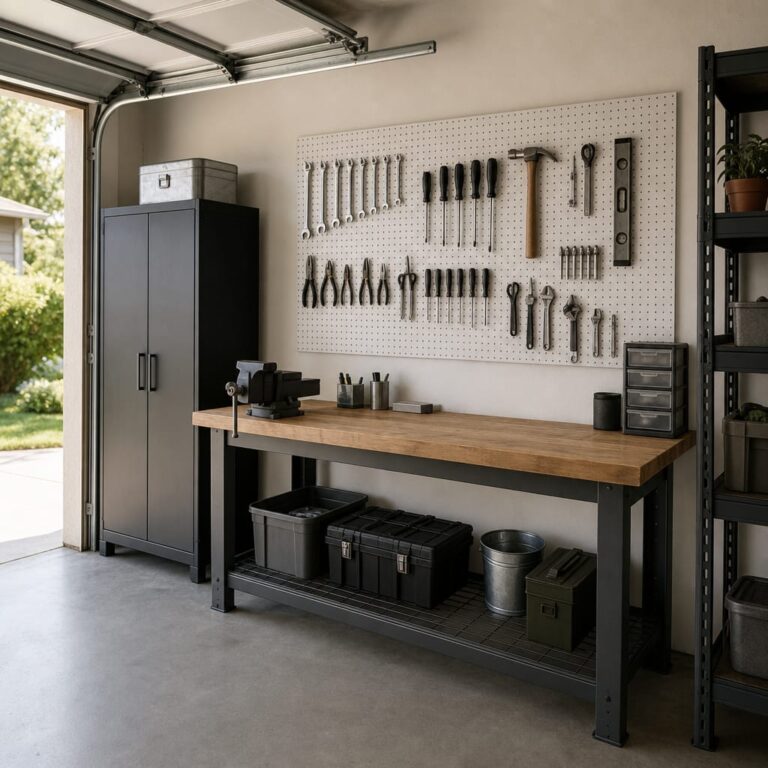
Decision 3 — Wall area and panel layout
Measure your wall length and the height between the baseboard (if any) and the lowest obstruction — a window header, a joist, the garage door track. Standard pegboard panel widths are 16″, 24″, 32″, and 48″. Lay panels out on paper before buying. The reachable storage zone for most adults runs from roughly 36 inches to 78 inches off the floor; pegboard outside that range is wasted real estate.
What You’ll Need
Take this list to the hardware store. Skipping any item is a return trip.
- Pegboard panels (a metal kit or a poly sheet set)
- Spacer kit (REQUIRED for poly pegboard; metal kits often include built-in standoffs)
- Wall anchors or wood screws rated for your wall type
- Stud finder
- Level (a 4-foot level makes layout much easier)
- Drill with appropriate bits (masonry bit if you’re mounting on block)
- Pencil, measuring tape, painter’s tape
- Safety glasses
- A helper (recommended, not required)
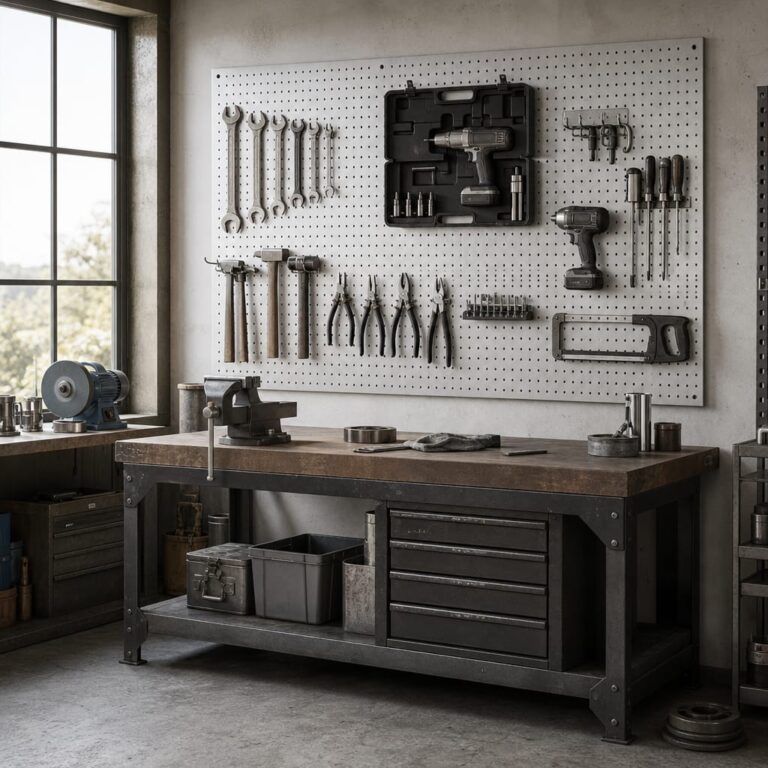
Step-by-Step Install (One Afternoon)
Step 1 — Locate studs and mark them
Run a stud finder across the full wall length. Mark each stud’s centerline with a vertical strip of painter’s tape from floor to ceiling. Most residential garage walls are 16″ on-center wood stud over drywall; some are 24″ on-center; older or commercial builds may be metal stud. Your stud finder tells you which. The mounting points on your panel need to align with at least two studs — if they don’t, you’ll be relying on drywall anchors, which is the second-best path.
Step 2 — Mark the panel outline on the wall
With a 4-foot level, mark the four corners and the centerline of where your pegboard will go. Painter’s tape is the safest way — it doesn’t leave pencil marks if you change your mind, and it’s visible from across the garage when you step back to confirm.
Step 3 — Drill mounting holes
For polypropylene pegboard, the panel has pre-drilled mounting holes near the four corners. Mark those positions on the wall, then pre-drill pilot holes — through studs where you can hit them, through drywall anchors only where you cannot.
For metal Wall Control panels, follow the included mounting template. The panels use slot mounts that engage with screws driven into the wall in a specific pattern. The kit’s instructions are precise here; this is one place where reading the instruction sheet beats winging it.
Step 4 — Install spacers (poly pegboard only)
This is the most-skipped step in pegboard installs, and the cause of most “my hooks won’t engage” complaints.
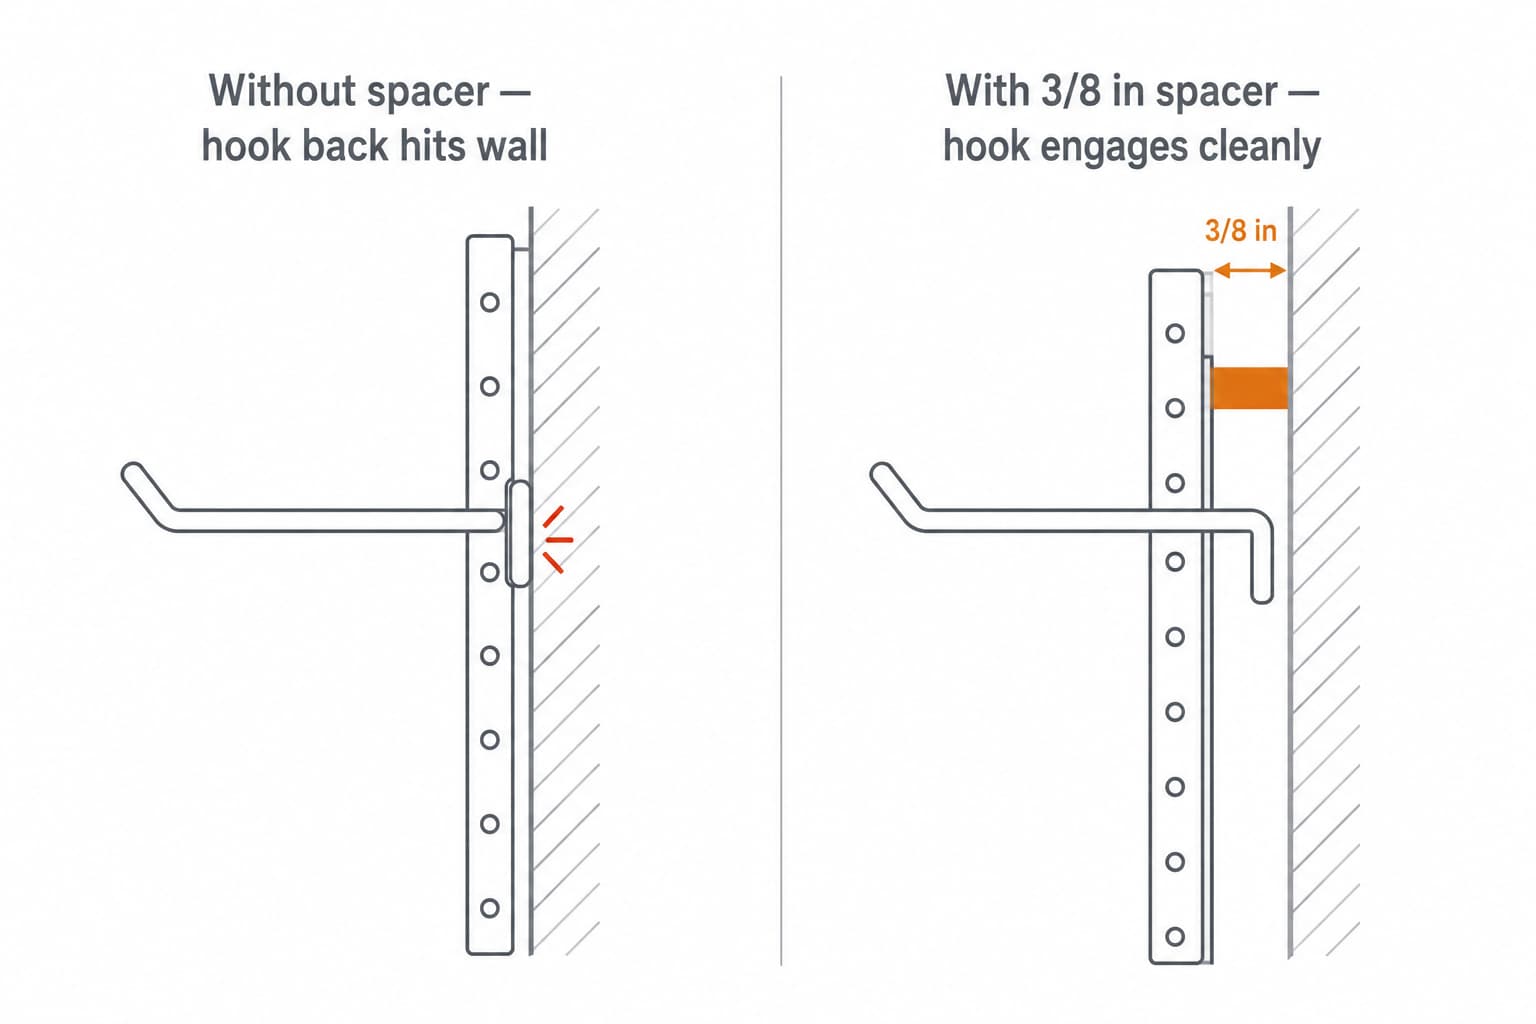
Pegboard hooks have an L-shaped back that loops behind the panel. If the panel is mounted flush against the wall, there is no gap for the hook back to engage — it pushes against the wall instead of locking. Spacers hold the panel about 3/8 inch off the wall, which is the gap a standard pegboard hook needs. The Triton spacer kit (sold separately) provides this; metal Wall Control panels skip this step because they have built-in standoffs on the back of each panel.
Step 5 — Mount the panel
With a helper, lift the panel to the marked outline. Drive screws through the panel into the studs (or drywall anchors where studs aren’t available). For polypropylene, snug the screws — do not over-tighten, because polypropylene cracks at the corners under torque.
Step back at this point and verify the panel is level. Once you’ve driven all the screws, adjustment becomes a much bigger project.
Step 6 — Insert hooks and load a few representative tools
Start with the heaviest tools you intend to hang. They tell you whether the install is solid. Hooks should engage cleanly and hold without slipping. A noticeable wobble at this stage means the spacer is off, the mounting is loose, or you’re past the per-hook capacity.
Step 7 — Photograph the layout
Photograph the final layout. Future-you, looking for the wood-screw box, will appreciate the reference. For labeling adjacent bins, see our bin labeling guide.
Tools and Products That Help
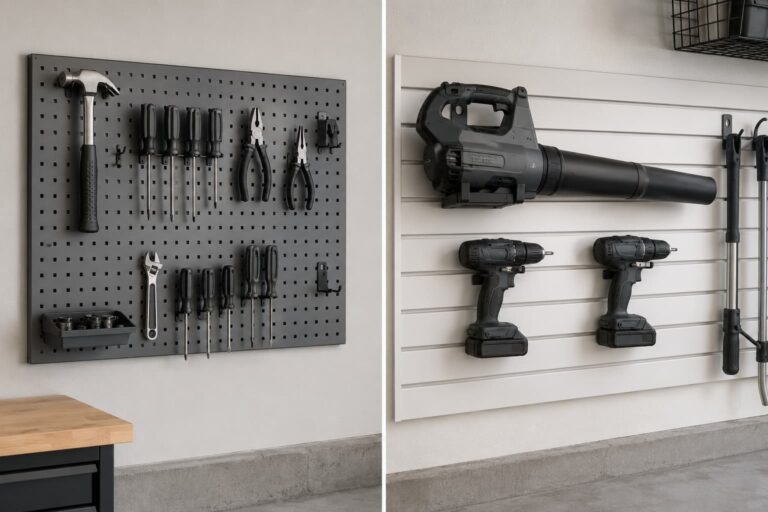
The pegboard decision is between metal (premium, includes hooks) and poly (budget, sheet-only). Both work; the right one depends on your tool load.
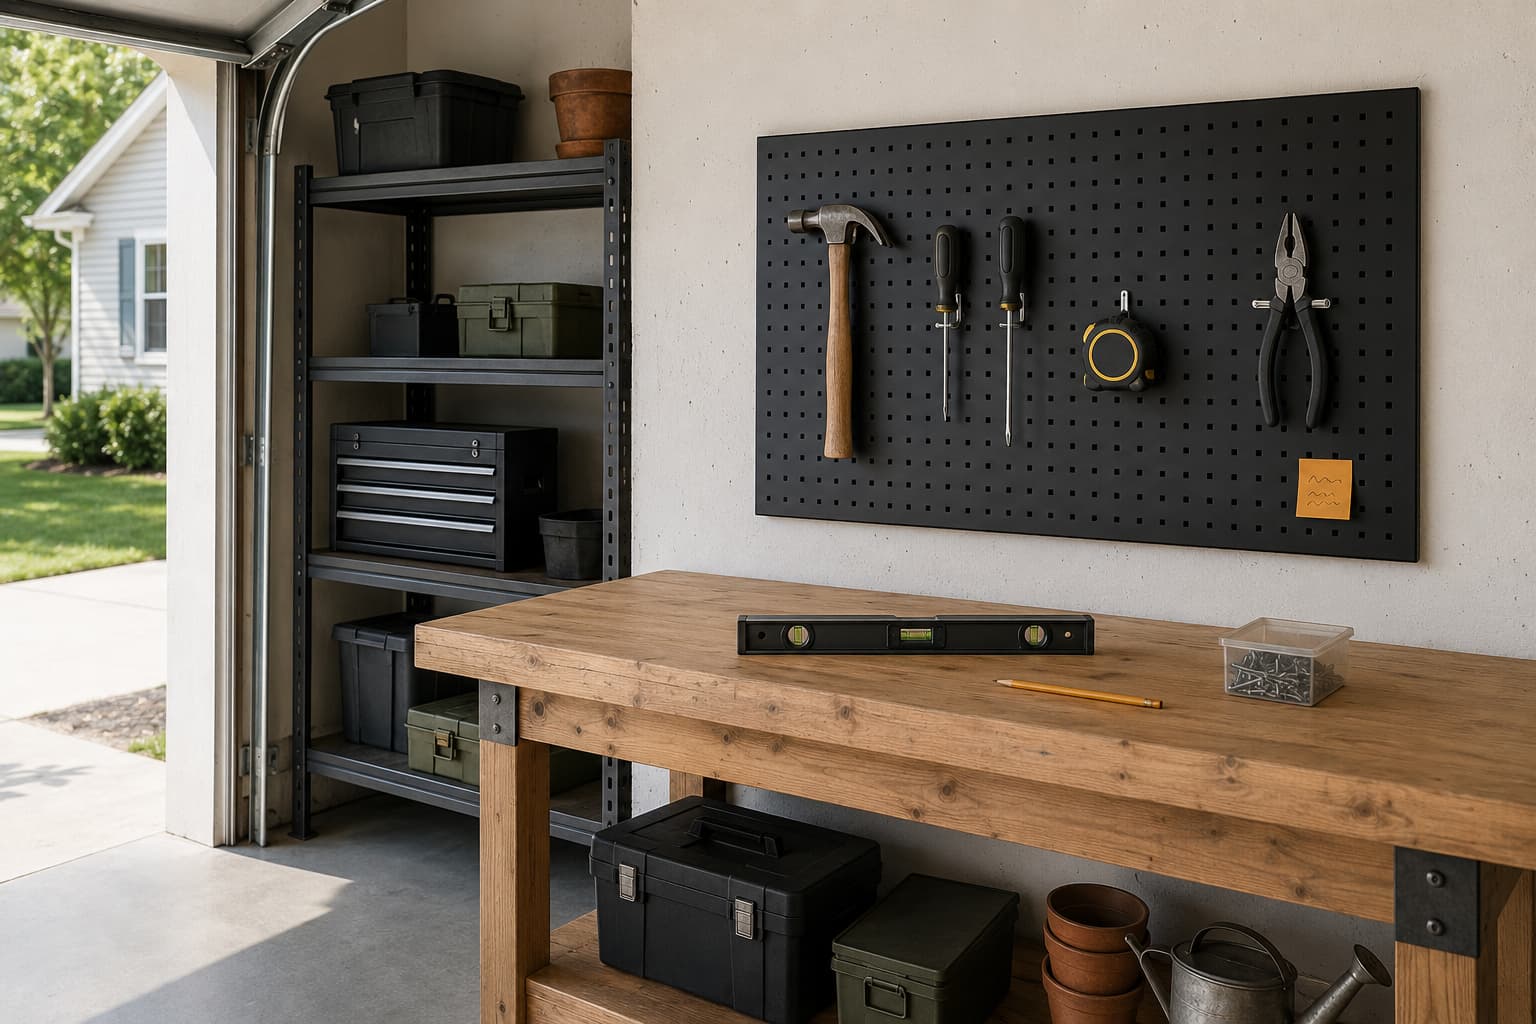
Metal pegboard kit — The Wall Control 4 ft kit (black panel + black accessories) is the canonical premium starter for a garage workbench area. The kit includes the panel, a starter assortment of hooks and brackets, and mounting hardware in one box — which simplifies a first install considerably. The manufacturer states the steel construction is over 10× stronger than conventional pegboard and carries a lifetime guarantee.
No products found.
Polypropylene pegboard sheets — The Triton DuraBoard 4-pack covers a full 32 square feet — enough for a typical full-wall garage install. Panels are 24″ × 48″ white poly with the standard 1/4″ hole pattern. The manufacturer states roughly four times the holding strength of conventional pegboard and good resistance to humidity and temperature swings — both relevant in an unconditioned garage.

A reminder on the Triton path: the spacer kit is sold separately and is required. Don’t skip it. For a broader wall storage comparison, see our wall storage systems guide. For a small-garage layout context, see our one-car garage maximization guide.
Common Mistakes
Mistake 1: Skipping the spacer on poly pegboard
The single biggest first-time-installer mistake. The hooks won’t engage if the panel is flush against the wall. Buy the spacer kit upfront; you can’t bolt it on after the panels are already mounted without redoing the install.
Mistake 2: Mounting only into drywall
Drywall anchors fatigue over time, especially under cycling loads (a hammer pulled off the wall and put back daily). Use studs whenever possible; reserve drywall anchors for the corners where studs are unavailable. For garages with concrete or block walls, masonry anchors are the right call.
Mistake 3: Installing pegboard too high
Reachable storage runs roughly from 36 inches to 78 inches off the floor for most adults. Pegboard mounted above that range is decorative; pegboard mounted below it competes with workbench space. Plan the vertical position before drilling.
Mistake 4: Overloading hooks beyond manufacturer-rated capacity
Most 1/4″ pegboard hooks are manufacturer-rated for 5–10 lb per hook depending on design. Hand tools, fine. Most cordless tools, fine. A heavy power tool plus its case, not really. Use multiple hooks for heavier items, or step up to wall-mounted shelving for the heaviest tools.
For readers who can’t drill (renters), pegboard is usually not the answer — see our renter checklist for the no-drill path.
FAQ
How heavy can pegboard hold?
It depends on both pegboard material AND per-hook rating. Metal kits state higher per-hook ratings than poly, but both suit residential tool storage. Per-hook capacity is the binding limit — match tools to the rated hook.
Can I install pegboard on concrete or block walls?
Yes, with masonry anchors (Tap-Cons or similar) and a hammer drill. The layout principles are the same — mark, level, drill pilot holes. Block walls add a small consideration: hit the solid web, not the void, when drilling.
Do I really need the spacer kit for poly pegboard?
Yes. The pegboard must stand off the wall about 3/8 inch for the hook backs to engage. Metal Wall Control panels skip this step because they have built-in standoffs on the panel back; poly pegboard does not.
How big a panel do I need?
Measure your wall, then plan for about 25% more pegboard surface than your tools fill today. You will always acquire more tools, and unused pegboard real estate is the cheapest space you’ll buy in this project.
Can I mount pegboard horizontally instead of vertically?
Yes. Wall Control sells horizontal panels (16″ × 32″) that mount with the long axis parallel to the floor. The install steps are the same — locate studs, level, mount.
Sources Reviewed
This article synthesizes manufacturer product pages (Wall Control 4 ft metal pegboard kit, Triton Products DuraBoard polypropylene pegboard, Triton spacer kit), public DIY pegboard install discussions, and GSG editorial. We do not claim hands-on testing unless clearly stated.
Related Guides
- Best Garage Wall Storage Systems — slatwall vs pegboard vs other wall options
- Best Garage Shelves for Storage Bins — pair pegboard with shelving for full-wall coverage
- How to Maximize Storage in a One-Car Garage — broader small-garage strategy
- Garage Organization Checklist for Renters — no-drill alternative if you can’t install pegboard
- How to Label Garage Storage Bins — labeling for bins on the workbench next to your pegboard