Garage Organization Checklist for Renters (No-Drill, Move-Safe)
Last updated:
Disclosure: This article contains affiliate links. If you buy through these links, we may earn a commission at no extra cost to you. We do not claim hands-on testing unless clearly stated.
A garage that came with the apartment is a windfall — until you realize every “organize your garage” article tells you to drill into studs you don’t own. Two questions decide almost everything about organizing it anyway: what you’re actually allowed to install, and how much weight each no-drill option is rated to hold. This checklist answers the first with a lease-aware move-in plan, and the second with a sourced comparison of what adhesive strips, a tension pole, freestanding shelving, an over-the-door hook, and a magnetic hook are each rated for.
The article does not cover lease negotiation, paint or floor refinishing (talk to your landlord), or built-in customizations. For a broader small-garage approach that applies whether you own or rent, see our one-car garage maximization guide.
Before You Sign the Lease
A 10-minute pre-lease audit prevents most renter regrets. Run this checklist during the walkthrough or before signing.
- Confirm what’s actually shared. Some apartment garages share rafter space with neighboring units. The “ceiling” you can’t see may belong to someone else’s electrical run.
- Photograph the walls, ceiling, and floor. Wide-angle shots from each corner. This is your move-out comparison set.
- Ask the landlord — in writing — about wall drilling. Email or text. A verbal yes does not survive a deposit dispute.
- Read the deposit clause. Some leases name specific amounts tied to “wall damage” or “anchors”. Know the number before you drill anything.
- Note the door track height and ceiling type. Drywall, exposed joists, or finished — each implies different hardware (or none).
First Weekend In (Settling-In Checklist)
Once you’ve moved in, work through these in order. The order matters: bins before hooks, hooks before any drilling decision.
- Inventory what’s actually going in the garage. Not items you might bring out later — only what’s in there today. The list shapes everything that comes next.
- Sort by access frequency. Daily / weekly / seasonal. Daily items want hooks, weekly items want shelves, seasonal items want lidded bins (often on the top shelf).
- Buy lidded bins for anything seasonal. Gasket-sealed if you can find them — see our storage bins guide for what survives a hot garage. Stick to standard 27-gallon and 18-gallon shapes; oddly-shaped specialty bins fit one specific space and then ride in your trunk for two years when you move.
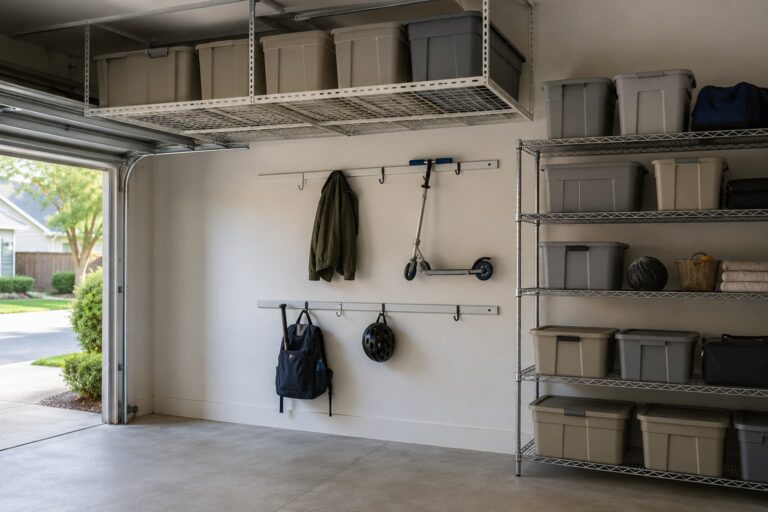
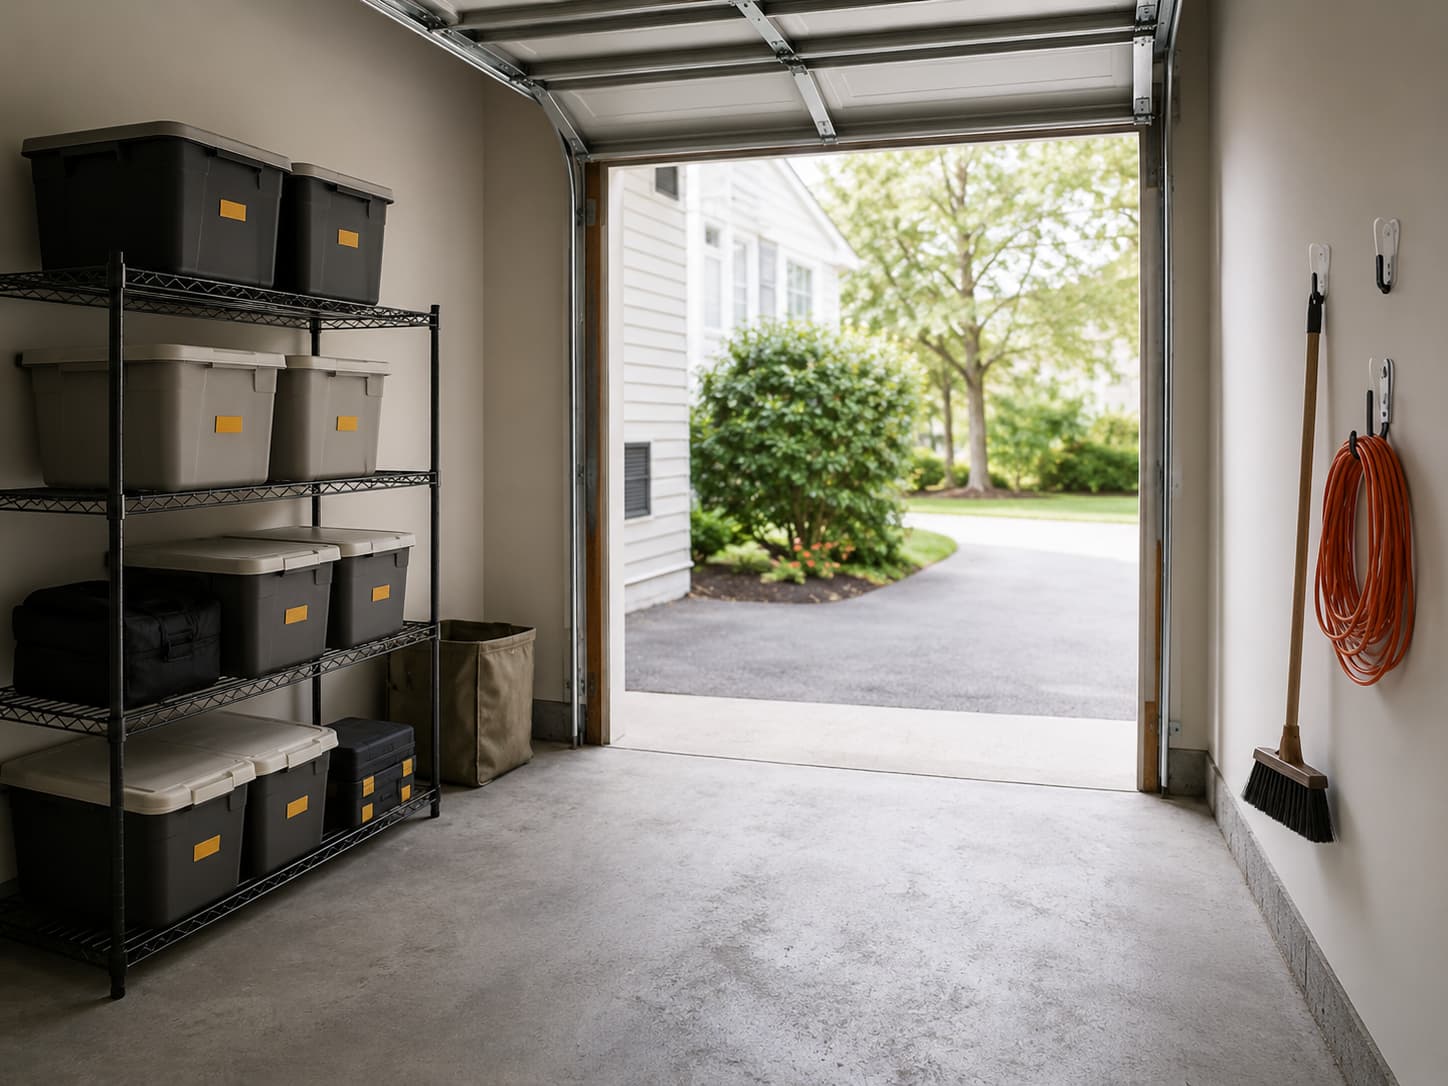
- Install damage-free hooks for daily items. Brooms, coiled extension cords, hats, a single bag — see the table below for exactly how much an outdoor-rated adhesive hook is rated to hold.
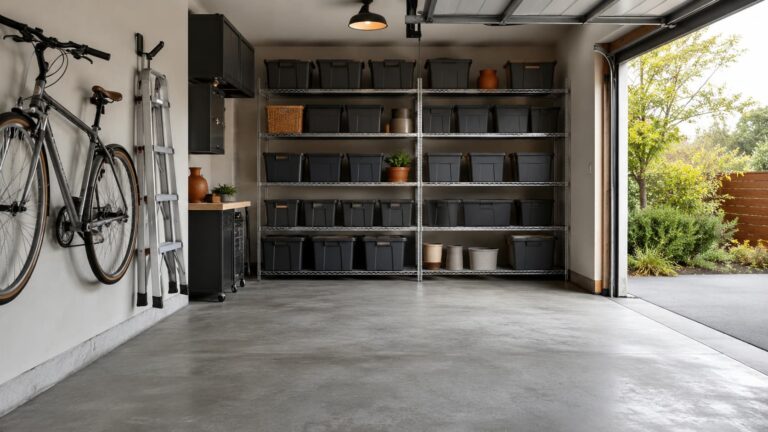
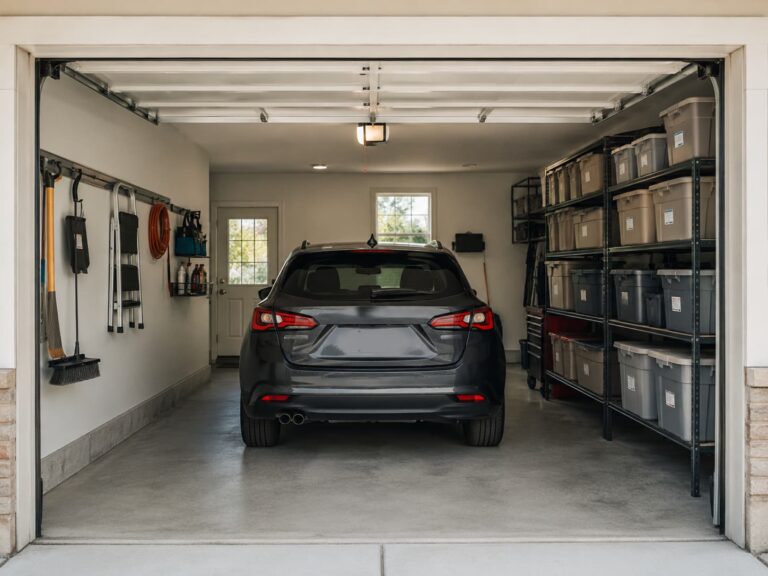
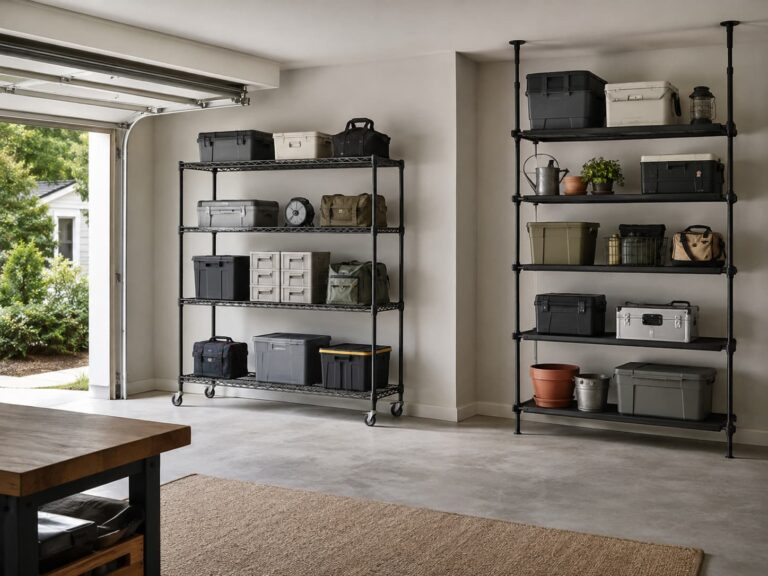
- Set up freestanding shelving along the longest wall. Wire shelves, 30+ inches wide for stability, see our shelves for storage bins guide.
- Label the bins. Renters move every 12–24 months on average; labeling saves real time when you do. See our bin labeling guide.
That’s it for the “no permission needed” path. “No drilling” is not one rule, though — it’s five different mounting methods, each rated by its own manufacturer against its own surface, in units that don’t compare directly. An adhesive strip’s 5 lb and a magnetic hook’s 45 lb aren’t the same kind of hold, and a hardware-store aisle won’t tell you that.
What each no-drill mounting method actually holds
Every renter-friendly, no-drill mounting method publishes a load rating from a different kind of test, on a different kind of surface, and none of the five state their numbers the same way. This table puts the manufacturer’s own rated load and the surface it applies to side by side for the five methods that come up in an apartment garage — adhesive strips, magnetic hooks, over-the-door hooks, a tension pole, and freestanding shelving — so a renter can compare an adhesive hook’s 5 lb against a magnetic hook’s 45 lb against freestanding shelving’s 800 lb per shelf without assuming any of them mean the same thing.
| No-drill mounting method | Manufacturer-rated load | Surface it works on | Source | Source checked |
|---|---|---|---|---|
| Adhesive strip hook (Command Outdoor Large) | 5 lb per hook | Clean, smooth, primed surfaces only — painted drywall, wood trim, tile, glass, finished metal. The outdoor-rated strips are listed for a −20°F to 125°F range, which covers an unconditioned garage; indoor-only Command strips are not rated for that swing. | Command Outdoor Large Metallic Bronze Hook, Staples product page | 2026-09-22 |
| Tension pole (floor-to-ceiling gravity pole) | 60 lb total (30 lb per bike arm) | No wall or ceiling fastening — the pole wedges under tension between floor and ceiling. Depends on ceiling height and a solid, hard floor and ceiling surface at both ends; not a fit for every garage. | Delta Cycle Two Bike Gravity Pole Stand, manufacturer product page | 2026-09-22 |
| Freestanding shelving (steel wire, on leveling feet) | 800 lb per shelf | Any level, hard floor — no wall or ceiling attachment at all. The manufacturer’s figure applies on the leveling feet; the same unit’s optional caster/wheel configuration is not separately rated on this page. | Seville Classics UltraDurable 5-Tier NSF Steel Wire Shelving, manufacturer product page | 2026-09-22 |
| Over-the-door hook (hangs on the door edge) | 4.4 lb per hook | Fits doors up to 1.375 in thick for this model. Over-the-door brackets are sized to a specific door-thickness range and do not fit every door — measure your door before buying. | Yamazaki Home Tower Over-the-Door Hook, manufacturer product page | 2026-09-22 |
| Magnetic hook (no adhesive, no drilling) | 45 lb shear holding power | Ferrous steel only, tested on 16-gauge galvanized steel — the gauge used in garages, sheds, and many steel garage doors. Does not work on drywall, wood, aluminum, or any other non-magnetic surface. | Gator Magnetics 4.5" MEGA Closed Magnetic Hook, manufacturer product page | 2026-09-22 |
How these numbers were produced: Every rated load is quoted from the method’s own manufacturer or retailer product page, on the date shown per row. Ratings are not converted between units or normalized to a common test method — a 5 lb adhesive-strip rating and a 45 lb magnetic-hook shear rating are not measuring the same kind of hold, and this table does not pretend otherwise. Each row states the manufacturer’s own load figure exactly as published, and the surface column states the material or condition it was tested against or is stated to require. Where a page did not state a figure, the cell would be left blank rather than estimated — on this table, a source was found for all five methods.
- These five ratings are not interchangeable. A magnetic hook’s 45 lb is shear holding power tested on 16-gauge galvanized steel; an adhesive strip’s 5 lb is the outdoor-rated Command hook’s own listed hold on a clean, primed surface; freestanding shelving’s 800 lb per shelf assumes the unit sits on its leveling feet, not its optional wheels, on a level floor. Match the method to your actual surface before comparing numbers across rows.
- A load rating only holds on the surface the manufacturer tested against. A magnetic hook on a painted steel door with heavy paint buildup, or an adhesive strip on a cold, textured, or unprimed wall, will hold less than the published number — and magnets do not work at all on drywall, wood, aluminum, or any non-ferrous surface.
- Door thickness (over-the-door hooks) and ceiling height (tension poles) both vary by product line and by your own door or garage. The figures in this table describe the specific model cited, not the category as a whole — measure your own door or ceiling before buying either type.
- Manufacturer-listed capacity assumes correct assembly, a level floor or a properly seated pole, and proper weight distribution. Real-world performance can vary; none of these figures are a guarantee.
- A blank cell would mean the manufacturer does not publish that figure for the method — we do not fill gaps with estimated numbers. No cell in this table is blank because a source was found for all five rows.
Download the data (CSV) · last updated 2026-09-22 · version 1.0 · CC BY 4.0, attribution to Garage Space Guide.
Manufacturer-listed capacity assumes correct assembly, level flooring, suitable mounting hardware where required, and proper weight distribution. Real-world performance can vary. Always follow the manufacturer’s installation instructions.
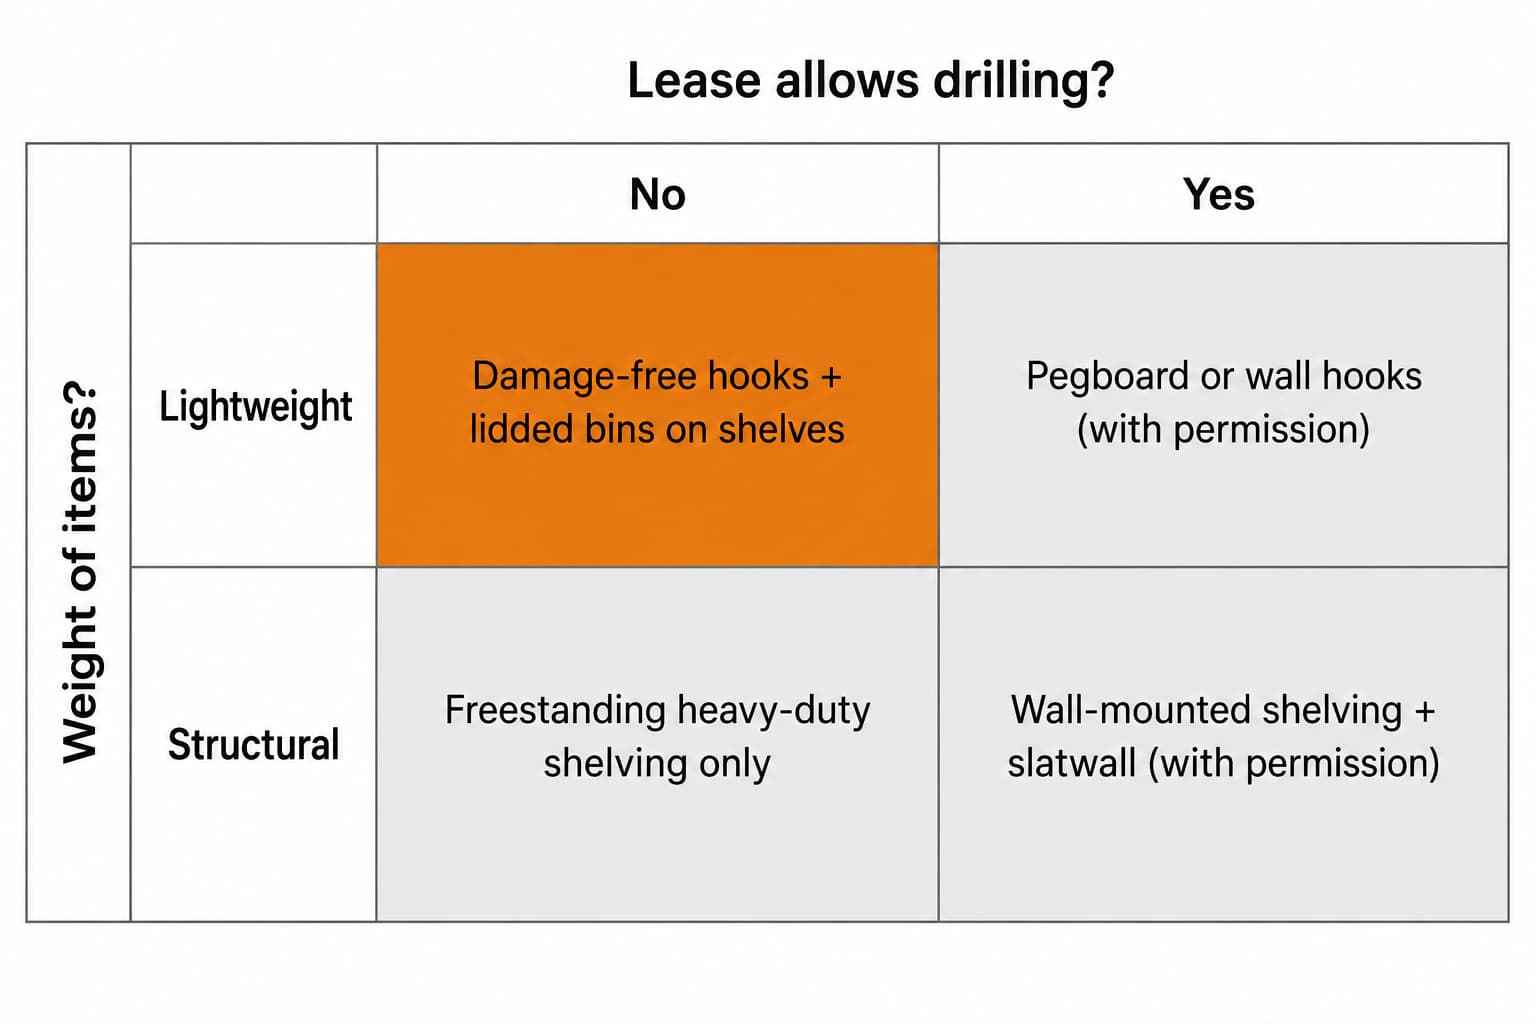
Reading the table by what you own: brooms, cords, and hats stay on adhesive or magnetic hooks. Bikes go on the tension pole. Anything heavier — bins, tools, seasonal gear — goes on freestanding shelving, because it’s the only method here with no attachment point to fail at all. If your landlord allows drilling, the wall-mounted and pegboard/slatwall systems below hold substantially more per fastener than any method in this table — see Best Wall-Mounted Garage Storage Systems and How to Install a Pegboard in Your Garage for those numbers.
When Drilling IS Allowed (the conditional renter case)
Some landlords explicitly permit small holes that are patched and painted on move-out. If your lease allows this (in writing), the rules change:
- Stick to pegboard first (fewest holes, easiest to patch), or slatwall if you’re staying 24+ months
- Document with photos before the install and after the patch
- Use spackle and matching wall paint for move-out — the entire industry of “renter paint kits” exists for this
- Keep receipts — some landlords reimburse “improvements” they want to retain after you leave
Tools and Products That Help
Renter-friendly garages mostly need one product class: damage-free hooks rated for unconditioned spaces.
Outdoor-rated damage-free hooks — Command Outdoor Large Bronze hooks (3-pack with 4 weather-resistant strips) hold a manufacturer-listed 5 lb per hook, the same figure in the table above, and use adhesive rated for the −20°F to 125°F temperature range Command lists for the outdoor strips. That range matters: indoor Command strips fail in a hot summer garage; the outdoor variant is the one to buy for this use case.

Beyond hooks, the renter system needs freestanding shelving (see the shelves for storage bins guide) and lidded bins (see the storage bins guide). Both are linked rather than picked here — renter-suitable shelving choices depend on garage dimensions you’ll measure on your own, and our shelving roundup vets the options that work in a typical apartment garage.
Common Mistakes
Mistake 1: Assuming every no-drill method holds the same weight
A magnetic hook, an adhesive strip, and a tension pole are not interchangeable just because none of them need a drill. Check the actual rated load for the method you’re using — adhesive hooks fail progressively, holding for weeks at a slightly-over-limit load, then dropping it on a cold morning. Use the lightest-duty method for daily-carry items and freestanding shelving for anything heavier.
Mistake 2: Drilling first, asking later
A written email or text from the landlord is the difference between a returned deposit and a substantial wall-repair charge at move-out. Even if drilling seems “obviously fine”, get it in writing. Lease silence is not the same as consent.
Mistake 3: Building a system that doesn’t survive move-out
Every piece of hardware should come out cleanly. Freestanding shelving moves with you. Damage-free and magnetic hooks lift off. Lidded bins in standard shapes fit standard closets in the next place — oddly-shaped ones often don’t. Anchors, large hooks screwed into studs, and ceiling racks usually don’t survive a move, and even when they come off, the holes don’t fix themselves.
FAQ
Can I drill if my lease doesn’t explicitly forbid it?
Get written permission anyway. Lease silence is not the same as consent, and “common-sense allowed” is not a phrase that exists in landlord-tenant law.
Which no-drill method holds the most weight?
Freestanding shelving, by a wide margin — a manufacturer-listed 800 lb per shelf on leveling feet, because it has no wall, ceiling, or door attachment to fail. Every other method in the table above is limited by whatever it’s attached to: a magnetic hook by steel-to-magnet contact, an adhesive strip by the bond, an over-the-door hook by the bracket, a tension pole by the friction between floor and ceiling.
Are damage-free adhesive hooks really strong enough for garage tools?
For items under 5 lb per hook (manufacturer-listed for the outdoor large variant), yes. For heavier tools, freestanding shelving is the answer — not bigger adhesive hooks.
Can I use a magnetic hook on my garage door?
Only if the door is steel — magnets don’t grip aluminum, wood, or fiberglass doors at all. On a steel door, a manufacturer-rated magnetic hook can hold more than an adhesive strip (see the table above), but the rating assumes a clean, unpainted-buildup steel surface; a heavily painted or textured door will hold less.
My garage gets very hot — does damage-free adhesive survive?
Outdoor-rated Command strips list a −20°F to 125°F operating range, which covers most US summer garages. Indoor Command strips fail above roughly 90°F. Always use the outdoor-rated variant for garage applications.
Can I put a ceiling rack in a rental?
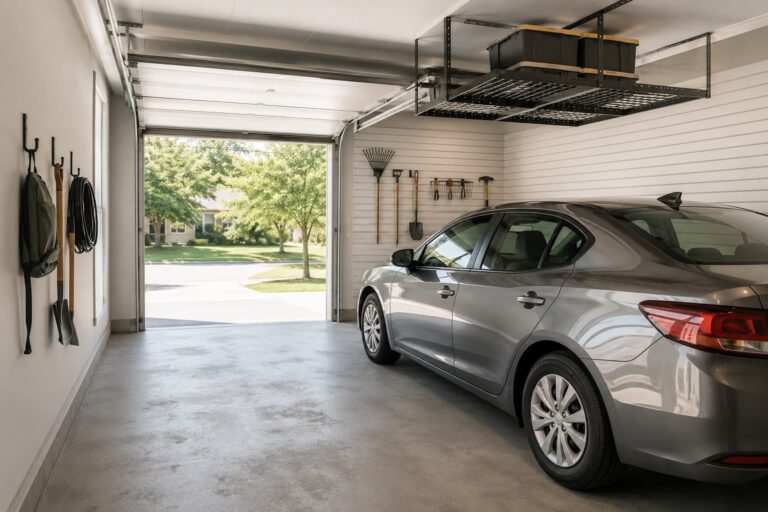
Almost never. Ceiling racks require joist drilling and impose a structural load on the framing, both of which most landlords disallow. A floor-to-ceiling tension pole gets you vertical bike storage without any drilling — see the table above for what it’s rated to hold.
Sources Reviewed
This article synthesizes manufacturer and retailer product pages for each no-drill method compared above (Command, Delta Cycle, Seville Classics, Yamazaki Home, Gator Magnetics), public renter-organization discussions, common landlord-tenant lease practices, and GSG editorial. We do not claim hands-on testing unless clearly stated. None of this article is legal advice — always read your specific lease and confirm decisions in writing with your landlord.
Related Guides
- Best Garage Shelves for Storage Bins — the freestanding shelving this table’s highest-capacity method points to
- How to Install a Pegboard in Your Garage — the drilled alternative, if your lease allows it
- Best Wall-Mounted Garage Storage Systems — more wall capacity than any no-drill method, once you have written permission
- Best Garage Storage Bins for Shelves — bins that survive a hot garage and move with you