How to Maximize Storage in a One-Car Garage
Last updated:
Disclosure: This article contains affiliate links. If you buy through these links, we may earn a commission at no extra cost to you. We do not claim hands-on testing unless clearly stated.
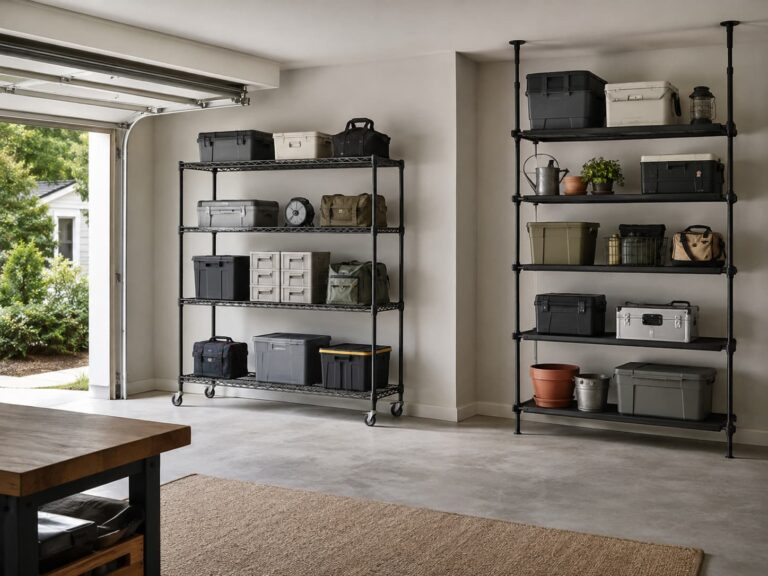
A one-car garage is the hardest organization problem in residential storage. Roughly half the floor is the car, every gain has to come from somewhere else, and you’d rather not start parking outside. The answer is never “buy bigger shelves” — it’s “go vertical, in the right order, and protect the work zone around the car.”
This guide walks through a three-zone layout, a wall-first/ceiling-second priority rule, six measurements to take before buying anything, and a weekend plan to put it all together. It does not cover detached vs attached garage build-outs, workbench installation, or moving the car outside — we keep it parked. For broader small-garage context (regardless of one-car or two-car), see our small garage organization guide.
The Three Zones of a One-Car Garage
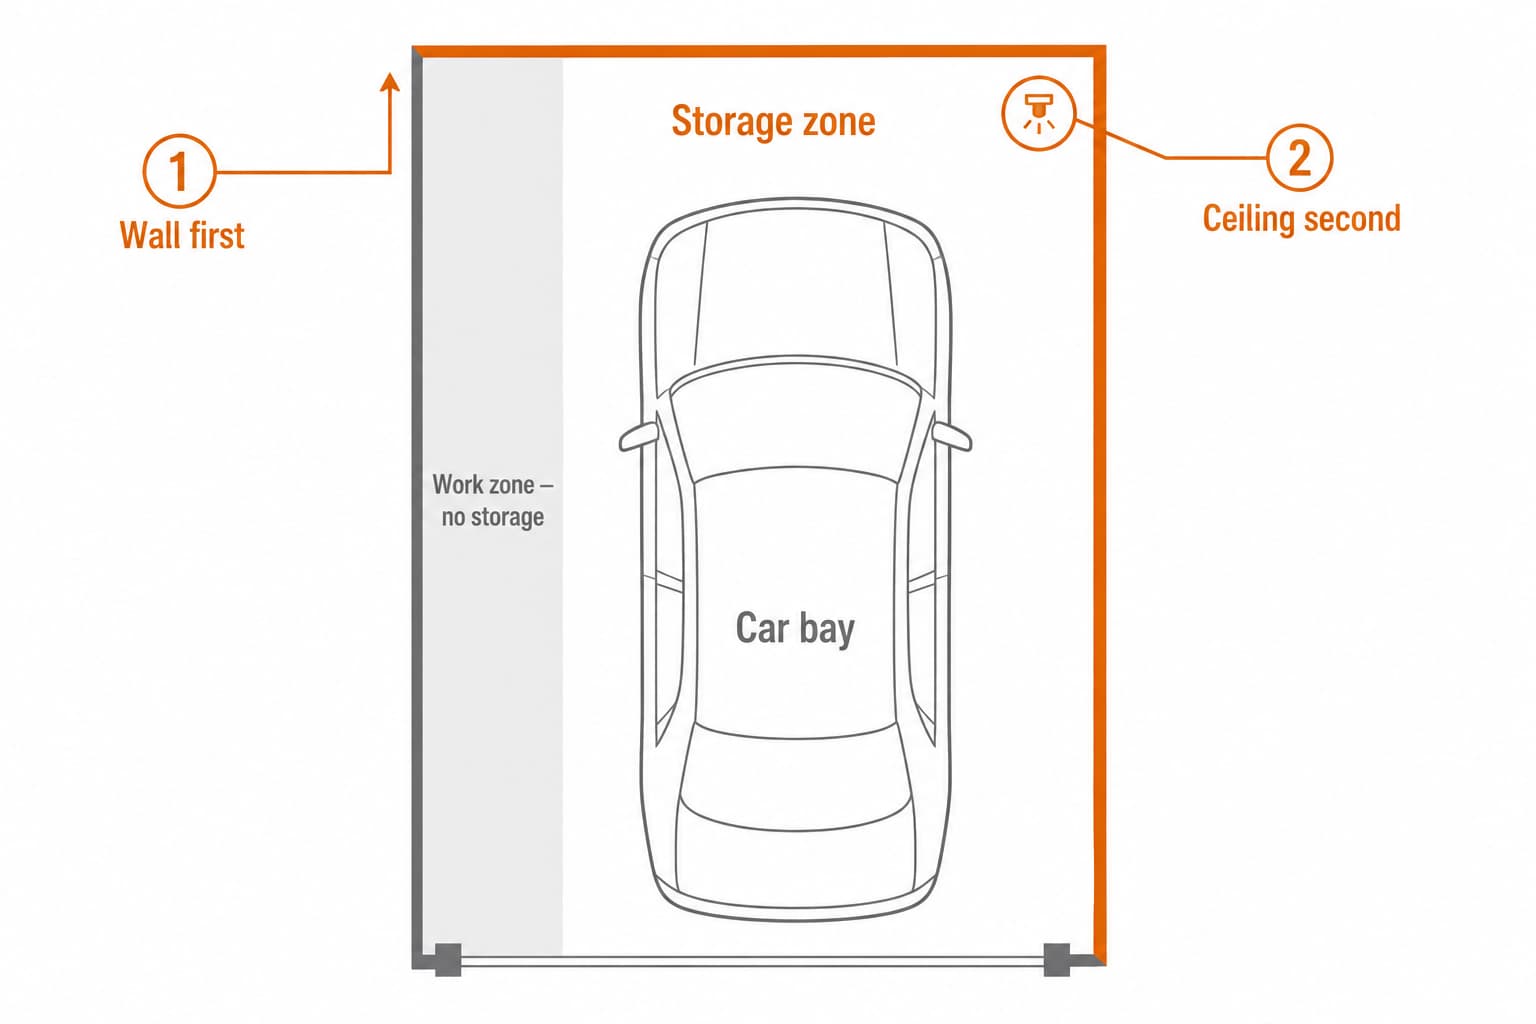
Mental model first. Every one-car garage breaks down into three zones, regardless of how it looks today:
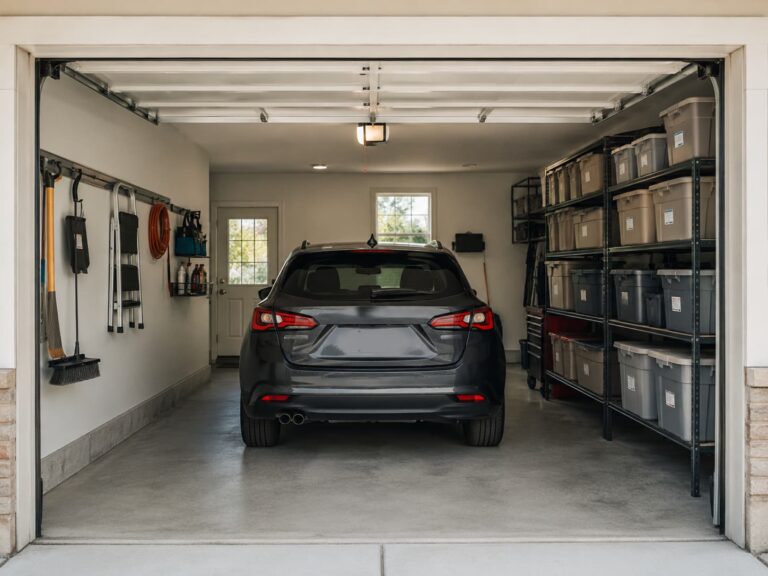
- Car bay. The rectangle the car occupies. About 6 feet wide by 14 feet long for an average sedan, larger for a small SUV.
- Work zone. The 2- to 3-foot clearance around the driver’s door, and the equivalent zone at the front of the car. This is where you stand, lean, open the hood, load groceries. It needs to stay clear.
- Storage zone. Every wall surface (rear wall behind the front bumper, side wall on the passenger side), and the ceiling above the bay.
The most common mistake in a small garage is to start storing in the work zone, because the floor next to the driver’s door is empty. That’s the worst possible spot: every storage item there has to move when you load groceries, and after the third trip you stop putting things back. Treat the work zone as off-limits before you buy a single hook.
Wall First, Ceiling Second
Both surfaces are storage zone, but they’re not equivalent. Two reasons walls come first in a one-car garage:
Access frequency. Wall storage is touchable weekly. Ceiling storage is touchable twice a year. Most of what a small-garage owner wants to store is medium-frequency — tools, bike, sports gear, current-season stuff — and that wants walls, not ceiling.
Reach. A six-foot adult can use wall storage without a step stool. Ceiling storage always needs a ladder, and in a tight garage the ladder itself becomes an inconvenience. Save the ceiling for the stuff you genuinely access twice a year.
The priority order is wall first, then ceiling. Within walls, the rear wall (behind the front bumper) comes before the side wall — it’s the deepest section, it’s never in the work zone, and it accepts the widest 4-by-8-foot wall systems without trimming.
What to Measure Before Buying Anything
Six measurements should be in your phone notes before you put a wall panel or rack in a cart:
- Ceiling height at the lowest point. The lowest point is usually the garage door track, not the ceiling itself.
- Garage door track clearance. The rail eats 12–18 inches of usable ceiling at the door end of the garage. An overhead rack has to live behind the track.
- Wall length along the rear wall and the longer side wall.
- Wall composition — wood stud, metal stud, drywall-only over framing, or masonry. Different mounting hardware applies to each.
- Joist direction and spacing in the ceiling. Overhead racks must bridge perpendicular to joists, on at least two joists.
- Car door-open envelope. Measure with the driver’s door fully open, not with it closed. That extra 30 inches is the actual work-zone width.
This list lives in your phone, not your memory. Half the returns at a hardware store are from skipping this step.
Step-by-Step: A Weekend Plan
Step 1 — Clear the work zone
Pull everything sitting within three feet of the driver’s door. Pile it elsewhere temporarily; you’ll relocate it during the wall and ceiling phases.
Step 2 — Locate studs and measure the rear wall
Stud finder along the rear wall. Mark the centerlines of every stud you find. Most garage walls are 16-inch on-center wood stud over drywall; some newer builds are 24-inch on-center; some commercial conversions are metal stud — your stud finder will tell you. Note the wall composition and stud spacing.
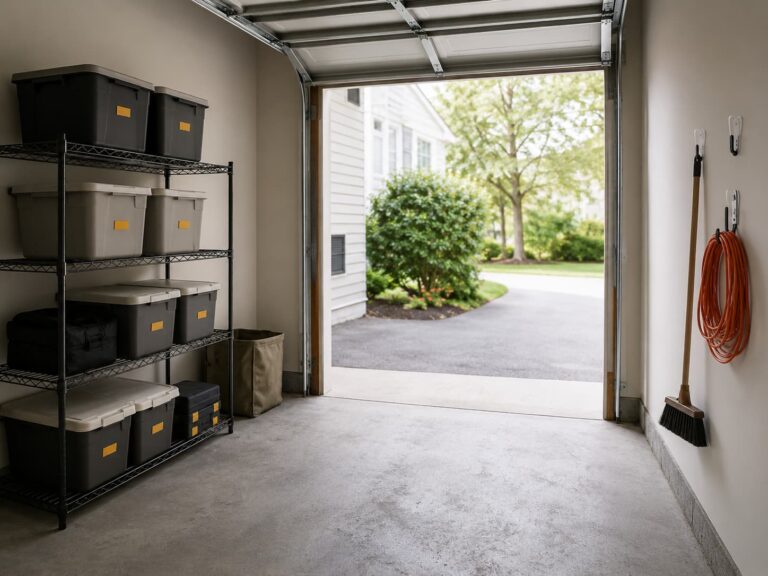
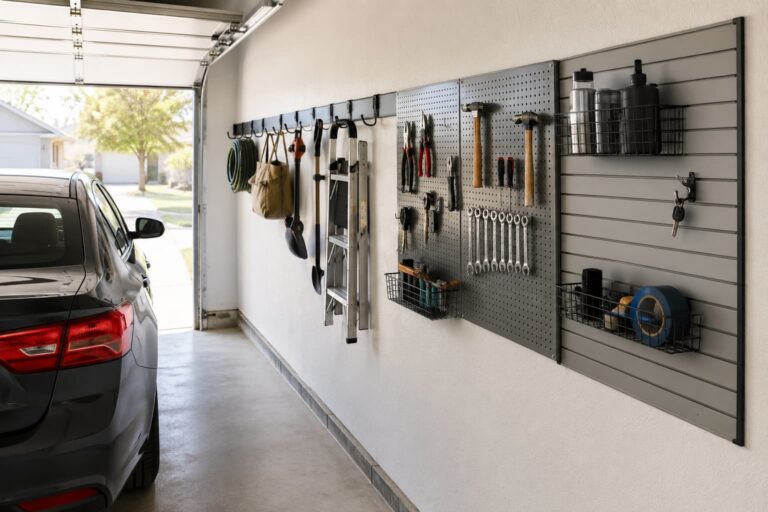
Step 3 — Install a wall system on the rear wall first
The rear wall is the highest-value real estate. Install slatwall, pegboard, or wall shelving here before anything else. Mount into studs — slatwall PVC into drywall alone is not load-bearing. For a DIY pegboard alternative, see our pegboard installation guide. For a comparison of wall systems, see our best garage wall storage systems guide.
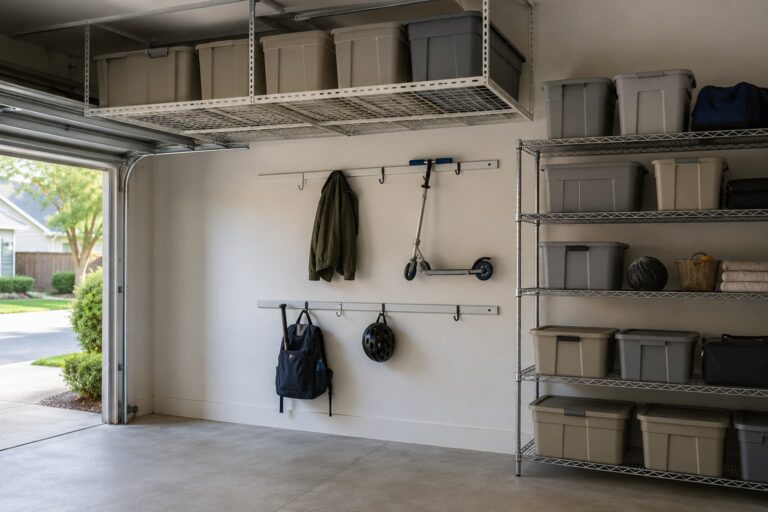
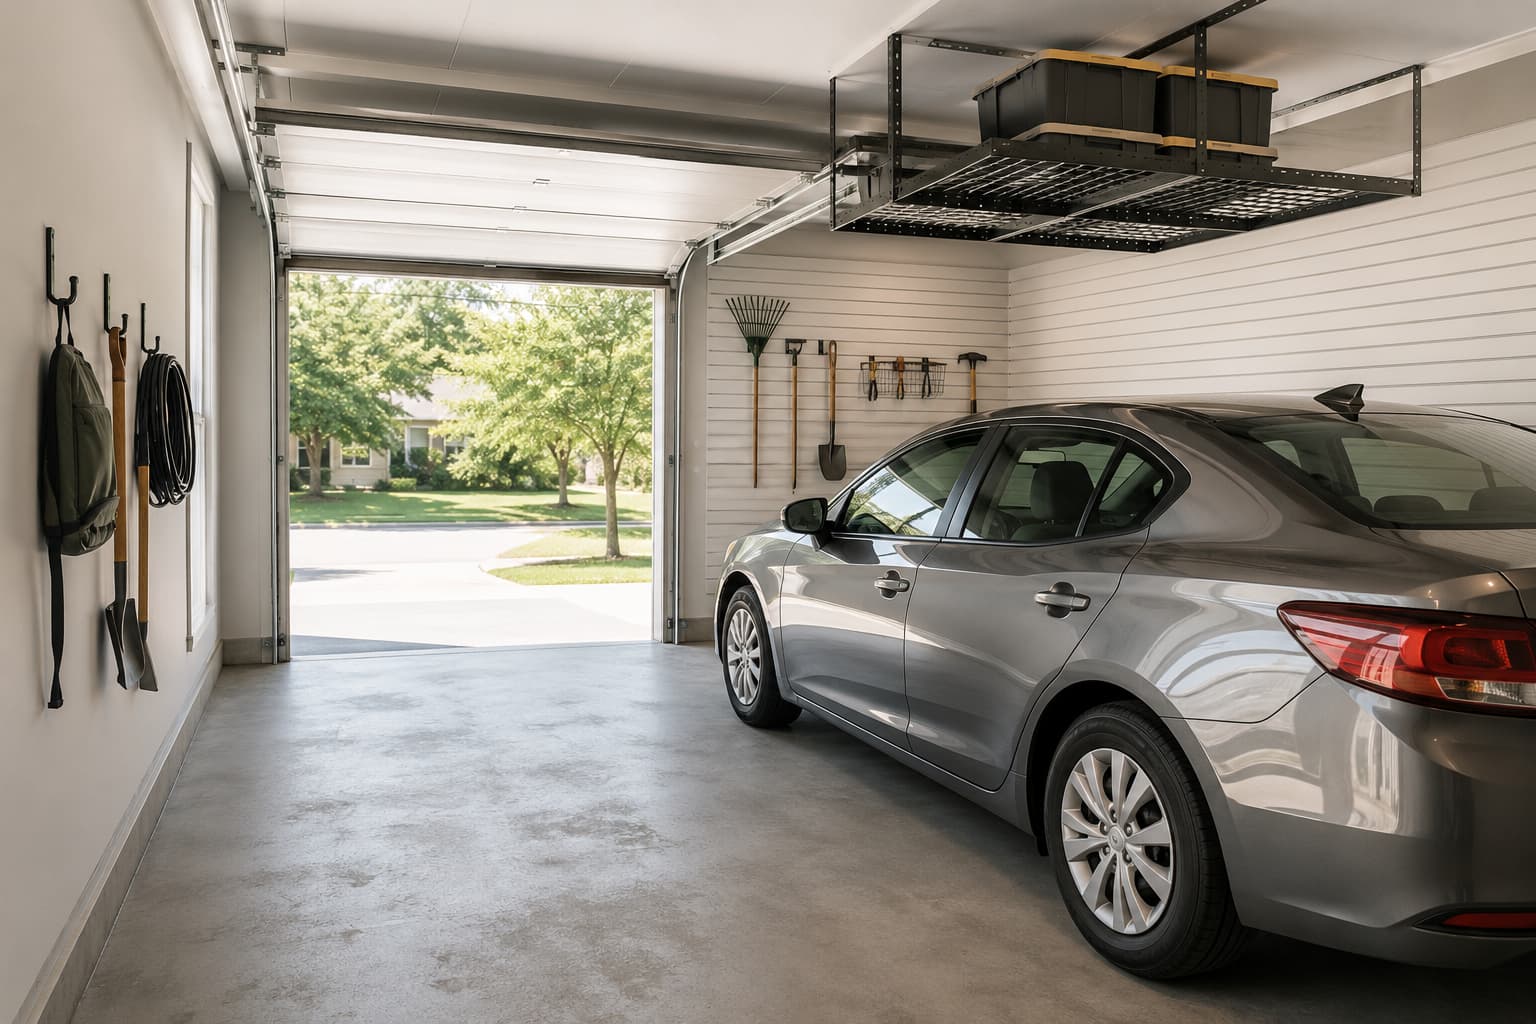
Step 4 — Add a narrow ceiling rack over the vehicle bay
A 2 × 8 ft ceiling rack sits over the parked car comfortably without intruding on driver-side standing space. Position the rack so the front edge is over the steering wheel or further back — never over the driver’s door swing arc. Confirm the rack’s drop-down depth plus the rack’s loaded contents leave at least 6 inches of clearance above the car roof (or roof rack, whichever is higher).
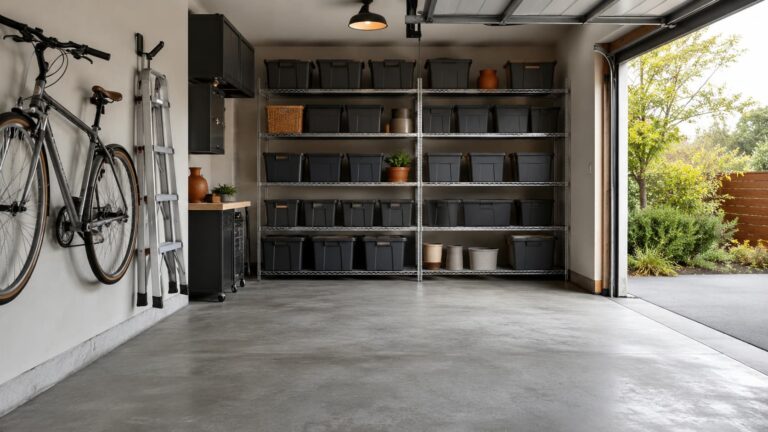
Step 5 — Use the side wall for medium-frequency items
The passenger-side wall (the wall opposite the driver’s door) is the second-priority wall surface. Use it for medium-frequency tools — broom, rake, single bike on a vertical hook. Skip the front wall entirely; the garage door track lives there and there’s no usable mounting surface.
Once those four surfaces (rear wall, ceiling-over-bay, side wall, and protected work zone) have a system, label your bins and you’re done. Use our bin labeling guide for the placement rules — small garages reward consistent labeling because there’s no margin for “I’ll find it later”.
Tools and Products That Help
Two pieces of hardware do most of the work.
Wall slatwall — The Proslat 88102 (32 square feet of PVC slatwall, 8 ft × 4 ft, white) is the canonical starter section for a one-car garage rear wall. The panels interlock, accept industry-standard slatwall accessories (hooks, baskets, shelves), and mount into wood studs, drywall with appropriate anchors, or masonry. The PVC is rated for the temperature swings of an unconditioned garage. For a side-by-side comparison with other wall systems, see our wall storage systems guide.

Ceiling overhead rack — The FLEXIMOUNTS 2×8 is the right footprint for a one-car garage’s vehicle bay: two feet deep, eight feet wide. The manufacturer lists a 400 lb capacity, contingent on proper joist mounting and even weight distribution. For broader rack comparisons, see our overhead storage racks guide.

Common Mistakes
Mistake 1: Storing in the work zone
The floor next to the driver’s door looks like free real estate. It isn’t. Every bin there moves when you load groceries, and the cumulative time cost over a year is real. Keep this zone empty.
Mistake 2: Buying a 4 × 8 ceiling rack for a one-car garage
Bigger ceiling racks consume clearance and weight you don’t need in a small garage. A 2 × 8 footprint covers seasonal storage for an average household; a 4 × 8 forces you into bigger lag bolts, heavier joist load, and a rack edge that may overlap the driver-side door swing.
Mistake 3: Mounting slatwall into drywall only
PVC slatwall must hit studs. A drywall-only mount fails with the first heavy basket. Locate studs first, mark them, and screw through both the slatwall and the stud — never through drywall alone.
Mistake 4: Forgetting the door track clearance
The garage door rail eats 12–18 inches of usable ceiling at the door end of the garage. Measuring “ceiling height” without subtracting that drop is a common pre-purchase mistake, and an overhead rack purchased on that flawed measurement won’t fit.
FAQ
Do I really need both a wall system and a ceiling rack?
For a one-car garage with a real storage problem, yes. They cover different access patterns — walls for weekly-touch items, ceiling for annual-touch seasonal stuff — and they don’t compete for the same square footage.
What if I rent and can’t drill into the wall?
Some freestanding shelving leans on the wall instead of mounting; the trade-off is footprint loss. See our garage organization checklist for renters for the renter-specific approach. The vertical-first principle still applies — it just gets harder to execute without permanent mounts.
Can I park a small SUV under a 22-inch-drop ceiling rack?
Measure the SUV’s height from ground (including any roof rack) and add six inches of safety clearance for loaded contents. Most modern small SUVs fit comfortably; full-size pickups with permanent toolboxes often don’t. Measure first.
How much weight should I put on slatwall?
Per-hook capacity is the binding limit, not the panel itself. Manufacturer-rated hook capacity is typically 25–50 lb depending on hook design. Use the manufacturer’s accessory line and follow per-hook limits.
Should the rear wall or the side wall be the primary storage wall?
Rear wall first. It’s the deepest section, it’s never in the work zone, and it accepts a full 4 × 8 panel without trimming. The side wall comes second.
Sources Reviewed
This article synthesizes manufacturer product pages (Proslat 88102 slatwall, FLEXIMOUNTS 2×8 overhead rack), public small-garage organization discussions, and GSG editorial. We do not claim hands-on testing unless clearly stated.
Related Guides
- Best Garage Wall Storage Systems — slatwall vs pegboard vs alternatives
- Best Garage Overhead Storage Racks — broader rack comparison
- How to Install a Pegboard in Your Garage — DIY pegboard path for the budget reader
- Garage Organization Checklist for Renters — renter-friendly small-garage approach
- How to Organize a Small Garage Step by Step — broader small-garage context