How to Organize a Small Garage Step by Step
Last updated:
Disclosure: This article contains affiliate links. If you buy through these links, we may earn a commission at no extra cost to you. We do not claim hands-on testing unless clearly stated.
Most “organize your garage” guides give every reader the same checklist regardless of what their garage actually measures. But two readers working through the identical list — declutter, contain, shelve, hang, ceiling, zone — can land on completely different results, because a one-car garage isn’t one size. Whether a shelving unit fits beside your car, whether you can wall-mount bikes and tools, or whether you have room for a deep back-wall system for family and seasonal gear depends on your garage’s actual footprint — and on which of its two dimensions, width or length, is the one running short.
This guide starts with that question. If you already know roughly what you’re working with — a tight 10×20, a standard 12×20, or a slightly longer 12×22 — the table below tells you which of three layouts still leaves you room to move. Then it walks through what to actually buy for the layout that fits.
Which Layout Actually Fits Your Garage
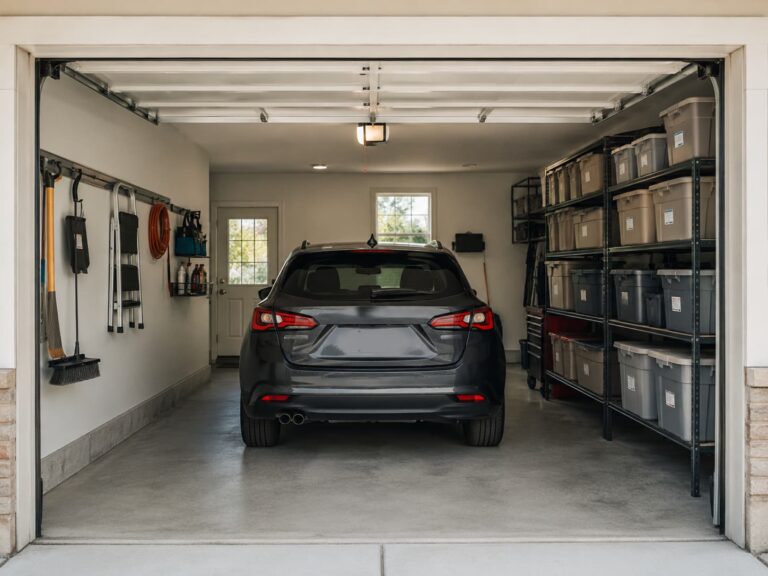
Three layouts cover most one-car garages: a shelving unit on one side wall, wall storage for both bikes and tools, or a deep back-wall system for family and seasonal gear. Each leaves a different amount of clear floor space depending on your garage’s real width and length — not on how organized you are. The figures below are computed against a typical sedan/SUV footprint (see the method note under the table) parked in three real one-car garage sizes.
How much clearance each layout actually leaves
A one-car garage is not one size, and “will it fit” depends on which of two numbers is short: width or length. This table crosses three real one-car footprints against three layouts to show which one still leaves room to move.
| Layout | What occupies the wall(s) | Tightest clearance — 10×20 ft | Tightest clearance — 12×20 ft | Tightest clearance — 12×22 ft | Set mainly by | Storage-depth source |
|---|---|---|---|---|---|---|
| Car + wall shelving | One 18 in-deep shelving unit, one side wall only | 5.7 in (shelf-side walkway) | 17.7 in (shelf-side walkway) | 17.7 in (shelf-side walkway) | Garage width | Husky 18 in-deep shelving unit |
| Car + bikes + tools | Bike wall rack (12 in) one side, pegboard panel (0.75 in) the other | 11.7 in (bike-wall walkway) | 23.7 in (bike-wall walkway) | 23.7 in (bike-wall walkway) | Garage width | Feedback Sports Velo Wall Rack + Wall Control pegboard panel |
| Car + family / seasonal storage | One 24 in-deep shelving unit, back wall (both side walls stay open) | 15.9 in (rear depth) | 15.9 in (rear depth) | 39.9 in (rear depth) | Garage length | Husky 24 in-deep shelving unit |
How these numbers were produced: A stand-in vehicle is used for all three garages: the average of a Toyota Camry (XV80) and a Toyota RAV4 (XA50), each per its Wikipedia infobox — width 72.4 in and 73.0 in respectively, averaging to 72.7 in; length midpoints 193.0 in and 183.3 in, averaging to 188.15 in (shown rounded to 188.2 in). Side clearance beside a centered car = (garage width in inches − 72.7) ÷ 2, applied to each side wall. Parking depth = garage length in inches − 188.15 − 12 in (the 12 in trunk-access allowance is this guide’s own published measuring convention, not a manufacturer figure). Layout A mounts an 18 in-deep shelf on one side wall — depth from a Husky 48 in W × 18 in D 6-Shelf Steel Shelving Unit, model MR481886W6B — leaving side clearance minus 18 in on that wall and the full side clearance on the open (door) side. Layout B treats both side walls: a bike wall rack projecting 12 in, per Feedback Sports’ own product page (“Cradles positioned 12″ (30.5cm) from wall”), and a 0.75 in pegboard panel, per a distributor listing for the Wall Control 30-P-3232GV (“32" X 32" X 3/4"”). Layout C mounts a deeper 24 in shelf on the back wall instead — depth from a Husky 48 in W × 24 in D 5-Tier Steel Shelving Unit, model 426007 — leaving parking depth minus 24 in, with both side walls left fully open. The “tightest clearance” column is the smallest of that layout’s own clearance figures — the pinch point that actually determines whether the layout is usable, not an average. A separate benchmark, not part of the table, is used only in the caveats below: 30 in (2 ft 6 in), the clearance houseplanshelper.com’s garage-dimensions guide gives for opening a car door — “a minimum of 2ft 6ins or 76cm from the car door to the nearest obstruction.”
- “Tightest clearance” is the smallest single number in that layout, not an average of its two sides — it is the number that decides whether you can actually use the layout, and it will be a walkway width for Layouts A and B, or a rear-depth figure for Layout C.
- The vehicle used is the average of two real, sourced vehicles (a Toyota Camry and a Toyota RAV4) standing in for “a typical sedan or compact SUV,” not your specific car. Measure your own vehicle if it is a full-size truck or full-size SUV — these commonly run wider and longer than the figures used here.
- Layouts A and B assume the car is parked centered between the two side walls. Parking closer to one wall gives that side less clearance than shown and the other side more — the total stays the same, but the split does not.
- The 30 in door-opening benchmark mentioned in the write-up is separate from these clearance figures and is not a pass/fail column in the table itself: a 10×20 garage’s 23.7 in in Layout A is workable for walking but tighter than that benchmark for fully swinging a door open on that side.
- Layout C’s depth figure assumes storage goes on the wall the car does NOT nose up against — typically the back wall, opposite the garage door. If your garage door is on the gable end instead of the eave side, or your car parks nose-out, remeasure which wall is actually free.
- These are floor-clearance figures only. None of them account for a garage door track, an opener rail, or a step at the entry — measure your own garage per this guide’s measuring section before buying anything.

A 10×20 garage is tight everywhere — even the roomiest of the three layouts (a deep back-wall system) leaves under 16 inches once the shelf is in. Step up to a 12×20 and the side walls open up noticeably: wall shelving alone goes from a 5.7-inch squeeze to a comfortable 17.7 inches, and a bikes-plus-tools setup goes from 11.7 inches to 23.7. But a 12×20 doesn’t touch the back-wall option — it’s stuck at the same 15.9 inches as the 10×20, because rear clearance is set by length, not width. Only the extra 2 feet in a 12×22 actually opens that layout up, to 39.9 inches — almost exactly what a 24-inch-deep shelf itself takes up.
In other words: a garage that’s short on width can still fit bikes and tools on the walls. A garage that’s short on length can’t fix its back-wall storage with more wall space — it needs the length itself. Measure your own garage before assuming which layout applies.
Measure Your Garage First
This is the step most articles skip, and the one that decides whether your next purchase is a system or a return trip. Measure your wall length, usable wall height, parking depth (back wall to closed door, minus your car’s length, plus 12 inches for opening the trunk), and door clearance (side wall to your car’s fully-open driver’s door).
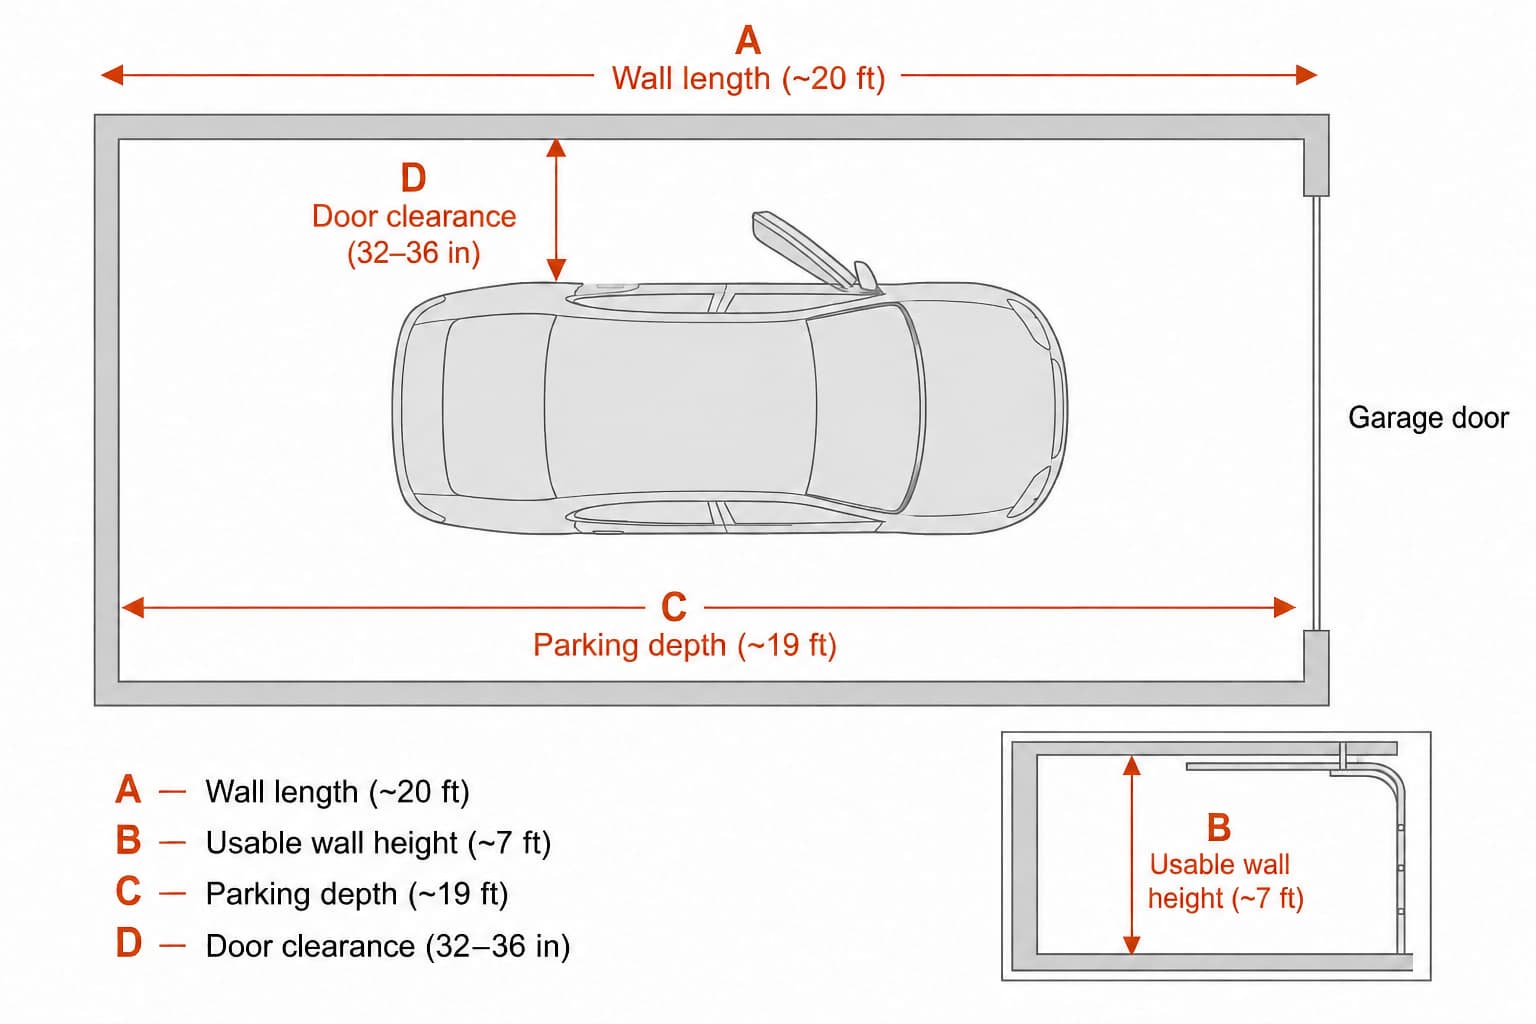
Write the four numbers down before you shop. Shelves get returned because they don’t fit behind the parked car; bins get returned because they don’t fit the shelves that were bought first. Buying in that order — measure, then shelf, then bin — is the one habit that prevents most of it.
Layout A — Car + Wall Shelving
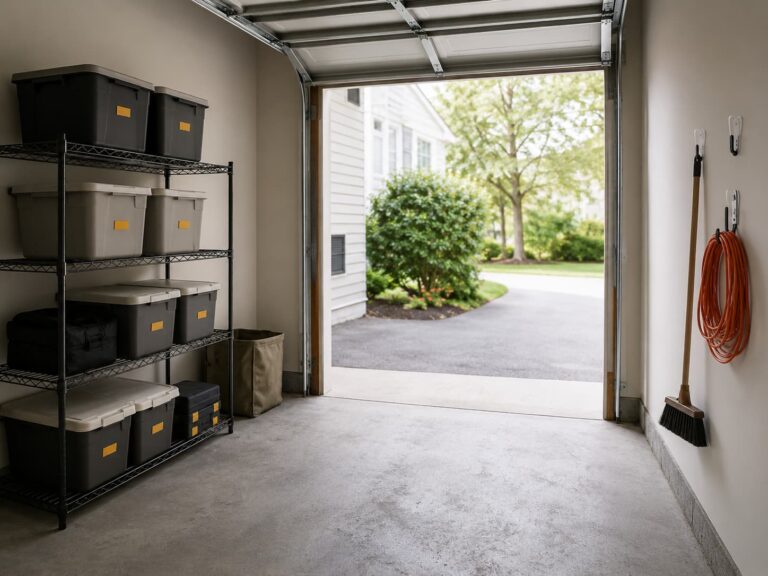
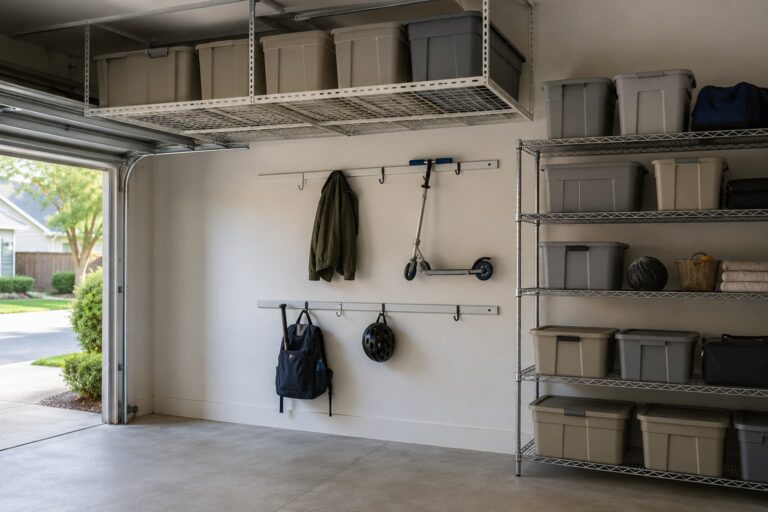
The simplest layout: one shelving unit on a single side wall, the other side left fully open for the door and for walking through. It’s the layout most one-car garages default to, and per the table above it’s usable even in a 10×20, if barely.
Sterilite 27 Gallon Industrial Storage Tote (24-Pack)
A workhorse choice for what goes on the shelf is the Sterilite 27-Gallon Industrial Tote — the size most garage shelving is designed around. One trap: a 27-gallon tote does not sit flat on a standard 18-inch wire shelf, the depth used in the table above. Sterilite’s own product page lists this tote’s exterior width at 20⅝ inches — about 2⅝ inches more than an 18-inch shelf’s depth — so verify the exact width on the listing before buying, since Sterilite sells more than one 27-gallon line. If you’re set on wire shelving, go to a 24-inch-deep unit (see best garage shelves for storage bins) or switch to smaller bins that actually match your shelf depth.
Buy one shelving unit before buying a second. Live with it for a week, then decide whether the remaining wall and ceiling can absorb the rest of your stuff, or whether you genuinely need more.
Layout B — Car + Bikes and Tools
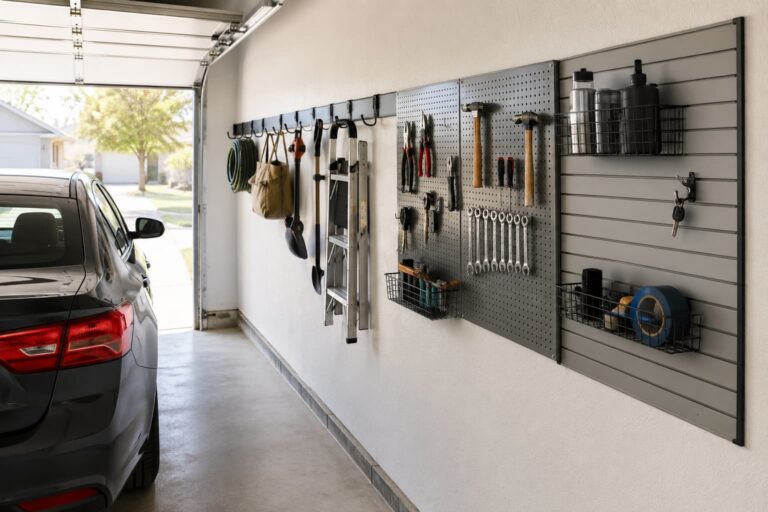
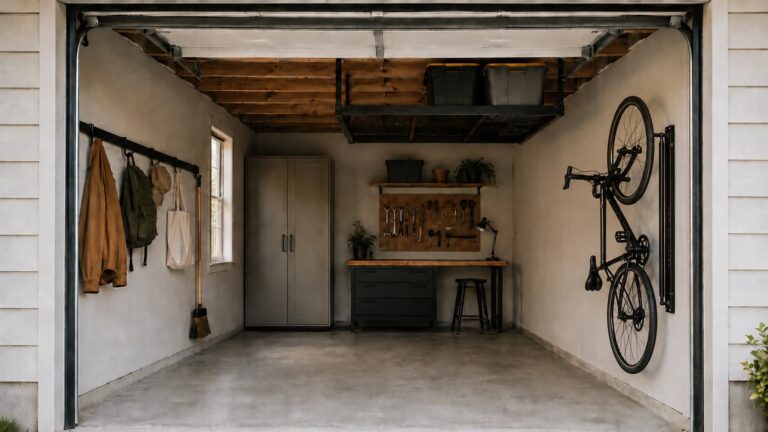
This layout uses both side walls — a wall-mounted bike rack on one, a pegboard or slatwall panel on the other — and trades the fully-open door side for double the wall storage. Per the table, it only becomes comfortable at 12 ft of width; at 10 ft, both sides are a genuine squeeze.

A reasonable starter for the hook side is the KOFANI Steel Garage Storage Hooks 16-Pack. Capacity figures on hook listings are substrate-dependent: anchored into a wood stud, a hook can hold a bicycle; anchored into drywall alone, realistic capacity drops to whatever the drywall anchor is rated for — fine for a trowel, not for a bike. Use a stud finder and mark stud lines before you mount anything heavier than a hand tool.

For the pegboard side, a small-garage starting point is the PVC Slatwall Kit (4-by-4-foot, four interlocking 1-by-4 panels) with 10 Hooks. PVC matters here: garages aren’t climate-controlled, and MDF-based pegboard swells in humid weather where PVC stays flat. Mount it into wood studs only — the panel is a mounting surface, not a load-bearing structure. When individual hooks and one panel aren’t enough, the upgrade is a full rail-and-track system — see best wall-mounted garage storage systems.
Layout C — Car + Family and Seasonal Storage
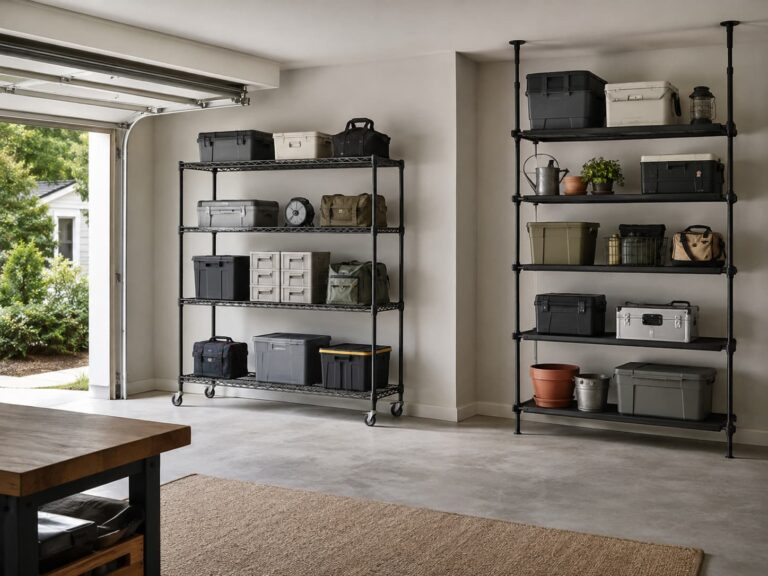
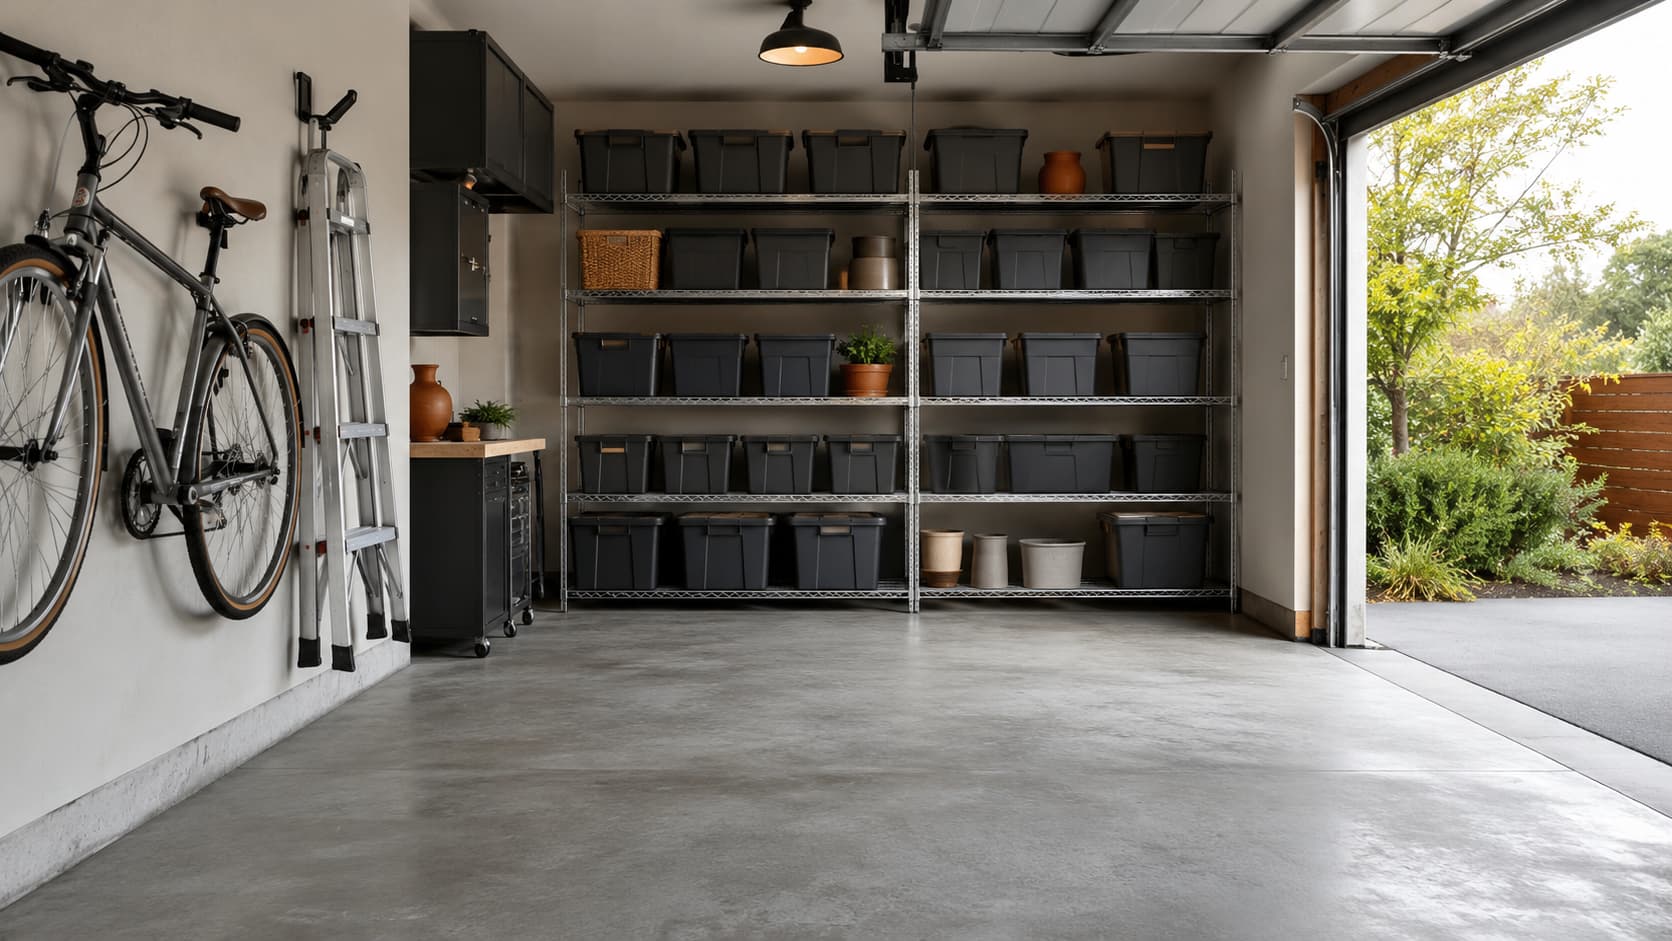
This layout skips side-wall storage entirely and puts a deep shelving unit on the back wall instead, for holiday decor, camping gear, and other bins you touch a few times a year. Both side walls stay open. Per the table, this is the layout where length, not width, decides whether it works — a 12×20 gets no benefit over a 10×20, while a 12×22 roughly doubles the remaining depth.
The ceiling above the garage door track is the other place this kind of storage goes. Two non-negotiables there: the rack must lag-bolt into ceiling joists, never drywall, and its drop height must clear the top of the garage door when fully open — a 24-inch drop sounds short until you realize the door track itself already eats into the ceiling clearance. We cover sizing, drop height, and joist requirements in the best overhead garage storage racks roundup.
Between the two, fill the ceiling and the back wall before you touch the floor — floor space is the only square footage in a small garage that has to stay walkable, and it’s the easiest to lose permanently to boxes that could have gone up instead. For a longer list of setup mistakes like this one, see common garage organization mistakes.
FAQ
My garage doesn’t match any of these three sizes exactly — now what?
Interpolate from the table using your own measurements: width mainly moves Layouts A and B (roughly 6 inches of side clearance per foot of garage width beyond 10 ft), while length mainly moves Layout C (roughly 12 inches of rear clearance per foot of garage length beyond 20 ft). A garage between two of these sizes will land between their numbers.
Can I combine all three layouts in the same garage?
Only partly, and only in a garage with the width and length to spare. Side-wall space is shared between Layouts A and B — every inch given to a bike rack is an inch not available to a shelving unit — and back-wall depth for Layout C comes out of the same parking-depth budget used elsewhere. Pick a primary layout for the space you actually have, then add what’s left over.
What if I park a full-size truck or SUV instead of a sedan?
Every number in the table above shrinks. A full-size truck or SUV commonly runs 78–82 inches wide versus the roughly 73-inch sedan/SUV average used here, and several feet longer — in a 10×20 or 12×20 garage that difference can erase most or all of the side clearance shown for Layouts A and B. Measure your own vehicle rather than assuming the table’s stand-in applies.
Sources Reviewed
This guide synthesizes manufacturer specification pages (Toyota, Husky, Feedback Sports, Wall Control, Sterilite) and the garage-layout calculations built from them. We do not claim hands-on testing.