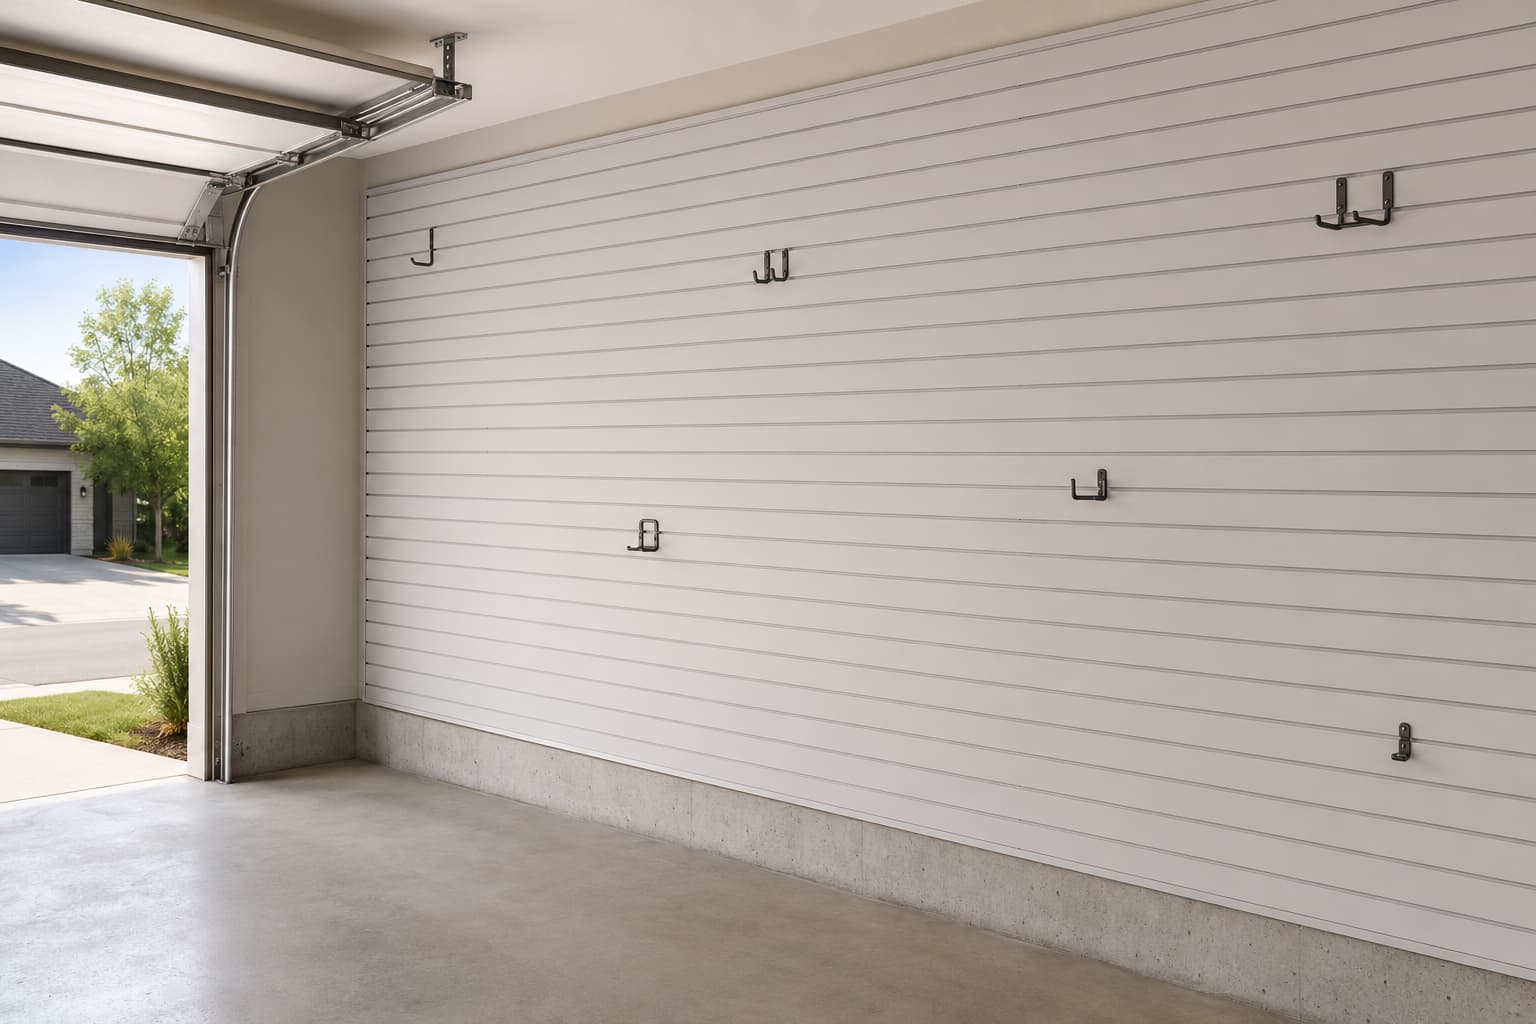
How to Install Garage Slatwall (Step-by-Step Guide)
Disclosure: This article contains affiliate links. If you buy through these links, we may earn a commission at no extra cost to you. We do not claim hands-on testing unless clearly stated.
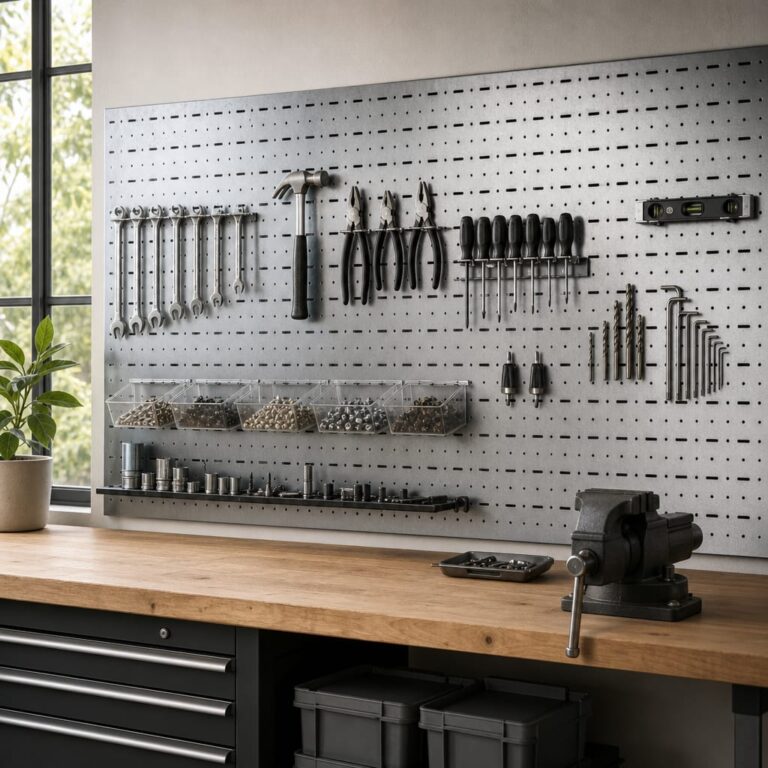
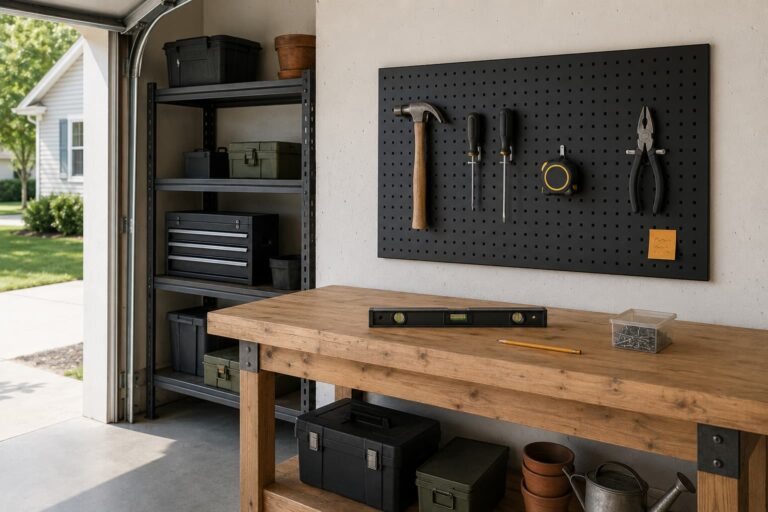
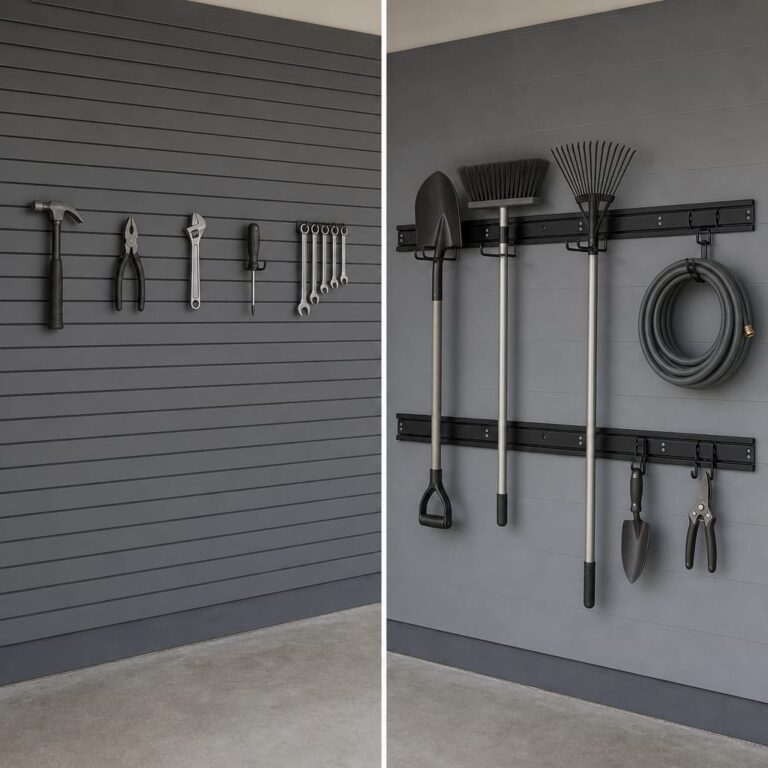
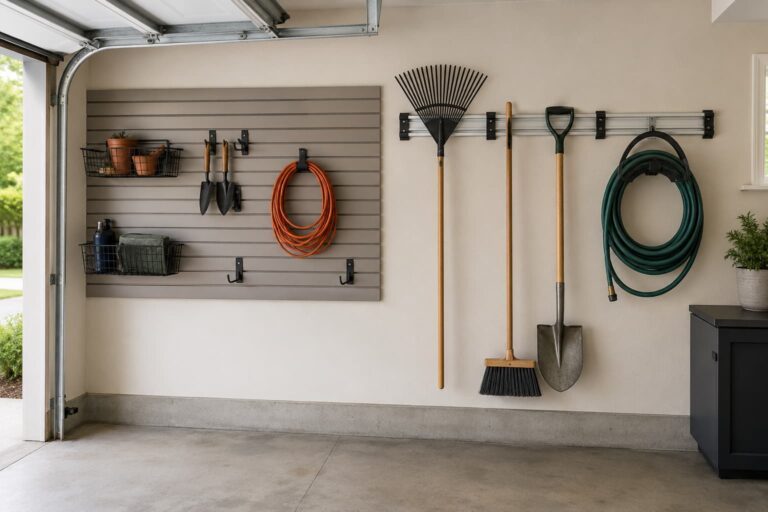
Slatwall is one of the few garage upgrades a confident homeowner can finish in a half day — but only if the steps happen in the right order. Most failed installs come from skipping the stud-finding pass or guessing the panel height off the floor. This guide walks the full sequence from planning through finish trim, with the specific stops where DIY installs typically go wrong. It does not cover structural changes (moving studs, opening walls), electrical relocation (moving outlets or switches), or load-bearing-wall modifications — for any of those, consult a licensed contractor or electrician. If you are still deciding which wall-storage system to use, the how to choose a garage wall storage system buying guide is the right place to start.
What You’ll Need (Tools and Materials)
A slatwall install is short on parts but long on accuracy. Get the right tools first so you do not pause mid-install to drive to the hardware store.
- A slatwall panel kit (PVC panels are the residential standard; MDF panels are retail-fixture material and not appropriate for a garage)
- A stud finder accurate enough to read the full stud width in one pass
- A 48-inch level (a torpedo level is not long enough for slatwall runs)
- A cordless drill with a Phillips bit
- Screws sized for your wall type (most kits include them; have extra 2.5-inch wood screws in reserve)
- A tape measure and a pencil
- Painters tape for marking obstructions (outlets, switches, fixtures)
- Optional but useful: a jigsaw or drywall saw for outlet cutouts, safety glasses, a helper for the longer panel sections
For the panel kit itself, the canonical residential PVC option is the Proslat 88107 (View on Amazon) — 8 feet by 4 feet of coverage in 10 stackable panels, with manufacturer-listed 75 lb per square foot capacity when properly installed into studs. CrownWall is a comparable competing brand at similar specs. For a fuller comparison, see our roundup of the best garage slatwall systems. If you are still weighing slatwall against the alternative wall systems, the slatwall vs track rail comparison covers that decision.
Before You Start — Plan the Wall
Plan beats improvisation here. Three planning calls determine whether the install succeeds.
Pick the right wall
An interior garage wall is the easiest place to install slatwall — no exterior insulation depth to navigate, predictable stud build, no weatherproofing concerns. Studs are still required regardless of which wall you pick; slatwall is not a self-supporting structure. Avoid the wall that shares an HVAC chase or major plumbing run, because cutting into it later for service is expensive. If the wall sits between the garage and a finished living space, double-check that fire-code-rated drywall is intact before drilling — most attached garages use a 5/8-inch Type X gypsum on the shared wall, and slatwall screws should not compromise that fire barrier.
Decide panel height off the floor
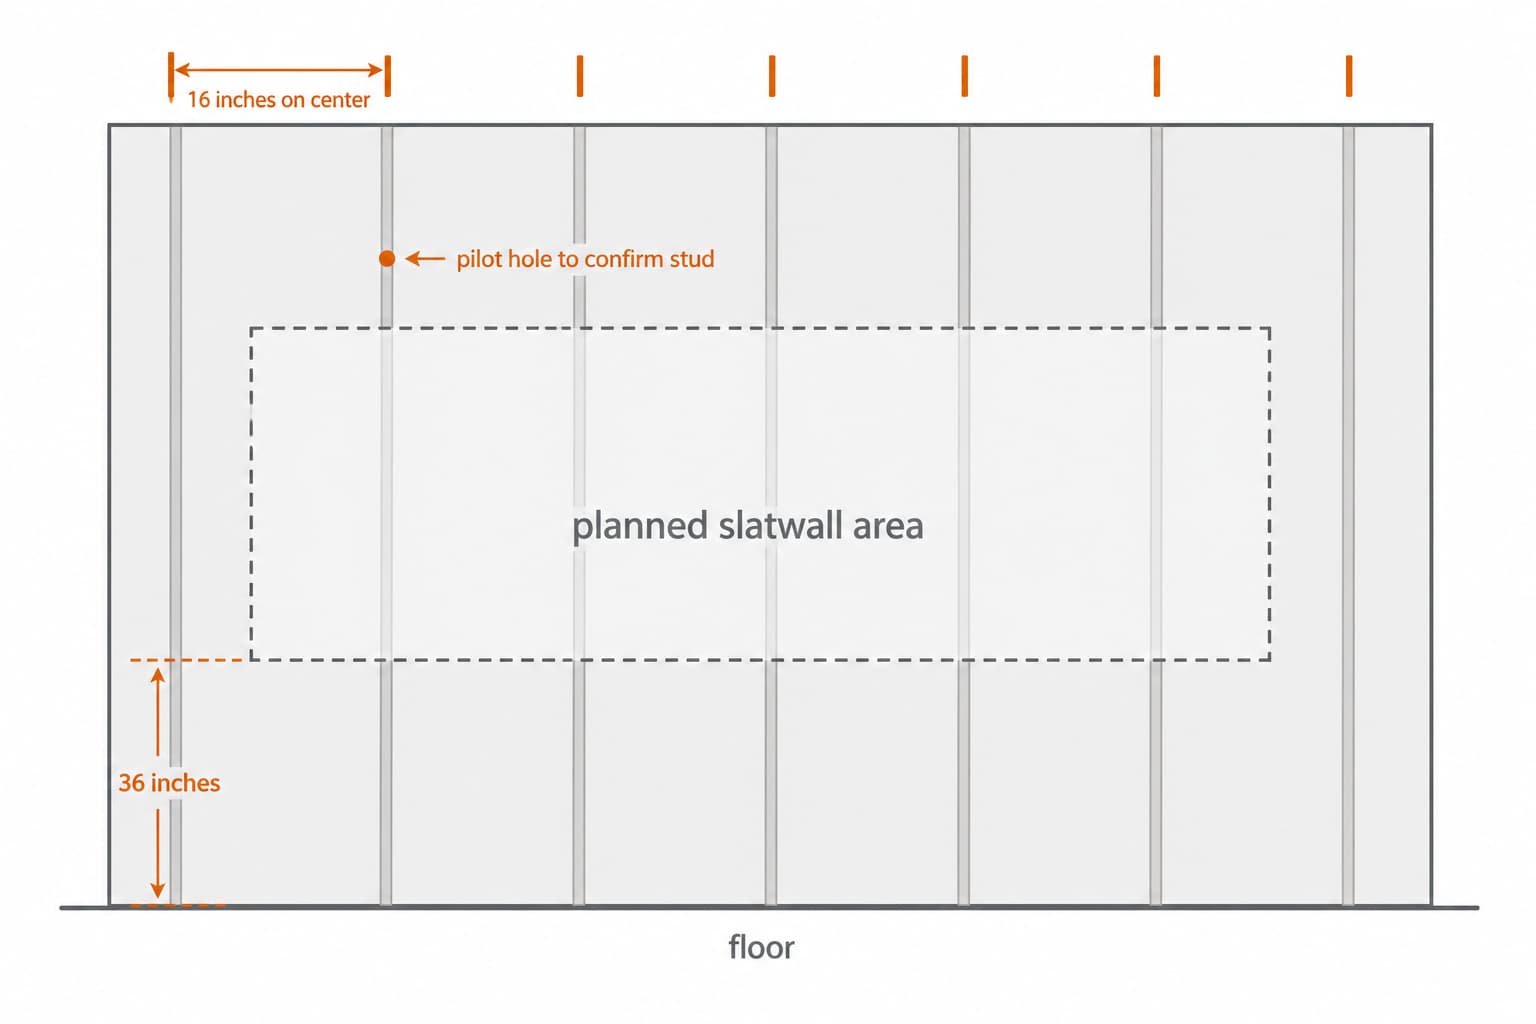
This is workflow-driven, not aesthetic. The decision is really “where do you want the hooks to land?” For most adult garages, mounting the panel BOTTOM at 36 to 40 inches puts hook centers in the comfortable 48 to 60 inch working range. For families with kids actively using the wall, drop the panel bottom to 24 inches so the lower half of the slatwall sits in kid-reach territory; the how to organize garage wall storage walkthrough covers the family-shared-wall flow in more detail.
Mark outlets, switches, fixtures, and door tracks
Walk the wall with painters tape and outline every obstruction. Outlets, light switches, garage door track brackets, ceiling-mount opener wiring drops, and any HVAC vents need to be visible before you commit to a panel position. For each obstruction, decide one of three actions: cut a clean rectangle around it (the usual answer for outlets and switches), reposition the panel so the obstruction falls in a panel-edge gap (works for the door track), or change wall entirely. Never cover an active outlet — electrical code requires accessibility, and a covered outlet is also a fire risk.
Step 1 — Find the Studs (the step nobody does carefully enough)
Most failed slatwall installs come from this one step. Standard residential framing uses 16-inch on-center stud spacing; some older homes and many garage exterior walls use 24-inch on-center. Either way, the screws holding your slatwall need to land in the wood, not in the drywall between.
A multi-sensor stud finder is the right tool here. The Franklin Sensors ProSensor 710 (View on Amazon) reads the full stud width across a 13-sensor strip in a single pass, instead of forcing the read-and-shift dance that cheap single-point stud finders require. The manufacturer page lists detection of both wood and metal studs up to about 1.6 inches deep, with no calibration needed.
Mark every stud center on a strip of painters tape ABOVE the planned panel area — not on the wall where the panels will sit, because you will be drilling through any mark in the panel zone and the line disappears as soon as the panel covers it. Once you have all stud centers marked, drive a 1/16-inch pilot hole into one suspected stud about six inches above the panel top edge: solid resistance confirms stud; hollow resistance means the stud finder was reading something else (a pipe, a stray cable, or a seam in the drywall).
Stud finders fail through metal lath, ceramic tile, plaster on wire mesh, and drywall thicker than about two inches. If your wall is any of those, switch to the manual method: knuckle-tap across the wall (a stud sounds solid, drywall sounds hollow) and confirm with the pilot hole. Older homes with plaster walls are the most common case where the device gives ambiguous readings.
Step 2 — Establish a Level Reference Line
One line controls everything that follows: the bottom-of-panel line, drawn level across the entire installation span. Use the 48-inch level — a torpedo level cannot span this distance reliably. Empire Level makes a long-tenured branded option that fits this job; any quality 48-inch level works. Position the level at one end of the install, mark the line in pencil along the top edge, slide the level over so one end sits on the just-drawn line, mark again, and continue across the wall.
Verify the line returns to the same height at both ends with one final level check. If the floor is not level (most concrete garage floors have a slope toward the door for drainage), the panel BOTTOM should remain LEVEL — do not chase the floor with a slope, because the panels will look crooked against horizontal hooks once they are loaded. The “the panels look crooked” complaint in finished installs almost always traces back to following the floor instead of a level reference line.
Step 3 — Mount the First Panel
Start at one end of the wall — usually the corner most visible when the garage door is open. Set the panel against the wall with its bottom edge sitting precisely on the level line. Locate the predrilled screw holes that align with stud marks; in hidden-screw systems like Proslat, the screws hide inside the panel groove so they do not show on the finished face. Drive screws through the panel into studs — into studs, not just into drywall.
Manufacturer-listed capacity figures (Proslat lists 75 pounds per square foot) assume screws into studs. Drywall-only attachment will sag under any meaningful load, often within weeks, and there is no “fixing” a sagged panel without a full re-mount.
Step 4 — Continue Across the Wall
Engage the tongue-and-groove joint on the next panel and slide it home against the first. Verify the bottom edge is still on the level line — a misaligned second panel will pull the whole run out of true. Drive screws through this panel into the studs it covers. Do not skip studs even if the previous panel “feels” tight enough to hold the joint; under load, every stud connection counts.
When a panel crosses an outlet or switch, measure the obstruction position from the panel corner twice (top measurement, side measurement) and transfer the measurements to the back of the panel before cutting. Cut the rectangle conservatively with a jigsaw or drywall saw — you can remove more material if needed, but you cannot add it back. Dry-fit the panel before driving any screws.
Step 5 — Trim, Edge Caps, and Finish
Trim pieces — top cap, bottom cap, outside-corner cap — go on AFTER all panels are mounted, never before. The trim hides cut edges and small panel-to-panel gaps, so the panel positions are the source of truth and the trim adapts to them. If the wall is not perfectly plumb (most garage walls have a 1/4 to 1/2 inch deviation across an 8-foot section), use shims behind the outer trim to keep the visible outside edge straight. Most kits include enough trim for a single 8-foot section; if you are installing two sections side by side, confirm the trim length at purchase.
Common Slatwall Install Mistakes
Mistake 1: Mounting into drywall instead of studs
What it looks like: Screws go through the panel and grip the drywall but never reach wood behind it. The panel feels secure when empty; it sags within weeks once anything is hung from it.
Why it’s a problem: Manufacturer capacity figures assume stud attachment. Drywall-only screws pull through under load, often taking chunks of drywall with them.
What to do instead: Confirm every screw lands in a stud. Pilot-hole-confirm the stud locations before mounting; do not trust the stud finder alone if the wall is non-standard.
Mistake 2: Following the floor instead of a level line
What it looks like: Panels visually parallel to the floor, but the floor slopes (most concrete garage floors do), so loaded hooks look canted relative to anything horizontal in the garage.
Why it’s a problem: Hooks hang straight down regardless of how the panel is mounted. If the panel is canted, every hung item is visually crooked against the panel face.
What to do instead: Draw a level pencil line across the full install span and mount to that line. The panel bottom should be horizontal, not parallel to the floor.
Mistake 3: Skipping the outlet-cutout dry-fit
What it looks like: Cutting the rectangle to “about right” dimensions and mounting the panel hoping it lines up. It almost never does.
Why it’s a problem: A too-tight cut bears on the outlet cover and can crack it; a too-loose cut leaves a visible gap that no trim hides. Both are code issues if they impair outlet accessibility.
What to do instead: Measure twice, cut conservatively, dry-fit before driving screws. Better to need a second pass of the saw than a replacement panel.
Mistake 4: Buying one panel kit when you need two
What it looks like: Ordering one 8-by-4 section thinking it covers a usable wall length, then discovering one section barely covers a quarter of a one-car bay wall.
Why it’s a problem: Two part-orders separated by a week often arrive in slightly different production runs, with visible color or finish variation between them.
What to do instead: Measure the planned install length and round up. Most useful one-car-bay walls take two sections (16 feet of width) or more. Buy all sections at once.
When to Call a Professional
This guide stays inside the storage-and-mounting domain. If your install hits any of the following, stop and call the relevant pro:
- Moving or modifying a load-bearing wall — a licensed contractor or structural engineer, not a DIY job
- Moving an outlet, switch, or any active wiring — a licensed electrician. Do not cover an outlet, do not work around live wiring, and do not assume “I will just turn off the breaker.” Electrical relocations need to be done to code, inspected, and documented
- Walls with non-standard build (plaster, concrete behind drywall, brick veneer interior wall) — slatwall mounting becomes a fundamentally different problem in these cases; consult an installer who has handled the specific wall type
Slatwall is a storage upgrade. None of the above are storage problems, and confidently DIY-ing them is how readers end up with structural or code issues.
What garage wall systems actually hold, compared fairly
Pegboard is rated per panel, rails per linear foot, slatwall per square foot. Three different units means the published numbers cannot be compared as they stand — so nobody compares them, and a 200 lb figure on one product looks like a 200 lb figure on another. This table quotes each manufacturer’s rating and converts them all to pounds per linear foot of a 4 ft high wall run, with the arithmetic shown.
| System | Type | Rating as published | Same rating, per linear foot of a 4 ft wall | Working | Stud requirement | Specification source |
|---|---|---|---|---|---|---|
| Gladiator GearWall slatwall panel | slatwall | 50 lb per square foot | 200 lb per linear foot | 50 lb/sq ft × 4 ft high | not published on the product page | Gladiator 4′ GearWall Panels |
| Proslat Classic PVC slatwall | slatwall | 75 lb per square foot | 300 lb per linear foot | 75 lb/sq ft × 4 ft high | installs on 16 in stud centres | Proslat PVC Slatwall |
| Proslat PROCORE aluminium-core slatwall | slatwall | 200 lb per square foot | 800 lb per linear foot | 200 lb/sq ft × 4 ft high | engineered for 24 in stud centres, compatible down to 16 in | Proslat PROCORE PVC Slatwall |
How these numbers were produced: Each published rating is quoted from the manufacturer’s own page on the date shown. Conversion to pounds per linear foot assumes a 4 ft high run of wall: a per-square-foot rating is multiplied by 4; a per-panel rating is scaled by how many panels stack into 4 ft and divided by the panel width in feet; a per-foot-of-rail rating is multiplied by the number of channels in the run (two, the common install). The working is printed next to each result so you can substitute your own wall height or channel count.
- These are manufacturer maximums for a correctly installed system, not a promise. Every one of them depends on hitting studs, using the specified fasteners, and spreading the load rather than hanging it all off one hook.
- The comparison assumes a 4 ft high run. A rail system does not gain capacity from wall height the way a panel does — it gains it from adding channels, which is why its normalised figure moves when you change the channel count, not the height.
- Stud spacing is a hard constraint. A panel engineered for 24 in centres will also go on 16 in centres, but not the reverse.
- Drywall anchors are not studs: Wall Control publishes 100 lb per panel on anchors against 200 lb into studs, and that ratio is a reasonable warning for any system here.
- A blank cell means the manufacturer does not publish that figure — we do not fill gaps with numbers we could not source.
These are the entries that matter for this guide. The full table, with every row and its source, is in our guide to choosing a garage wall storage system.
FAQ
Can I install garage slatwall over drywall?
Yes — most PVC slatwall kits are designed to install over existing drywall. The screws still need to reach studs through the drywall, though, which is the part the marketing language often glosses over. “Mounts over drywall” means “you do not need to remove the drywall first” — it does not mean “drywall alone holds the panel.”
How far apart are garage wall studs typically?
Residential framing standard is 16 inches on center. Many garage exterior walls and older homes use 24-inch on-center spacing. Both are common; confirm before you plan screw positions. A stud finder pass across the planned install area, with one pilot hole to verify, tells you for sure.
Can slatwall hold heavy items like bikes or ladders?
Manufacturer-listed capacity (Proslat lists 75 pounds per square foot) assumes the panels are screwed into studs and the load is distributed across the panel — not concentrated on a single hook. A bike on a slatwall hook is fine; a ladder hung from one point near a panel edge is the kind of edge-loading manufacturers explicitly caveat. For higher per-point loads, dedicated rail systems are usually a better fit.
What’s the difference between PVC slatwall and MDF slatwall?
PVC is the residential-garage standard: weatherproof, doesn’t absorb moisture, no rot risk. MDF (medium-density fiberboard) slatwall is retail-fixture material — it works fine indoors in a climate-controlled retail store, but it warps and disintegrates in a garage exposed to humidity swings. Buy PVC for residential garage. For broader system comparisons, see pegboard vs slatwall.
Do I need to remove existing drywall before installing slatwall?
No. PVC slatwall is designed to mount over drywall as long as the screws penetrate through the drywall into studs. Removing drywall is only necessary if the drywall is damaged behind where the panels will sit, or if the wall needs structural inspection — neither is a routine slatwall step.
How long does a typical slatwall install take?
For an 8-by-4 single-section install on a standard interior wall with no obstructions, a careful first-time installer should plan a half day (3 to 5 hours) including planning, stud-finding, panel mounting, and trim. Add an hour per outlet or switch cutout. Two-section installs on a longer wall usually finish in a full day. Rushing this is the most common cause of the sag and crooked-panel problems described above.
Sources Reviewed
In writing this guide we reviewed manufacturer product pages (Proslat at proslat.com, CrownWall at crownwall.com, Franklin Sensors at franklinsensors.com, Empire Level via the Milwaukee Tool product catalog), retailer listings on Amazon for each product mentioned, and the published installation manuals included with the canonical PVC slatwall kits. We do not claim hands-on testing of any of the products mentioned; install steps reflect manufacturer-published installation instructions cross-checked with multiple kits in the same product class, and structural/electrical recommendations reflect the published National Electrical Code accessibility requirements for residential outlets.