How to Organize Garage Wall Storage
Last updated:
Disclosure: This article contains affiliate links. If you buy through these links, we may earn a commission at no extra cost to you. We do not claim hands-on testing unless clearly stated.
The garage wall is the most under-used 200 square feet in the average American home. Most readers know this — they just don’t know whether to buy a slatwall, a pegboard, a rail system, or a bag of hooks, much less how to lay any of it out.
This guide is a 4-step plan: zone the wall, pick a system per zone, mount safely, and load by category. It does not cover the install steps for any single system — for that, see how to install pegboard step-by-step and how to install garage slatwall step-by-step. This is the planning layer above them.
Quick Answer — The 4-Step Plan
- Map your wall into zones — heavy, workshop, utility, and seasonal. Most garages have 2–4 zones, not all four.
- Pick a system per zone — slatwall, pegboard, rail, or direct-to-stud hooks. The right one depends on what each zone holds.
- Mount safely — find studs, respect manufacturer-listed capacity, budget for anchors and a helper.
- Load nearest-use-first — weekly items at eye level, seasonal items above 78 inches, heavy items at lift height.
Step 1 — Zone Your Wall Before Buying Anything
Buying a panel before you know which wall section needs it is the most common starting mistake. You end up with the wrong system in the wrong zone and a separate clutter pile growing somewhere else.
Most residential garages divide into some combination of these four zones:
- Heavy zone — bins, totes, mid-weight power tools. Benefits from a high-capacity panel. Usually 4–8 linear feet.
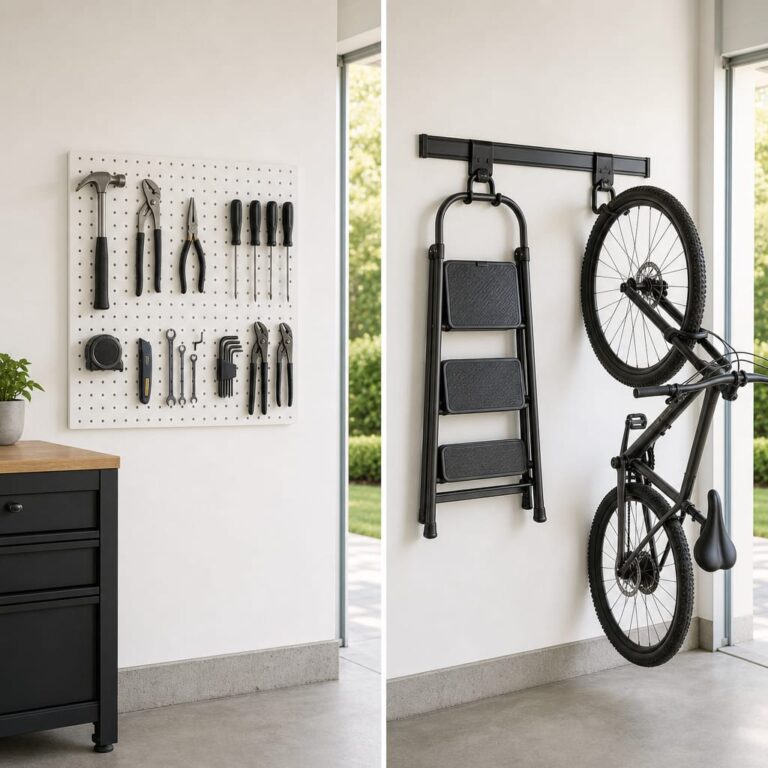
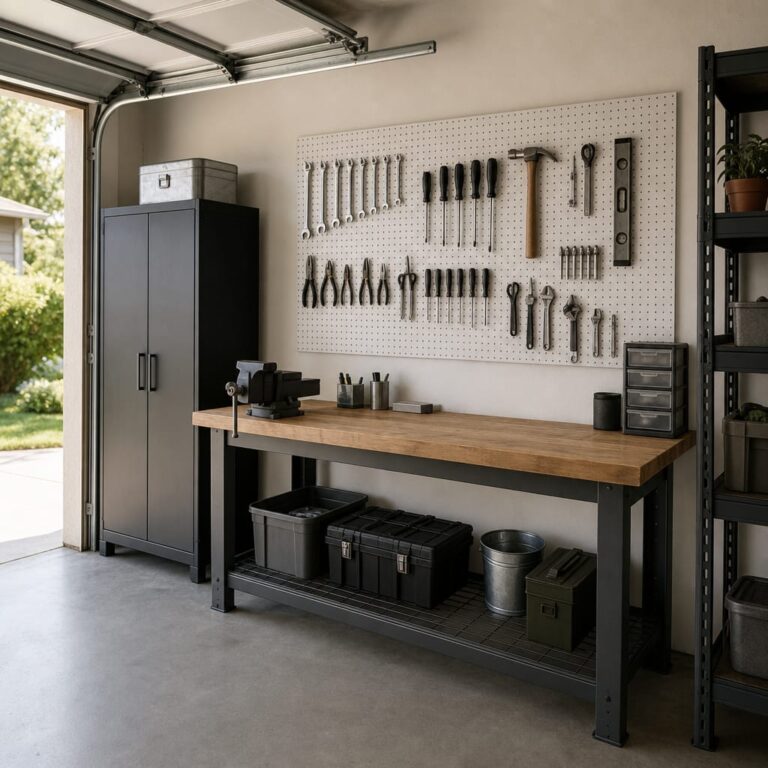
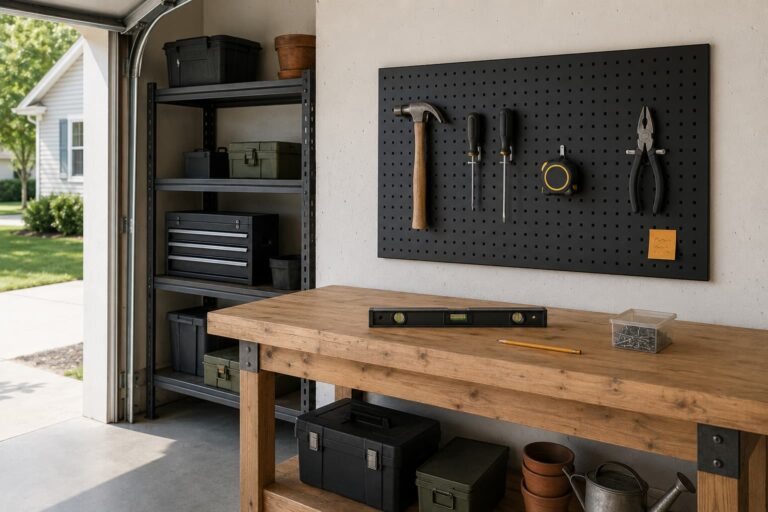
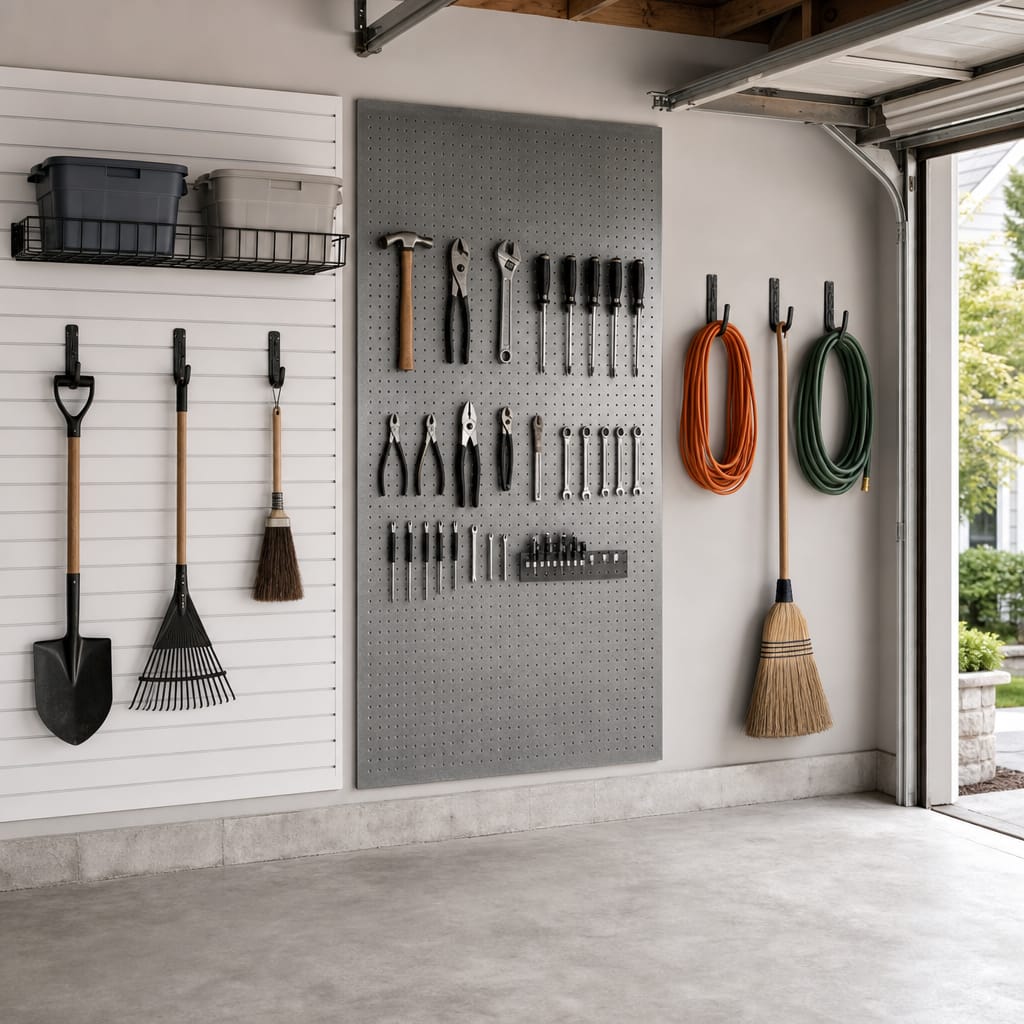
- Workshop zone — hand tools, small power tools, fasteners. Density and visibility matter more than load capacity. Usually 3–6 linear feet near a workbench.
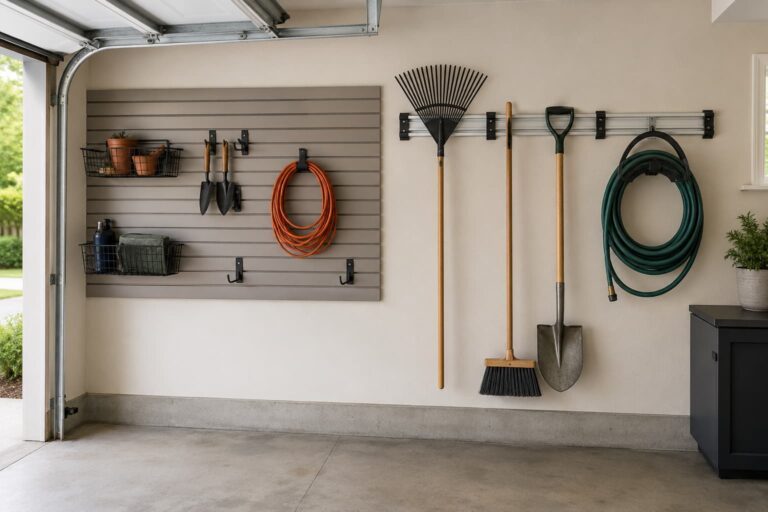
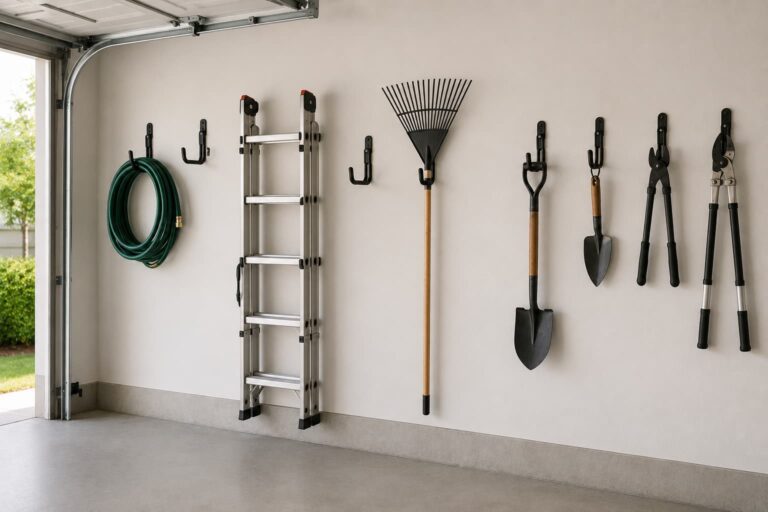
- Utility zone — extension cords, hoses, brooms, ladders. Often a single 4-foot stretch near the garage door.
- Seasonal zone — décor and rotated items you touch 2–4 times a year. Goes above shoulder height because reach frequency is low.
Before shopping, do a 5-minute zoning exercise: photograph the wall, group floor-pile items by use frequency, sketch the wall and label four zones. Weekly zones are where you spend money first. Seasonal can wait.
Step 2 — Pick a System Per Zone
Different systems are optimized for different loads, hook geometries, and item densities. The match-up:
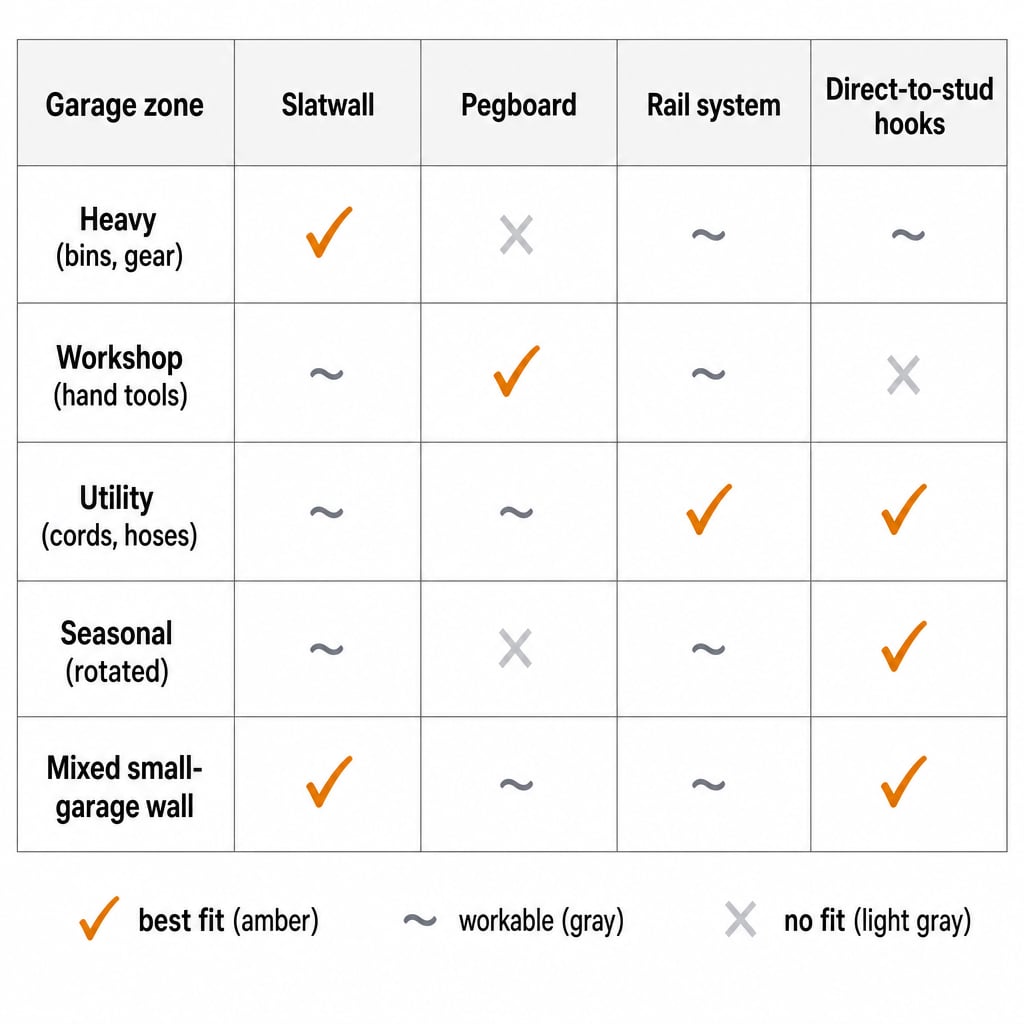
| Garage zone | Slatwall | Pegboard | Rail | Hooks |
|---|---|---|---|---|
| Heavy (bins, gear) | ✓ best | ✗ no | ~ ok | ~ ok |
| Workshop (hand tools) | ~ ok | ✓ best | ~ ok | ✗ low density |
| Utility (cords, hoses) | ~ ok | ~ ok | ✓ best | ✓ best |
| Seasonal (rotated) | ~ ok | ✗ wasted | ~ ok | ✓ best |
| Mixed small-garage | ✓ best | ~ ok | ~ ok | ✓ best |
A panel pays off when one zone needs hook variety in a small area. A hook kit pays off when you just need items off the floor. Most readers need one panel plus a stretch of direct-to-stud hooks — not three panel systems.
Slatwall — when it makes sense. Earns its higher cost when you combine bins, hooks, and shelves on one wall section. Wide accessory ecosystem, spreads load across the panel. Best for heavy and mixed zones. See our wall-mounted garage storage systems roundup.
Pegboard — when it makes sense. The workshop-zone winner. Cheaper per square foot than slatwall; the 1/4-inch hole pattern accepts hooks from any hardware store. Wall Control, the pegboard brand referenced below, caps single-slot hooks at 5–10 pounds each — wrong tool for bins. See how to install pegboard step-by-step.
Rail systems — when it makes sense. Rubbermaid FastTrack, Gladiator GearTrack, and similar earn their place when hooks are the entire strategy. The rail spreads load across studs. Best for utility items — ladders, hoses, long handles. See how to compare pegboard, slatwall, and rail systems.
Direct-to-stud hooks — when it makes sense. The cheapest path. No panel commitment — a pack of heavy hooks, a stud finder, an afternoon. Works for utility and seasonal zones with 4–8 items. Also the right answer for renters allowed to drill into studs. See best garage hooks for wall storage.
Step 3 — Mount Safely
Mounting is where the wall lives or dies. Manufacturer-listed capacity assumes a correct install — studs hit where claimed, anchors rated for the load, panel level.
Find studs first. Run a stud finder across the wall length and mark each stud’s centerline with painter’s tape from floor to ceiling. Residential walls are typically 16 inches on-center wood stud over drywall; some are 24 inches; older builds may be metal stud. Plan panel layout so mounting points align with at least two studs.
Drywall anchors are the second-best path. When studs aren’t where you need them, anchors fill the gap — but treat them as secondary. Anchors fatigue under cycling loads (a tool pulled daily). For concrete or block walls, use masonry anchors (Tap-Cons or similar) with a hammer drill — hit the solid web, not the void.
Step 4 — Load by Zone (Nearest-Use-First)
Load order is what makes the system actually save time. A perfectly mounted panel loaded in the wrong order is still a daily frustration.
- Heavy zone — bottom third, below 60 inches. Lifting at hip height is safer than at shoulder height. Heaviest items front-facing.
- Workshop zone — eye level, 48–66 inches. Hand tools first in reach order, then small power tools.
- Utility zone — 40–72 inches. Cords on a deep single hook, hoses on a dedicated hose hanger (generic hooks kink them), brooms head-up, ladders on ladder hooks.
- Seasonal zone — above 78 inches, or below 36 inches if you have floor-level cabinets. Label every seasonal bin so you can identify it from below.
Tools and Products That Help
Three products map to the system choices above. Pick the one (or two) matching the zones you actually have.
Slatwall reference. The Proslat 88102 8-foot by 4-foot section is the canonical residential slatwall starter. The manufacturer lists 75 pounds per square foot and 32 square feet per section. Hooks and accessories sold separately.

Pegboard reference. The Wall Control 30-WGL-200GVB galvanized steel pegboard set is the natural workshop-zone pick. 20-gauge steel accepts Wall Control’s own hooks and standard 1/4-inch pegs (and magnets stick). Bare panels — if you want a hook assortment included, look at the kit version (Wall Control 30-WGL-100GVB).

Hook kit reference. The HORUSDY 10-pack mixed garage hooks (six 9-inch + four 6-inch) is the right starter for direct-to-stud installs. The manufacturer lists up to 40 pounds per hook, with anti-rust coating on the steel arm. Two sizes only — readers with bike-, hose-, or ladder-specific needs should add purpose-built hooks.

For a full side-by-side, see the dedicated wall-system buying guide.
Four Common Mistakes
Mistake 1: Buying the system before zoning the wall
The master mistake. Walking into the hardware store with “I need wall storage” and walking out with a slatwall kit that ends up in the workshop zone — where pegboard would have done the same job for less. Zone first, on paper, before swiping a card.
Mistake 2: Mixing system types on the same continuous wall section
Different systems use different mounting hardware, standoffs, and panel thicknesses. Slatwall next to pegboard on the same wall section produces uneven panel faces and mismatched hook depths. Commit to one system per section, or leave a clear visual break.
Mistake 3: Mounting heavy storage above shoulder height
Heavy bins above shoulder height are a slip-and-injury risk every time you lift one down. The manufacturer-listed capacity says nothing about your shoulder mechanics at 75 inches of reach. Keep heavy items in the 36–60-inch band so you lift with your legs.
Mistake 4: Treating “manufacturer-listed capacity” as the operating maximum
A listed figure assumes ideal conditions — straight studs, evenly distributed load, no cycling fatigue. Real-world loads are uneven. The conservative practice: operate at 50–70 percent of the listed figure and inspect mounting hardware annually.
What garage wall systems actually hold, compared fairly
Pegboard is rated per panel, rails per linear foot, slatwall per square foot. Three different units means the published numbers cannot be compared as they stand — so nobody compares them, and a 200 lb figure on one product looks like a 200 lb figure on another. This table quotes each manufacturer’s rating and converts them all to pounds per linear foot of a 4 ft high wall run, with the arithmetic shown. Normalised values are comparison figures, not safe point-load limits. A system rated for 1,200 lb distributed across a wall section does not support a 1,200 lb hook.
| System | Type | Rating as published | Rating type | Same rating, per linear foot of a 4 ft wall | Working | Stud requirement | Specification source | Source checked |
|---|---|---|---|---|---|---|---|---|
| Wall Control metal pegboard (16 × 32 in panel) | pegboard | 200 lb per panel into studs (100 lb on drywall anchors) | panel recommendation | 225 lb per linear foot | 200 lb ÷ (16 in × 32 in panel = 3.56 sq ft) = 56.25 lb per sq ft; 56.25 × 4 ft high = 225 lb per linear foot (equivalently: a 4 ft × 4 ft section fits 3 panels across × 1.5 high = 4.5 panels × 200 lb = 900 lb ÷ 4 ft) | mounting holes on 16 in stud centres | Wall Control 16 × 32 in Metal Pegboard | 2026-09-14 |
| Gladiator GearTrack channel (rail) | rail | 75 lb per linear foot of channel | rail/channel rating | 150 lb per linear foot | 75 lb/ft per channel (published) × 2 channels (assumed common install) | mounts to bare wood studs or drywall over wood studs | Gladiator 4′ GearTrack Channels | 2026-09-14 |
| Gladiator GearWall slatwall panel | slatwall | 50 lb per square foot | distributed panel load | 200 lb per linear foot | 50 lb/sq ft × 4 ft high | not published on the product page | Gladiator 4′ GearWall Panels | 2026-09-14 |
| Proslat Classic PVC slatwall | slatwall | 75 lb per square foot | distributed panel load | 300 lb per linear foot | 75 lb/sq ft × 4 ft high | installs on 16 in stud centres | Proslat PVC Slatwall | 2026-09-14 |
How these numbers were produced: Each published rating is quoted from the manufacturer’s own page on the date shown. Conversion to pounds per linear foot assumes a 4 ft high run of wall: a per-square-foot rating is multiplied by 4. A per-panel rating is first converted to an equivalent per-square-foot rate, using the panel’s own published width and height, then multiplied by 4 the same way — scaling a per-panel rating sideways only, at the panel’s own height, would normalise it to a taller or shorter slice of wall than the 4 ft reference every per-square-foot row uses, so the two steps (per-panel → per-sq-ft → per-4-ft-run) keep every row on the same footing. A per-foot-of-rail rating is different in kind: the manufacturer publishes a rate per channel, and this table doubles it to show a common two-channel install — that doubling is our own installation assumption, not a manufacturer-stated rate; the sourced figure is the single-channel rate. Where a manufacturer publishes a single fixed capacity for a whole pre-sized unit rather than a rate per foot or per square foot, that figure is quoted as published and left out of the per-linear-foot column rather than converted with an invented rate.
- These are manufacturer maximums for a correctly installed system, not a promise. Every one of them depends on hitting studs, using the specified fasteners, and spreading the load rather than hanging it all off one hook.
- The comparison assumes a 4 ft high run. A rail system does not gain capacity from wall height the way a panel does — it gains it from adding channels, which is why its normalised figure moves when you change the channel count, not the height.
- Stud spacing is a hard constraint, not a suggestion. Proslat’s PROCORE is the only system here with a published compatibility range — engineered for 24 in centres, rated compatible down to 16 in. Check whether your own system publishes a similar range before assuming it.
- Drywall anchors are not studs: Wall Control publishes 100 lb per panel on anchors against 200 lb into studs — a real number for that one product, not a ratio to assume for other systems here that don’t publish their own stud-vs-anchor split.
- Capacity drops the further a load sits from the wall: storeWALL publishes 250 lb per sq ft as a distributed rating at the panel surface, but only 115 lb as a point measurement 4 in out. That lever-arm principle is a reasonable general caution for hooks and brackets on any system, but storeWALL is the only brand here that publishes a number for it.
- A blank cell means the manufacturer does not publish that figure — we do not fill gaps with numbers we could not source.
- This list favors brands whose own specification pages state a capacity figure in a form we could verify directly. Some well-known brands are not yet in this table because their published pages did not state a load rating we could confirm on this pass — that is a sourcing gap, not a signal that the product is weaker.
These are the entries that matter for this guide. The full table, with every row and its source, is in our What garage wall systems actually hold, compared fairly.
FAQ
Do I need a panel system, or can I just use hooks?
Depends on how many zones you have. One zone with 4–8 items? Direct-to-stud hooks are fine. Three or more zones with mixed item types? A panel in at least one zone pays off — reconfiguring is easy and the accessory ecosystem is broader.
Can I install slatwall over drywall, or do I need to remove the drywall first?
Most modern residential slatwall (Proslat and similar) mounts over drywall into studs without removing it first. Verify the manufacturer’s instructions for the product you buy — a few heavier-duty commercial systems require direct stud mounting.
What’s the difference between pegboard and slatwall in practice?
Pegboard is optimized for hand-tool density at low cost — the 1/4-inch hole pattern is standard and any hardware store sells compatible hooks. Slatwall is optimized for bin-plus-hook flexibility at higher per-square-foot cost — the horizontal channel accepts baskets, shelves, and hooks of multiple lengths.
I rent — can I do any of this without drilling?
Limited. Tension-rod and adhesive options rate well below any drilled option. If your lease allows drilling into studs, direct-to-stud hooks are the smallest reversible install. For lighter alternatives, see smaller tool organizers that work without panel commitment.
How much wall area do I actually need to cover?
Start with the zone(s) you use weekly — usually workshop or utility. Cover that area first. You can expand to other zones later without redoing the first install.
Panel first, or hooks first?
Panel first, then load hooks. Don’t commit hook positions until the panel is level and screwed down. Hooks look obvious until you actually hang a tool and find it an inch too high or too low.
Sources Reviewed
This article synthesizes manufacturer product pages (Proslat 88102, Wall Control 30-WGL-200GVB, HORUSDY 10-pack, Rubbermaid FastTrack, Gladiator GearTrack), public DIY garage-organization discussions, and Garage Space Guide editorial. We do not claim hands-on testing unless clearly stated.
Related Guides
- Best Wall-Mounted Garage Storage Systems — slatwall, pegboard, and rail compared brand by brand
- How to Choose a Garage Pegboard, Slatwall, or Rail System — the buying guide one step beyond this article
- Best Garage Hooks for Wall Storage — picks for direct-to-stud installs
- How to Install Garage Pegboard (Step-by-Step) — install layer for the pegboard zone
- How to Install Garage Slatwall (Step-by-Step) — install layer for the slatwall zone