How to Organize Bins on Garage Shelves
Last updated:
Disclosure: This article contains affiliate links. If you buy through these links, we may earn a commission at no extra cost to you. We do not claim hands-on testing unless clearly stated.
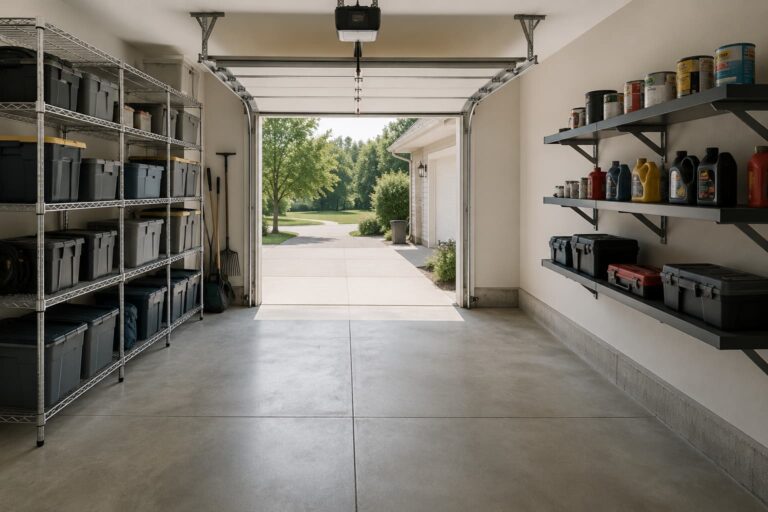
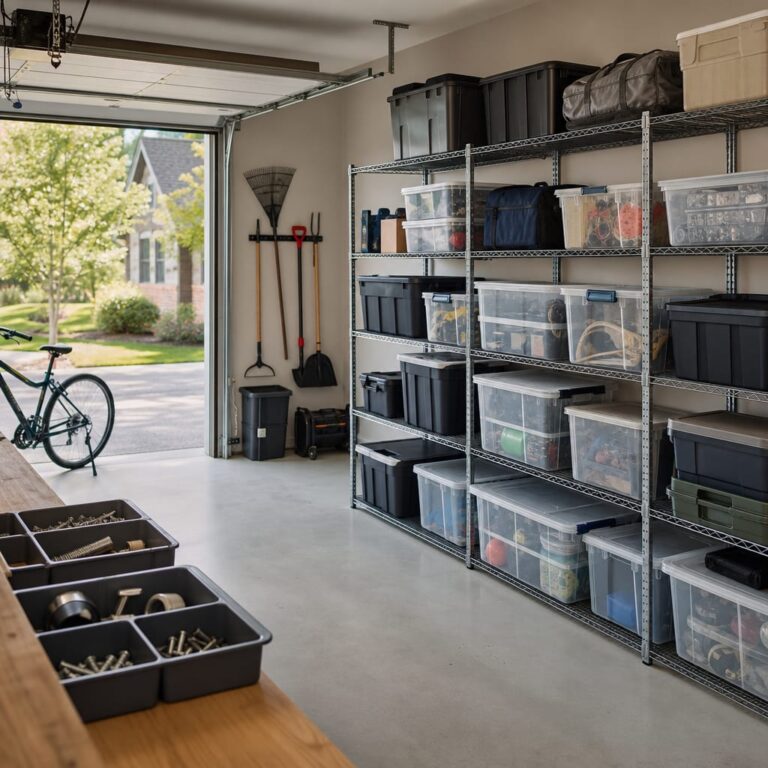
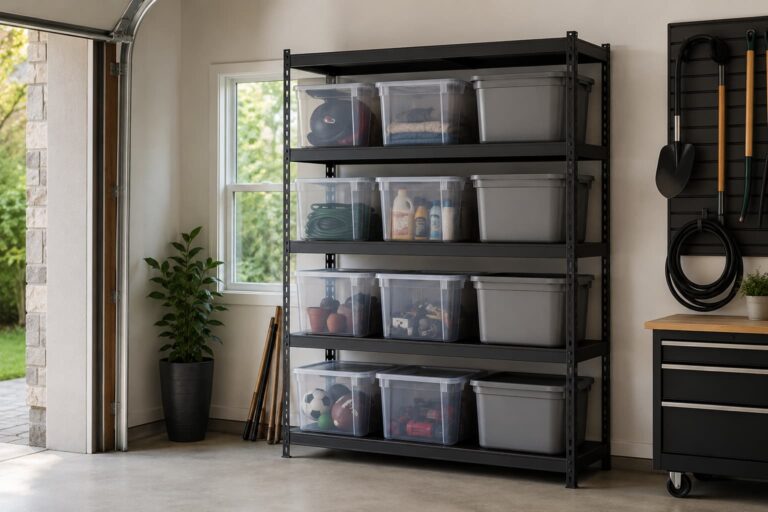
Bins on garage shelves drift into “where did I put it?” within months. The fix isn’t more bins or fancier shelves — it’s a repeatable sequence: measure shelf depth, pick a standard bin footprint that matches, sort by frequency before category, label the short side, cap stack heights. Below is the 7-step system in the order it has to happen. If you don’t yet have shelving, start with the shelves we recommend for 27-gallon totes.
Quick Answer
Measure each shelf’s depth. Pick one bin footprint matched to that depth. Sort items by how often you reach for them, not by category. Frequent + heavy bins at chest height, archival up top, heavy infrequent down low. Label the short side of every bin. Never stack more than three full bins. Audit twice a year. That’s the whole system.
What You’ll Need
- Tape measure (the most-skipped tool)
- Standard footprint storage bins matched to your shelf depth
- Handheld label maker, or weatherproof masking tape plus a permanent marker
- 30–60 minutes of decision time — not just physical sorting time
The decision part takes longer than people expect. Spend more time thinking about where things go than moving them.
Step-by-Step System
Step 1 — Measure your shelf depth first
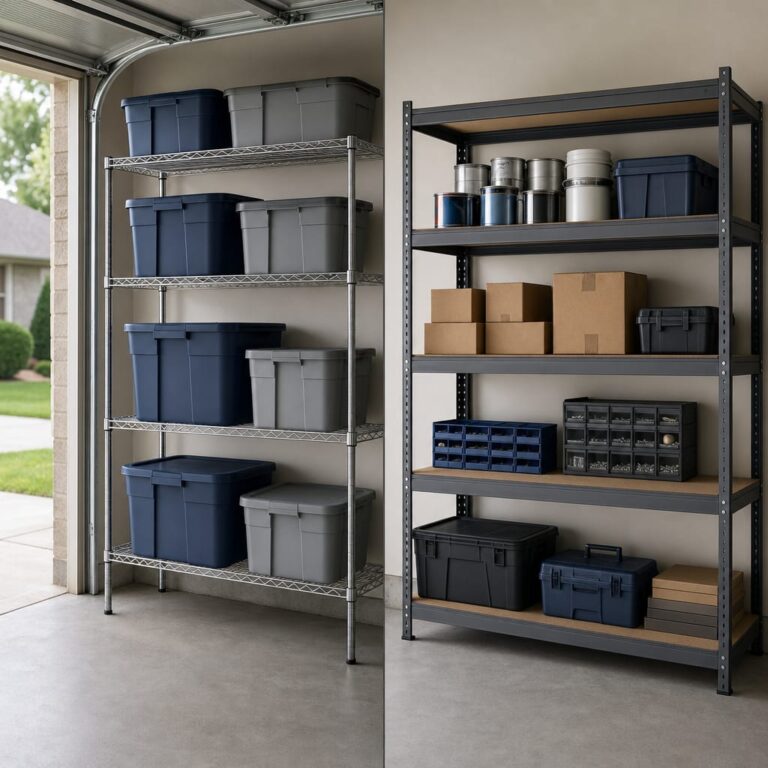
The most common mistake is buying bins before measuring shelves. Common garage shelf depths are 18″, 20″, and 24″ — but depth can vary within one unit (deeper bottom shelf for heavy items, shallower top shelf).
What to do: measure each shelf, front to back. Write down the depths. Note any obstructions — a shelf clip, a back-wall stud, a cross-brace — that reduce usable depth.
If you don’t yet have shelves, how to choose garage shelving walks through depth, height, and load decisions in order.
Step 2 — Pick a standard bin footprint matched to that depth
Bin uniformity beats variety. One footprint for the bulk of storage, two or three exceptions for oddly-sized contents. Mixed shapes pack inefficiently and look cluttered.
Match bin depth to shelf depth:
- 18″ shelves: 12–17″ deep bins (most 19–32-quart latch boxes).
- 20″ shelves: 17–19″ deep bins (some 32-quart-class bins).
- 24″ shelves: up to 20–21″ deep bins (the 27-gallon-class tote sits flat).
For shelves at 24″ or deeper, the standard 27-gallon industrial tote is the workhorse:
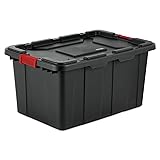
Sterilite 27-Gallon Industrial Tote (4-Pack). Latching tabs, made in USA, 30½” × 20⅝” external footprint (Sterilite’s listed exterior dimensions for SKU 14669004). The same SKU our best garage storage bins for shelves roundup recommends as the default. A 4-pack replaces four cardboard boxes in one purchase. Tab-latched, not gasket-sealed — fine for most contents, but use a sealed bin for anything that must stay dust-free.
Step 3 — Sort by use frequency before sorting by category
The instinct is to group by category first: all camping gear together, all sports together. That works on paper but ignores how you actually retrieve items.
Sort first by frequency:
- Weekly/monthly — current-season items, ongoing projects, regularly-used tools.
- Seasonal — used two or three times a year (winter clothes in summer, holiday decor).
- Archival — once a year or less (older tax records, sentimental keepsakes, off-season tires).
Category sorting happens inside each frequency bucket, not across it. Camping gear used twice a year goes with other seasonal items, not with daily-use sports gear.
Step 4 — Place by frequency × bin weight
Frequency and weight together decide which shelf a bin lives on:
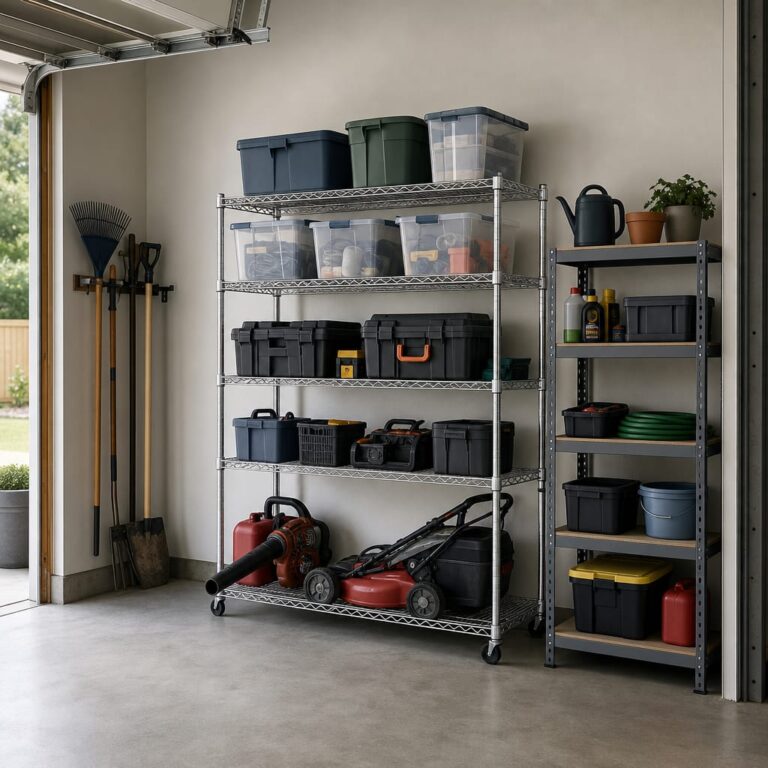
- Frequent + heavy → chest to waist height (easiest reach for filled bins).
- Frequent + light → chest height, toward the front for fastest access.
- Infrequent + heavy → lowest shelves. Lifting heavy bins overhead is a back-injury risk.
- Infrequent + light → top shelves. Climbing for once-a-year items is fine; lifting heavy items overhead is not.
Most garages get this wrong — seasonal heavy items end up overhead because they’re “out of the way”, daily-use items end up wherever there’s space.
Step 5 — Label every bin
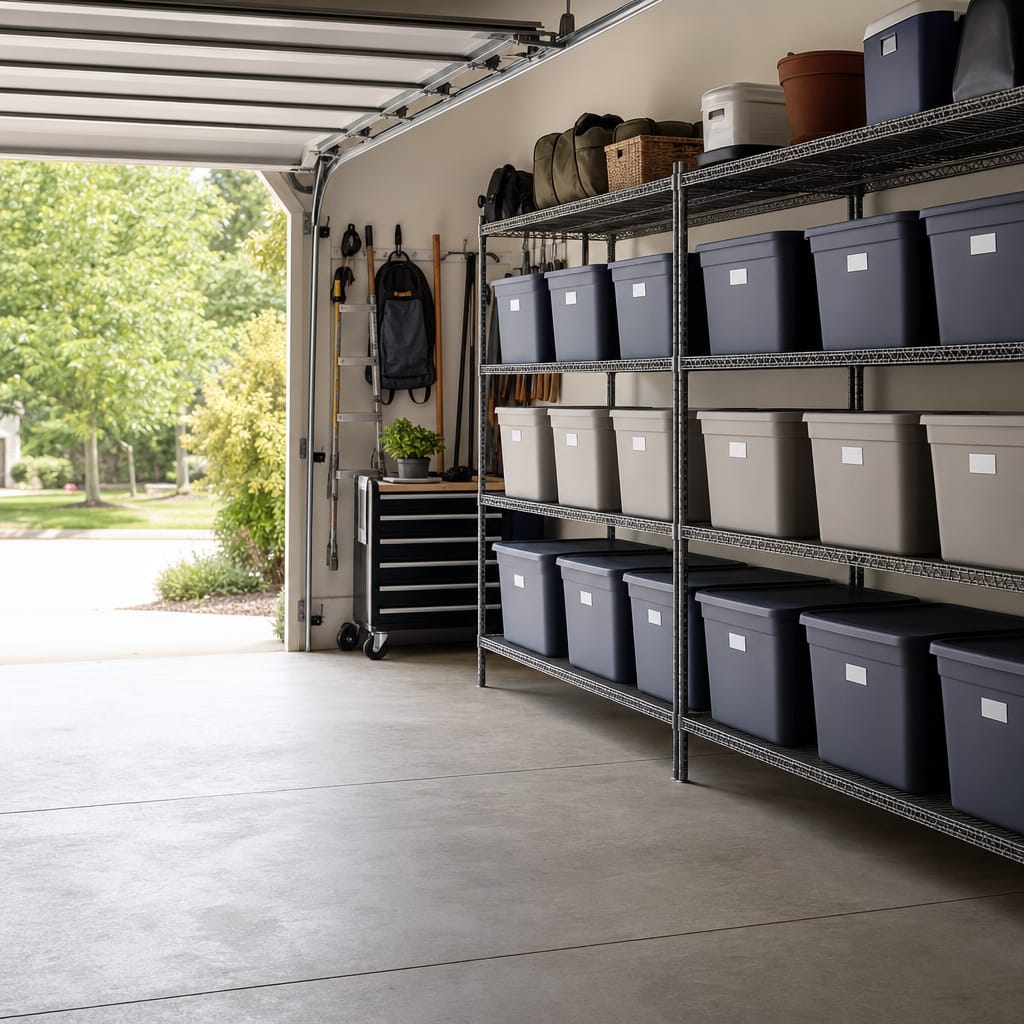
Every bin gets a label. Unlabeled bins become “miscellaneous” within a year — functionally lost.
Where: placement depends on how the bin sits — see our bin-labeling guide for placement by orientation.
What: two-line label — CATEGORY on top, SUBCATEGORY below. Example: “CAMPING / sleeping bags”. Don’t write a date.

DYMO LetraTag LT-100H. The long-running default handheld label maker. Battery-operated, plastic LetraTag tape that resists garage humidity better than paper-backed tape. ABC keyboard (slower for QWERTY-trained users), but the entry-level pick most buyers stick with. Buy one or two extra tape cassettes upfront. For deeper labeling strategy, see how to label garage storage bins.
Weatherproof masking tape plus a permanent marker is the no-budget alternative — labels look hand-written and the system erodes faster.
Step 6 — Cap stack heights and avoid stacking full bins
Manufacturer-listed stack ratings are based on empty bins. The real-world rule is more conservative: never stack more than three full bins, and the bottom bin holds the heaviest contents. Light contents (linens, off-season clothing) can stack higher. Heavy contents (tools, books, hardware) should never be more than two bins high.
For high-turnover items you reach for weekly, skip stacking entirely and use clear gasket-sealed bins side-by-side — you’ll see contents at a glance and won’t unstack three bins to reach the one you want:

IRIS USA WeatherPro 19-Quart Clear Storage Bin (6-Pack). Clear walls, rubber gasket lid, latching buckles. The 19-quart size keeps one category per bin (one hobby, one project, one sport) without overflowing. Useful for current-season hardware, in-progress projects, or anything sensitive to garage dust. The WeatherPro family (formerly WEATHERTIGHT) has multiple sizes (12, 19, 32, 41, 60 quart) — specify 19-quart at checkout. For a safety-focused deep-dive, see how to stack garage storage bins safely.
Step 7 — Audit twice a year
A working system erodes without an audit. Twice a year — spring and fall — walk the shelves, open two or three bins at random, and rewrite any drifted labels. The audit is also when seasonal items rotate between archival and current-use shelves. Skip a year and expect a weekend of re-sorting. Skip three, expect to start over.
Common Mistakes
Bin variety syndrome. Ten bin shapes on one shelf packs inefficiently and looks chaotic. Pick one footprint, reserve two or three exceptions for genuinely odd contents.
Labeling only some bins. Unlabeled bins become “miscellaneous” within a year. Every bin gets a label — today’s obvious is tomorrow’s mystery.
Stacking full bins above shoulder height. Heavy bins overhead are a back-injury and a dropped-bin-on-a-toe waiting to happen. Heavy goes low, light goes high.
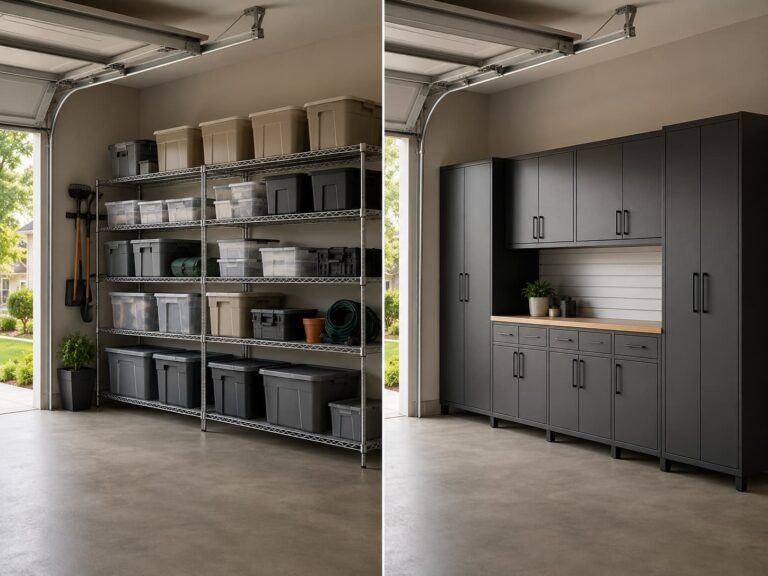
Treating opaque bins like an attic. Out of sight, out of memory. For high-turnover items, lean on clear bins — see best stackable storage bins for garage for picks that mix opaque archive with clear current-use.
Optional Layout — A Reference Three-Shelf Setup
A starting point for a typical 4-tier residential wire shelving unit. Adapt to your specific shelves and items — the principle (frequency × weight × accessibility) matters more than the exact tier assignments.
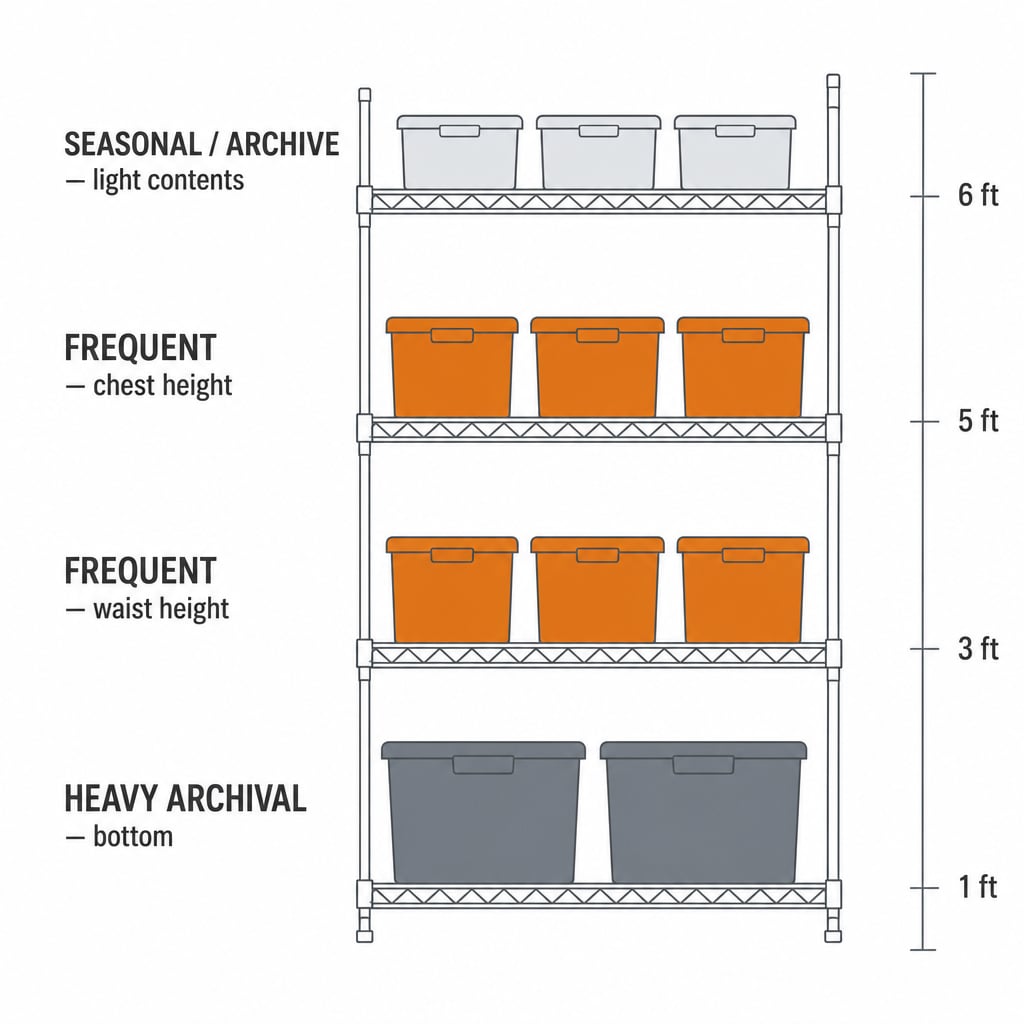
- Top tier (above ~6 ft): seasonal and archival, light contents, smaller bins. Holiday decorations, off-season clothing, once-a-year items.
- Upper middle (~5 ft, chest height): weekly + frequent access. Current-season tools, ongoing projects, daily-use sports gear.
- Lower middle (~3 ft, waist height): weekly + heavier contents. Hardware, larger tools, monthly-replenished consumables.
- Bottom tier (~1 ft, near floor): heavy archival. Paint cans, old electronics, large tool chests — anything too heavy to lift safely.
The chest and waist tiers are the most valuable real estate. Don’t waste them on archival items. For readers planning a layout from scratch, how to choose garage storage bins covers bin format selection.
How many totes actually fit on a garage shelf
Tote makers publish dimensions and shelving makers publish dimensions, but nobody puts the two together — so people buy shelving, then discover their totes overhang it. This table takes the published external size of totes from the brands people actually buy for garage storage — Sterilite, Rubbermaid Roughneck, and IRIS USA — and works out how many fit per shelf on the two garage shelving depths you can actually buy, 18 in and 24 in.
| Tote | Published dimensions (source order) | Footprint | Height | Fits an 18 in deep shelf? | Per 48 × 18 in shelf | Per 48 × 24 in shelf | Specification source | Source checked |
|---|---|---|---|---|---|---|---|---|
| Sterilite 106 Qt. Latching Box | 33 7/8" x 18 3/4" x 13" | 33⅞ in × 18¾ in | 13 in | No — it overhangs | 0 | 1 | Sterilite 106 Qt. Latching Box | 2026-09-14 |
| IRIS USA WeatherPro Storage Container, 30 Qt. | 19.70" L x 15.75" W x 7.75" H | 19.7 in × 15.75 in | 7.75 in | Yes | 2 | 3 | IRIS USA WeatherPro Storage Container, 30 Qt. — Gasket Box | 2026-09-14 |
| IRIS USA WeatherPro Storage Container, 74 Qt. | 23.6" L x 17.8" W x 14.5" H | 23.6 in × 17.8 in | 14.5 in | Yes | 2 | 2 | IRIS USA WeatherPro Storage Container, 74 Qt. — Gasket Box (3-pack) | 2026-09-14 |
| IRIS USA WeatherPro Storage Box, 82 Qt. | 30.00" L x 16.00" W x 15.40" H | 30 in × 16 in | 15.4 in | Yes | 1 | 1 | IRIS USA Heavy-Duty Storage Box WeatherPro, 82 Qt. — Gasket Box | 2026-09-14 |
How these numbers were produced: External dimensions are quoted on the date shown per row. Sterilite rows are quoted from Sterilite’s own product pages (L x W x H order). Rubbermaid Roughneck rows are quoted from Ace Hardware’s retailer listing, which prints the manufacturer’s SKU-linked dimensions in H x W x D order on each product page. IRIS USA rows are quoted from IRIS USA’s own product pages (L x W x H order). All figures are the external/overall assembled dimensions with the lid on. The counts are computed, not estimated: totes are placed in a single layer, all in the same orientation, with no overhang and no gap; both orientations (the tote’s long side along the shelf’s 48 in run, or along its depth) are tried and the better one is kept. Shelf width is 48 in in both cases — the two depths are real Husky shelving footprints: 48 in. W x 18 in. D (Husky 86 in. H x 48 in. W x 18 in. D 6-Shelf Steel Shelving Unit, model MR481886W6B, https://www.homedepot.com/p/Husky-86-in-H-x-48-in-W-x-18-in-D-Black-Steel-6-Shelves-Shelving-Unit-MR481886W6B/306062319) and 48 in. W x 24 in. D (Husky 5-Tier Steel Shelving Unit, 48 in. W x 78 in. H x 24 in. D, model 426007, https://www.homedepot.com/p/Husky-5-Tier-Riveted-Steel-Garage-Storage-Shelving-Unit-in-Silver-48-in-W-x-78-in-H-x-24-in-D-426007/303241694); neither product page states a clear opening between posts. 48×18 and 48×24 are unobstructed reference surfaces, not guaranteed usable dimensions of every nominal 48×18 or 48×24 rack — posts and lips can reduce the clear opening (one retailer answer for a Husky 48×24 gives about 45.5 × 21.5 in between posts). Round the result down again if your shelving has corner posts that intrude, and leave room to get a hand in.
- A tote that fits the shelf footprint still needs vertical room: check the tote height against your shelf spacing, and leave clearance to lift it in and out rather than sliding it flush.
- Counts assume a flat, full-depth shelf. Wire shelving with a lip, or posts at the corners, will cost you the last tote in a row.
- Lids overhang the base on most totes; the figures here are the manufacturer’s overall assembled dimensions, which already include the lid.
- Capacity in quarts or gallons tells you nothing about whether it fits — and "27" doesn’t mean the same thing twice. The Sterilite 27 Qt. ClearView Latch Box (17 in x 11-1/8 in) fits an 18 in shelf; the Sterilite 108 Qt. Stacker Box (25-3/4 in x 18-3/8 in) — 27-gallon-equivalent by volume (108 qt = 27 gal), though Sterilite sells it as "108 Qt.," not "27 Gal." — does not.
- Manufacturers and retailers don’t all publish dimensions in the same order. Ace Hardware lists Rubbermaid Roughneck as Height x Width x Depth, where Sterilite and IRIS USA publish Length x Width x Height. This table normalises every row to footprint (the two horizontal dimensions) and height so they compare directly regardless of the order they were published in.
- Rubbermaid Roughneck’s 10 gal and 18 gal totes share the same footprint (23⅞ in x 15⅞ in) — only the height changes, so stepping up in capacity in that range costs no extra shelf space, only vertical clearance.
- A blank cell means the manufacturer does not publish that figure — we do not fill gaps with numbers we could not source.
These are the entries that matter for this guide. The full table, with every row and its source, is in our How many totes actually fit on a garage shelf.
FAQ
Can I use mixed bin sizes on one shelf?
Yes, but only intentional mixes. One large bin plus two smaller bins filling the same depth packs cleanly. Random variety (six unrelated shapes on one shelf) packs inefficiently. If you have to mix, group same-size bins together within each shelf.
How do I label bins when contents change seasonally?
Use a broad category label like “SEASONAL — winter” and rotate contents inside without rewriting the label. The label describes the slot, not the specific contents.
Should I use clear bins for everything?
No. Clear bins are useful for high-turnover and current-use categories. For archival storage (holiday items, old records, off-season gear), opaque is fine and often cheaper.
How much weight can a typical garage shelf hold?
Manufacturer-listed capacities vary widely by brand and shelving line, and casters typically cut the rated load well below the leveling-feet figure for the same unit. There’s no single number that holds across brands, so treat any figure you see elsewhere as specific to that one shelving line, not a rule of thumb. Check the capacity printed on your shelf’s own product page or spec label, and note the load condition it was rated under (evenly distributed, fully assembled).
Is it worth replacing all cardboard boxes with plastic bins at once?
Yes if budget allows. Replacing gradually leaves cardboard around for months and the system never fully kicks in. A 4-pack of standard totes finishes the bulk swap in one purchase.
What if my shelves are an odd depth (like 16″)?
Step down to smaller bins (12–14″ deep) or accept wasted space at the back. Don’t overhang heavy bins — overhang is unstable and weighs awkwardly on the front edge.
Sources Reviewed
We reviewed manufacturer pages and Amazon listings for the three products mentioned (Sterilite 14669004 27-gallon Industrial Tote 4-pack, DYMO LetraTag LT-100H, IRIS USA WeatherPro 19-quart 6-pack), cross-checking listed dimensions, capacities, and pack formats. We also reviewed recurring public-discussion patterns on bin-on-shelf organization, stacking practices, and labeling cadence. We do not claim hands-on testing unless clearly stated.