How to Label Garage Storage Bins
Last updated:
Disclosure: This article contains affiliate links. If you buy through these links, we may earn a commission at no extra cost to you. We do not claim hands-on testing unless clearly stated.
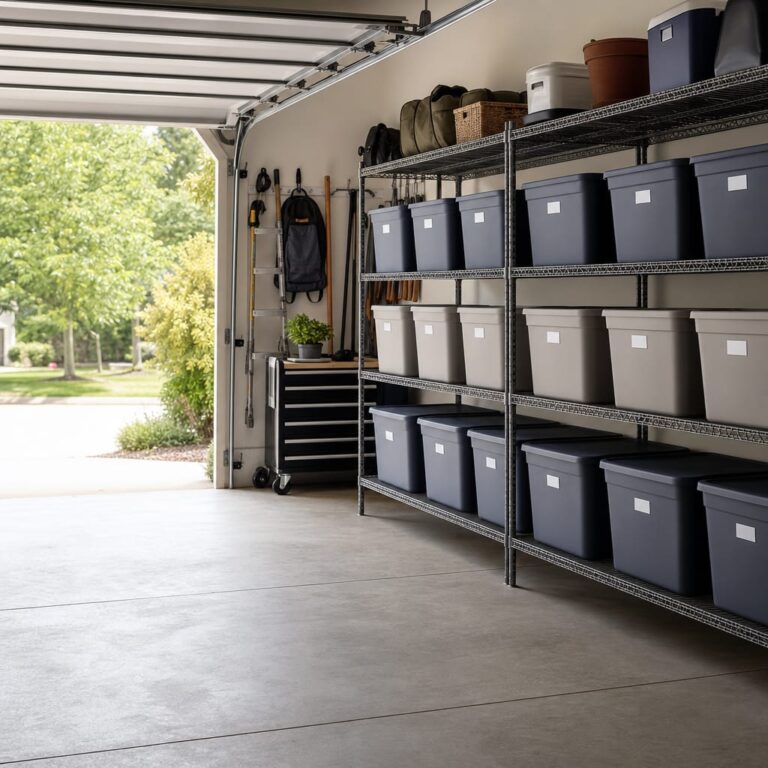
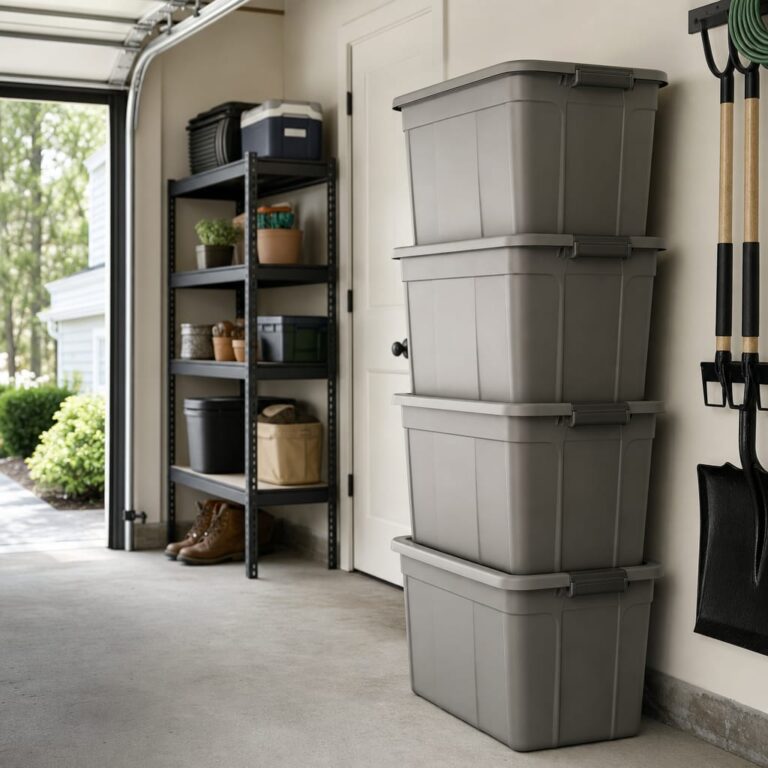
The unlabeled-bin problem creeps up slowly. You buy ten matching black totes in a moment of optimism, fill them in an afternoon, and four months later every one looks identical from across the garage. You open three to find the Christmas lights and end up creating a fourth bin called “miscellaneous stuff from the other three”.
This guide walks through a labeling system that survives a humid summer, a south-facing wall, and the reshuffles that happen whenever life changes. It covers what to label, where to stick the label, and how to choose between a label maker, a preprinted set, and a Sharpie. It does not cover buying bins themselves or picking shelving that fits standard bin sizes — those are separate guides.
Quick Answer: What You’ll Need
A working labeling system has three ingredients: a labeling method (machine, preprinted, or handwritten), a clean bin surface, and a placement rule that survives stacking and reshelving. None of these are expensive. The discipline is in doing all three.
What to gather before you start:
- A label maker, a pack of preprinted removable labels, or blank waterproof labels plus a permanent marker
- Isopropyl alcohol (70% or higher) and a microfiber cloth, or any cleaning wipe
- Optional: a 4 × 6 index card and a pencil for the master inventory list
Plan an afternoon. Two hours if you have ten bins, half a day if you have twenty.
Step-by-Step: A Labeling System That Lasts
Step 1 — Group your stuff into categories first, not after
The most common mistake is to label as you go: bin one becomes “tools”, bin two becomes “tools 2”, bin three becomes “tools 3”. The bins inflate and the categories collapse, which means you still have to open all three to find a specific drill bit. Sort first, label second.
Useful category granularity follows three rules. A category should fill at least half a bin (otherwise you’re paying storage real estate for a few items). It should be narrow enough that “Christmas” doesn’t accidentally include the patio cushions. And it should survive a year of seasonal turnover — if it collapses the next time you reshuffle, it was too specific to begin with.
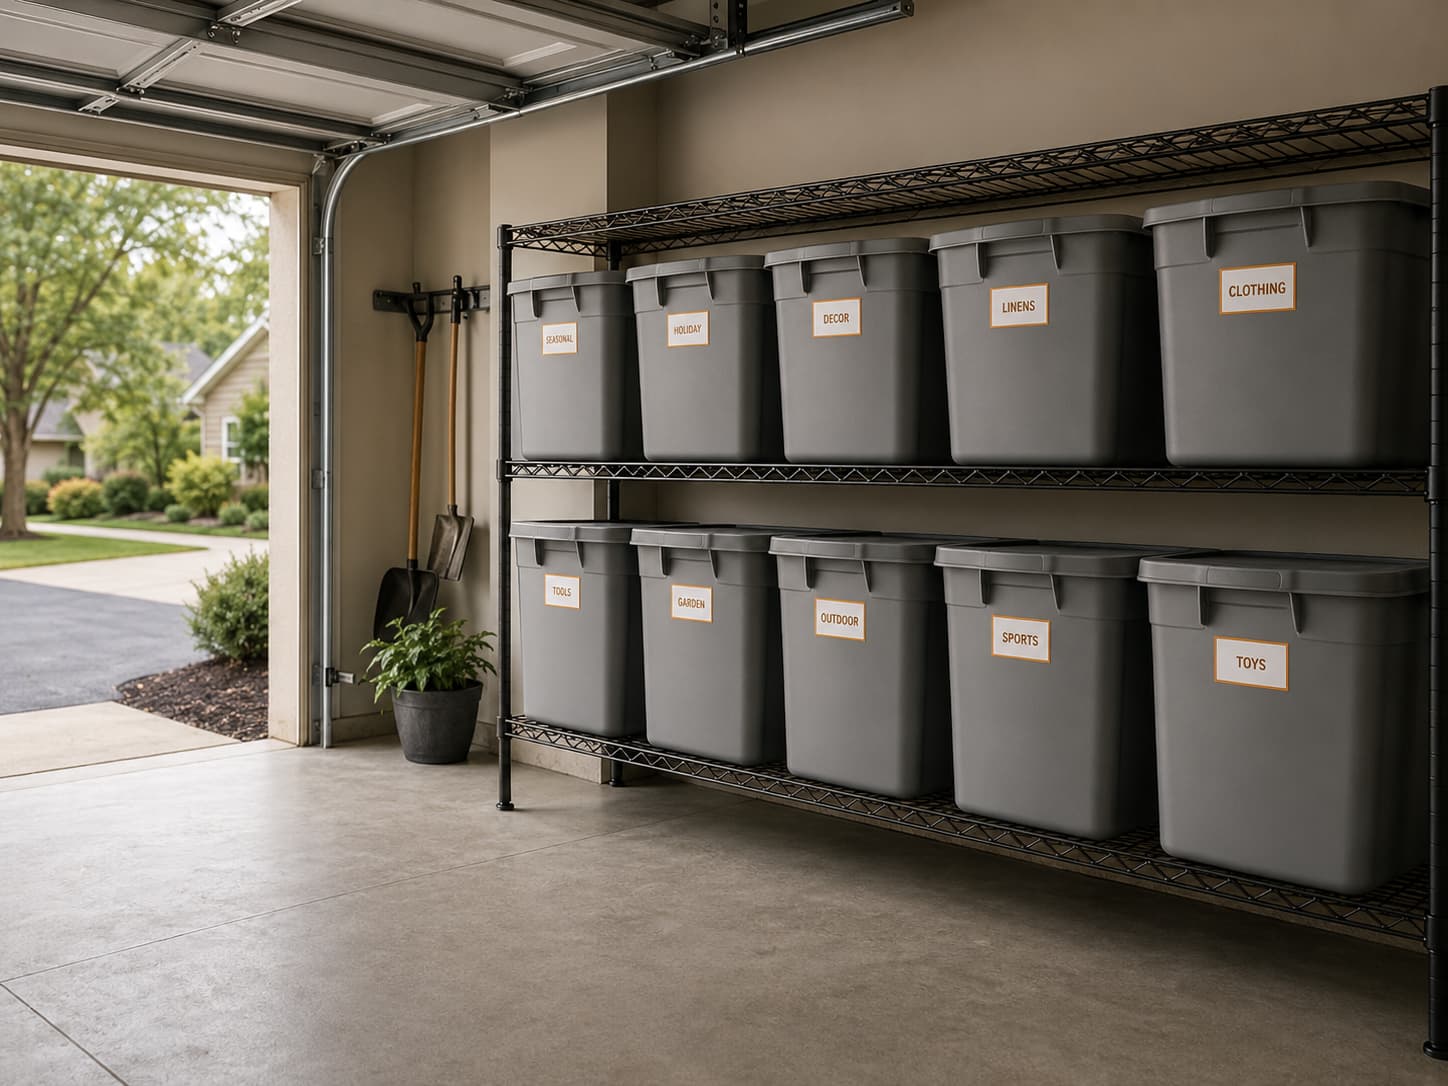
Categories that tend to work in real garages: holiday decor — Christmas; camping and hiking gear; power tools — corded; power tools — cordless; sports — kids; sports — adult; auto detailing; emergency supplies. For broader context on how categorization fits into the bigger garage organization picture, see our step-by-step small garage organization guide.
Step 2 — Pick a labeling method (machine, preprinted, or handwritten)
There are three real paths, and each has a trade-off that matters more than the up-front cost.
- Label maker. Durable, uniform, and repeatable. The tape is laminated and rated for water and fading — what an unconditioned garage needs. The catch is consumable cost: replacement TZe cartridges add up over a 30-bin system.
- Preprinted labels. The cheapest path per label, renter-friendly when the pack uses removable adhesive. The catch is category lock-in — you cannot add a new one when “kayak gear” enters your life.
- Blank waterproof labels + permanent marker. Most flexible. The catch is fading: Sharpie on the wrong substrate is gone in a year on a south-facing wall.
Rough decision rule: more than twelve bins, the label maker pays for itself. Fewer than twelve, a preprinted pack or blank-plus-marker is usually faster.
Step 3 — Clean the bin surface before sticking anything
Wipe the spot you intend to label with isopropyl alcohol or a microfiber cloth, then let it dry. New plastic bins carry mold-release residue from the factory — invisible and slippery — and dust collects in any unconditioned space. This single step is the difference between a label that survives two years and one that peels in a week. Even the best label adhesive cannot grip through a film.
Step 4 — Place the label on the long side, near the top
Where you put the label depends on how the bin lives on the shelf. For a bin that sits forward on an open shelf, the label belongs on the long side, about an inch and a half below the top edge — high enough that a bin stacked on top doesn’t cover it.
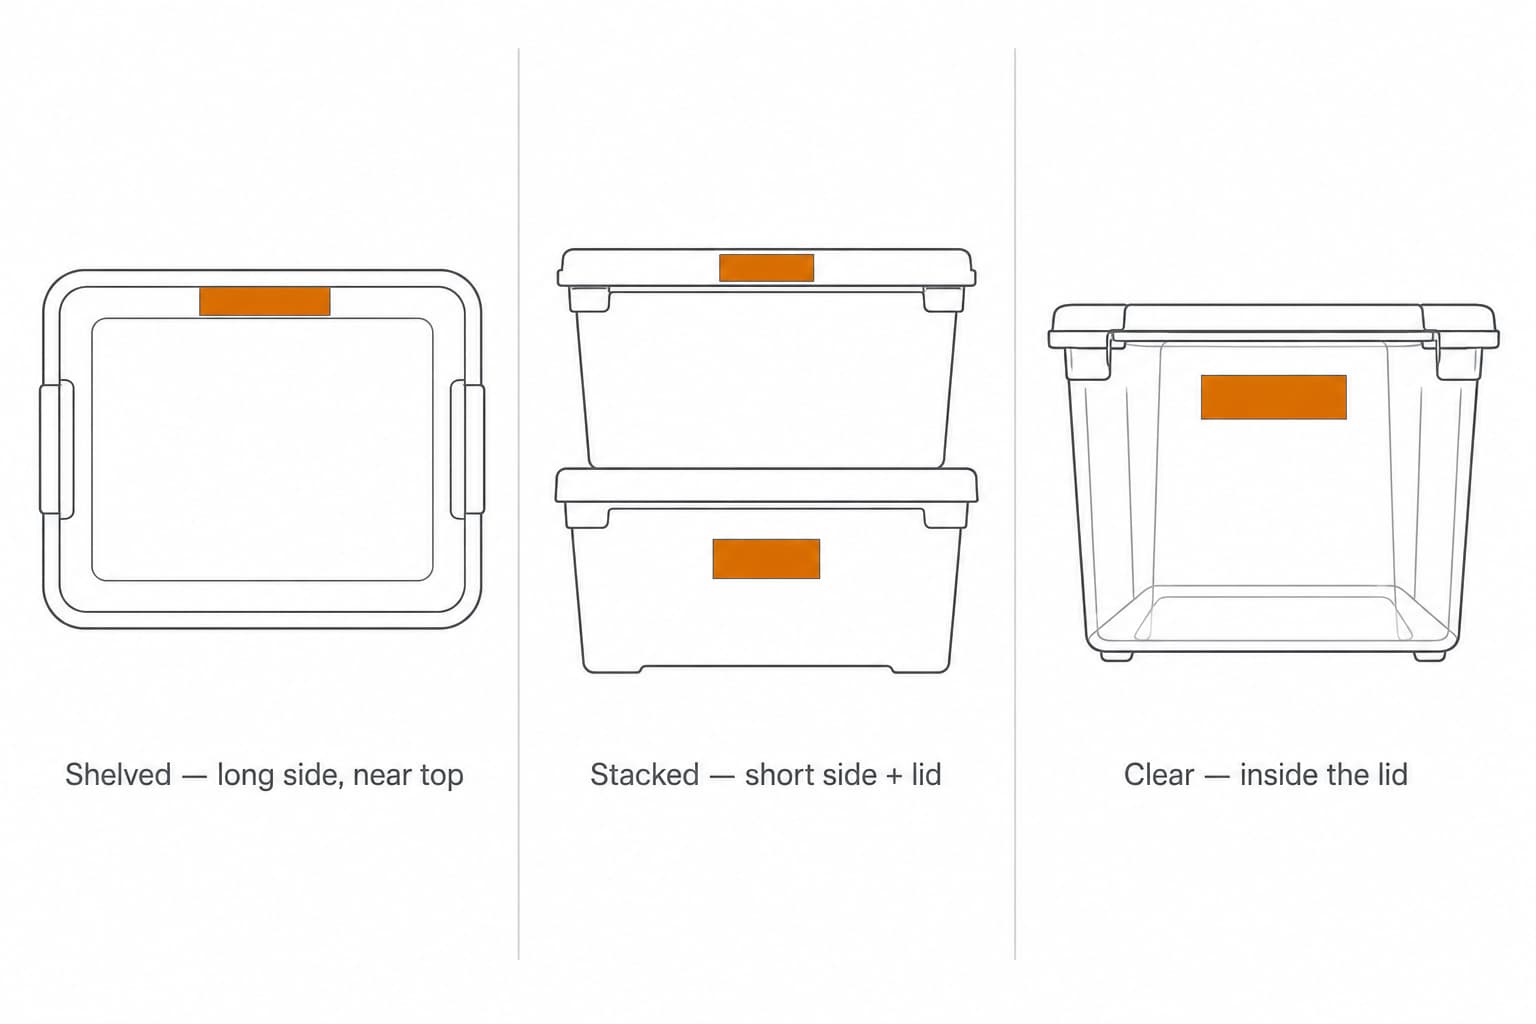
For stacked bins, you need two labels per bin — one on a short side and one on the lid. The short-side label is readable when bins are pulled forward; the lid label is the only thing visible when something is stacked directly on top.
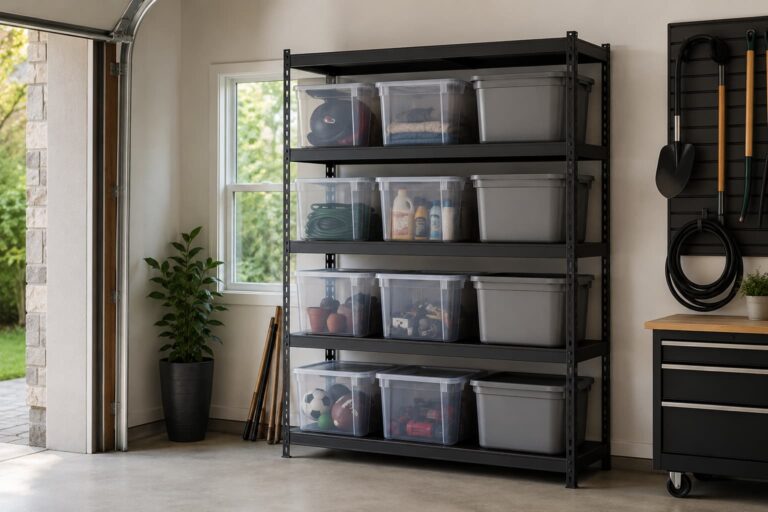
Clear bins are the third case, and they trip people up. If the contents fill the bin, a front label gets obscured by whatever sits against the wall. Put the label on the inside of the lid (or on a short side near the top) so the printed contents remain readable even when the bin is full.
Step 5 — Add a “last reviewed” date in pencil
Write the month and year you sorted the bin on a discreet corner of the label. It takes ten seconds and saves a future judgment call: when you wonder “do I still need any of this?”, the date tells you how stale your last sort was.
Tools and Products That Help
You only need one labeling tool. Pick the one that matches your situation.
Label maker — The Brother P-Touch PTH110 is the canonical entry-level handheld label maker for home and garage organization. The manufacturer states that its TZe-series laminated tapes are fade-, water-, and smudge-resistant, which is what matters in a garage. The keyboard is QWERTY, the unit takes AAA batteries, and the labels print in 12 mm widths that fit comfortably on the short side of a standard tote.

Preprinted labels — If you don’t want another device, the Talented Kitchen 136-pack of preprinted removable storage bin labels covers most common garage and home categories in a clean script. The adhesive is removable, which is useful in a rental garage where you may need to lift everything in a year. Check the included category list against your real bin contents before you order — some sets skew kitchen-heavy and miss garage-specific categories.

A third option, not affiliate-linked here because the available products rotate frequently: a pack of 4 × 6 blank water-resistant labels plus a black Sharpie. Cheaper than either of the above, but you accept handwriting variation and you should expect to redo any label that sits in direct sunlight after about a year.
For ideas on the bins themselves, see our guide to garage storage bins for shelves. For wall systems that keep bins off the floor, see the best garage wall storage systems.
Common Mistakes
Mistake 1: Paper labels with packing tape over the top
Paper fades, tape yellows, and the combination peels at the corner after one humid season. If you want the cheapest path, use a label rated for water and oil resistance — not a sticky-note shielded by Scotch tape.
Mistake 2: One label per bin, on the lid only
The lid is the easiest face to write on, but the moment you stack two bins the bottom lid disappears. Use the long-side or short-side rules from Step 4, and reserve the lid label as a secondary marker for stacked storage.
Mistake 3: Hyper-specific categories
“Christmas — outdoor lights — strands of 50” reads precise on paper and collapses the moment you switch from incandescent to LED. Aim for categories that fill at least half a bin and tolerate a year of inventory drift. If you write a label and immediately wonder “what if I have a few of these too”, the category is too narrow.
Optional: A Simple Master Inventory List
Past twenty bins, labels alone stop being enough — you need a quick way to find which bin holds something you haven’t touched in a year. A 4 × 6 index card taped inside a cabinet door does the job: bin number on the left, category on the right, one line per bin. Update it during the same afternoon you do a seasonal reshuffle. For renter-friendly variants, see our garage organization checklist for renters.
FAQ
Do I need a label maker if I only have five bins?
No. A preprinted pack or blank labels with a marker is faster and cheaper at that scale. The label maker pays for itself once you cross roughly a dozen bins.
What labels survive a hot garage?
Laminated thermal labels from a label maker (TZe-style tapes) tend to last longest because the laminate protects the print. Among non-machine options, look for packs explicitly described as water-, oil-, and tear-resistant.
Should I label the lid or the side of the bin?
Side for shelved bins (long side, near the top). Both side and lid for stacked bins. Inside-the-lid (or short side) for clear bins.
How granular should my categories be?
Each category should fill at least half a bin and survive a year of seasonal turnover. If a category collapses on the next reshuffle, it was too narrow.
Are color-coded bins better than labels?
Useful as an overlay, not a replacement. Color buys quick at-a-glance scanning, but the printed label still has to specify what’s inside. Use color and labels together.
Can I reuse bins once I peel a label off?
If the labels are explicitly described as “removable / no residue”, yes. Test on one bin before peeling thirty. If the surface is sticky after peeling, isopropyl alcohol clears it.
Sources Reviewed
This article synthesizes manufacturer product pages (Brother P-Touch PTH110, Talented Kitchen storage bin labels), public garage organization discussions, and general home-organization editorial sources. We do not claim hands-on testing unless clearly stated.
Related Guides
- Best Garage Storage Bins for Shelves — pairing labels with the right bin type
- Best Garage Shelves for Storage Bins — shelves that fit common bin sizes
- Best Garage Wall Storage Systems — wall systems that keep bins off the floor
- Garage Organization Checklist for Renters — renter-friendly framing where removable labels matter
- How to Organize a Small Garage Step by Step — broader organization context